Our visit on a beautiful mothers day weekend provided us with awesome progress on all currently active fronts. Old Country Stone delivered a few more pallets of the granite cobble and knocked out the installation of the stone on the concrete retaining wall. Mike's carpenters moved forward with progress on the wrap around porch arches, with amazing results. Distinctive Designs finished all the standard window trims and started moving on to the more complex arched trims, including those in the great room. Electrical came back to install the recessed cans in the great room ceiling, now that the coffer beams are laid out. Tile installers pushed through installation in two of the small bathrooms, and prepped the laundry room. There's a constant flurry of activity that I've grown accustomed to that makes every visit exciting.

There were some new deliveries in front of the house which signals more exciting changes to come. A delivery of more rough sawn cedar boards for the porch arches, and a nicely wrapped package of Azek Decking boards for the front porch. Sitting on top of that are some white Azek boards, which will be used to trim the beams of the porch. I'm not sure when installation will begin, but it's exciting to see these materials on site.
Here's the item sticker for the decking boards. We're going with the
Azek Vintage in mahogany color. It offers a nice wood grain and some streaks of black and darker brown for a nice wood grain appearance. The pallet was wrapped up pretty tightly, so I couldn't get a good shot, but hopefully it will be installed soon.
One more pallet off to the side was tightly wrapped in plastic, and I didn't know what it was at first. I knew it had to be deck related since it showed up a the same time. Turns out that it's the under deck water channeling system that will be installed on the back corner of the front wrap around porch. There will be a patio below that deck where the basement walk out is. This will channel any water that makes it through the deck boards, into a gutter so the patio below stays fairly dry. It won't stop all the water, but this makes the porch deck act like a roof.

Old Country Stone delivered two more pallets of granite cobble, and they already chewed through most of one of the pallets for the completion of the concrete retaining wall. They still need to finish the area above the front porch and the main house chimney before they're completely done with the job. We obtained a quote for them to construct the front gate pillars too, and it comes in lower than other quotes, so we might have them construct those too.
Speaking of the concrete retaining wall, here it is, almost completed. Pretty much all the stone is installed, but the mortar joints still need to be filled. This section seems to go up pretty quickly as this is the result of a few days of work. Nice weather is in the forecast for this week, so I expect this to be finished next weekend.
Here's a shot of the wall looking back towards the house. The final grade will bring the level of the ground up to the weeper holes in the wall so the wall height won't be as imposing as it is now. If you stand at a specific height, the top of the wall matches up with the stone ledge on the house, giving the illusion that the retaining wall is part of the house. Fun fact.
Here's where the concrete retaining wall meets up with the boulder retaining wall. We were hoping there would be a natural increase in retaining wall stone size as it got closer, but I guess it just wasn't possible. The size of the stones don't vary that much so getting larger stones in there probably wouldn't have made much difference. The concrete retaining wall doesn't blend perfectly into the boulder wall, but it's good enough.
The front porch saw a nice addition in the crown molding between the bead board and shingle. The back porch uses a quarter round, but there's enough space on the front porch to fit a taller crown. It was unexpected, but I think it looks fantastic. It's an awesome detail that didn't need to be implemented, but makes the porch look way nicer. Once all the trim is painted the same white color, it will make the porch look nice and finished.
The porch crown molding is already installed down the length of the side of the house and looks amazingly straight considering all the variables involved. The height of the ceiling probably varies down the length and it's difficult to get the wall trim perfectly straight. There's little to no wavering in the straightness of the crown and it would super obvious from this angle if there was, especially since it's running parallel with the beadboard detail.

An awesome implementation this time is the filling of the porch arches. We were wondering if the underside of the arch would be hollow and flat, like we've seen on other houses, or filled. This is much more difficult to implement since you need to curve a thick piece of wood. We pretty much resigned ourselves to having a flat hollow arch, but here it is, filled. A nice surprise to be sure, and very grateful to Mike and his team for pulling this together. It changes the feel of the whole porch, making it seem more substantial and finished.

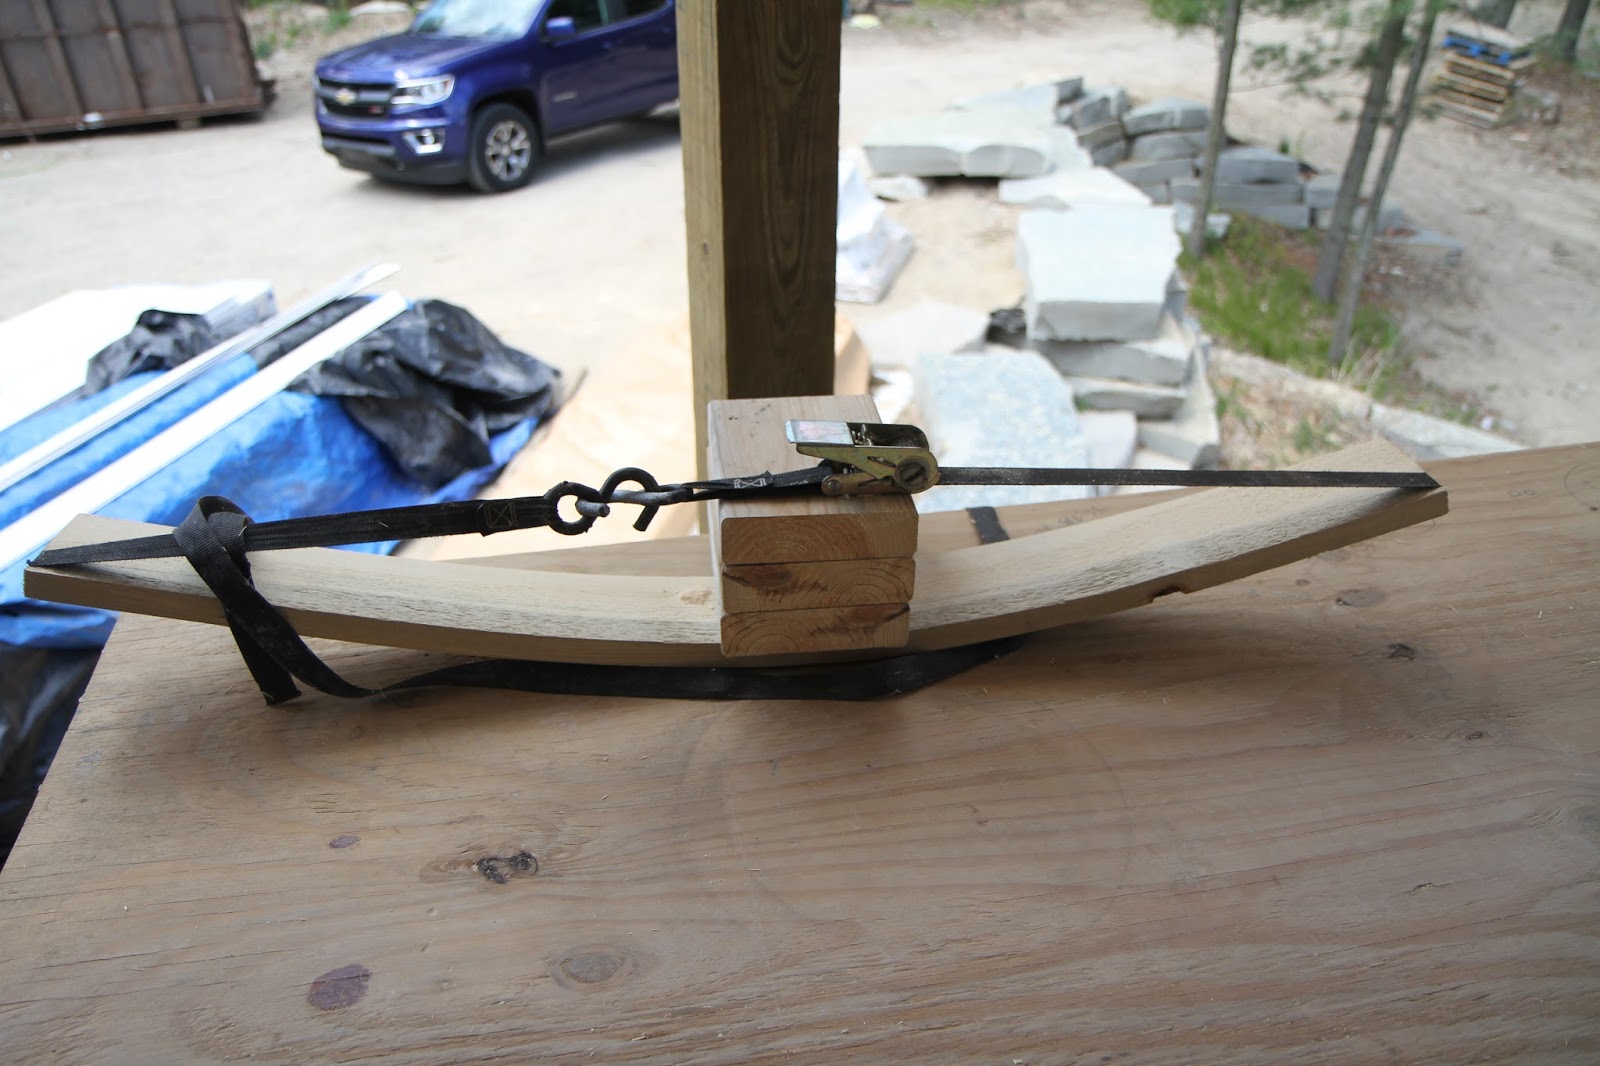
Here's how they're bending the radius. This is for the short section near the garage and it's harder to bend shorter pieces. I wonder if they wet the wood at all or just clamp it in like this to achieve the curve. We're still not sure how they'll finish off the round section of the front porch, especially if they're going to fill each curve. That section will have an arch, curved around the porch, so it's a compound curve, which would be very difficult to implement from a single board.
Tile installers have started installation around the house and are staging areas with tile. This stack was sitting in the mudroom, but I don't think it's meant for that room. If I recall correctly form our last meeting, we're going with a slate looking ceramic tile in the mudroom and this is more of a striated design. We have a meeting at the house this Thursday with Margaret so I'm sure we'll iron out all the details.
Here's what that tile looks like from above. Looking back at my pictures, this tile was added to the design at the latest tile meeting. It will be on the floor of the mudroom bathroom, which makes sense, since it's staged outside the room. Too many meetings to remember everything, it always pays to take as many pictures as you can.
Here are the material combinations we'll be using in the mudroom bathroom, taken at our last tile design meeting. You can see that tile at the bottom but I can't remember if we'll be using it in the shower too or if we'll be using the square mosaic there. The gray piece at the top is the counter top and I think the white is used as a placeholder for the white vanity. Even when everything is planned out, it's still a surprise when it goes in.
Here's the box for the special tile we'll be using in the guest bathroom. It's from an Italian company called
Tagina tile. The guest bathroom departs a little bit from the simplicity of the rest of the house, but I think it stays with the modern Victorian intent. This tile is a bit more expensive since it's a "designer" tile, but it comes in a large format, so we don't have to buy as many pieces.
You can see what I mean when I say it's a little different. I think traditional Victorian bathrooms use small geometric mosaics in their bathrooms, commonly hexagonal or square and diamond pattern in blacks and whites. This tile lends that feeling while using a large format size. Definitely different, but I think it will look nice.
Here's the mortar being used to install the tiles. I know almost nothing about mortar and absolutely nothing about this specific mortar. The back says it's "full flex", which I take to mean that it provides some flexibility to the cement floor below it. Should the concrete move a bit, that flexibility should prevent the tile from cracking.
Distinctive Designs pushed forward with the installation of the trim around the art niches in the foyer. It's exactly how we imagined it would be implemented, and now that it's in, we have some questions about how the doors on either side of the foyer will be trimmed. The study door will have a standard door trim, but it's so close to the wall angle transition, it might look odd if the trim doesn't reach that corner. The dining room just has a doorway opening, but it looks like it should have some trim, which I'm not sure if it's in the plans for implementation. We're building a list of things to talk about at this weeks design meeting.

Lights were installed in the greatroom coffers. There was some discussion last week on how many cans should be put up there and we landed on these six. These should provide enough light while preventing the ceiling from looking like a light farm. There is basically one light in each corner and two for the primary seating area. We'll also have two wall sconces and two table lamps to light the room, so I think we'll be okay for illumination.
The window frames are in on all the greatroom windows, with the curved tops remaining to be installed. There was also some progress on the perimeter coffer beams but not on the rest of the ceiling. Probably due to the work needed for the electrical. Now that the lights are in, we can get the attic space insulated. The beams will really change the look of the greatroom.
An auto leveling laser was installed on the fireplace column. I think it's to help make sure all the window boxes are level and plumb to each other since they'll all be integrated into a panel system. There were some preliminary markings on the wall to lay out the panels but nothing implemented yet. I'll be interested to see what they design because this will really formalize the look of the greatroom. It seems like Distinctive Designs is working on multiple things at once.
Up in the master bedroom, the window frame been installed, but the curved trim still needs installation. They used the MDF cut back cut and veneered to make the curve, and this will probably be used everywhere a curved window frame is needed. Large radii like this aren't as difficult as the oval and round windows in the other bathrooms. I think they're cutting the arch trim at their workshop, rather than using the flexible rubber trim.
Here's a close up of how they made the curved window box. After the trim is installed, you'll never see the cuts on the back of the MDF, and since it's on the top of the window, you won't have much occasion to touch it. In other words, it won't be easy to see how it was constructed.
The turret windows were boxed and are awaiting trim. The sides of these windows are pretty straight forward, but the top and bottom will need to be curved, so will be a little more difficult. If I recall correctly, the bottom trim will also be continuous around the room, but I'll have to verify that design. It seems like all the easy trims are nearing completion and all the tricky ones remain to be installed. It will be interesting to see how quickly Distinctive Designs can push through all the curved stuff, especially when it comes to the rotunda.

Here's something bitter sweet. The master balcony door was finished and delivered to the site so Mike could install and finish the trim. When they went to install the door frame, they found that it was way, way too short. There's a template in the door that Hardwood Door and Bevel created, which fit fine, but it turns out when the door was ordered, the height numbers were transposed. So instead of being 98" tall, it's only 89" tall. This door will need to be reordered and re-stained, and I'm not sure how long that will take. We were really looking forward to seeing this door in place, but it looks like it's going to have to wait.
Tile in the other upstairs bathroom has been installed and needs to be grouted. This tile has a slight striation shimmer and texture to it, so it's not a flat white tile. The installation looks pretty straight forward, but there are some nice details to point out.
Under the "do not walk on" cardboard was this piece of sample wood floor. This is how all the tile to wood interfaces will be around the house. The tile is terminated in a oil rubbed bronze metal
Schluter strip to which the wood floor will butt up against. This leaves a very clean and level transition, without the need for filler strips or height transition strips. This also means that the doors won't have a threshold to transition to. I really love this transition because it's visually clean and you don't have to step on or over anything going to the bathroom.
Here's what the Schluter edge looks like without the wood floor. The bronze color is a near match with the wood and will almost be invisible. I wondered if noise transmittance would be an issue without a door threshold, but the door will be cut to fit all the way down to the tile, so the issue is moot. This type of installation requires more precision since the tile floor height needs to perfectly match the wood thickness. Hard to say if anyone will really notice, but they will feel like something is different.

Having passed the inspection, the master shower base was laid. This ensures the floor will be sloped towards the center drain. This also reduces the height of the shower curb to and inch and a half. While it's not zero threshold like the guest bathroom, it's low enough to become almost inconsequential. I didn't see any of the master tile on site, but it is a point of discussion we'll be having at this weeks design meeting. We need to confirm how the tile will be installed around the arched window in the shower, as well as which tiles will be installed in those locations.
Here's the large stack of tile that was sitting in the rotunda second floor, outside the laundry room. It looks like the room is prepped and ready for installation so I think they'll work on that next.
Slightly visible from this picture, you can see that there's a burlap or canvas-like texture to the surface of the tile. It also varies in color slightly, so it's not a solid off white. I always thought that at cloth texture tile was fitting for the laundry room since we'll be washing clothes here. I think the cabinets will be gray in here with a cream colored counter top. The machines come in a gray too, so the room will be nicely coordinated. We're still trying to decide on the final design of the craft table in this room, and will probably implement it after we move in.
The laundry room has a coat of redguard on it, in addition to some kind of tape. It looks like there was a crack in the floor and the tape is being used to isolate the crack movement from the tile thinset bed. This room will see an normal baseboard rather than a tile one used in the bathrooms. The tile should go in pretty quickly so maybe we'll see its completion next week.
Here's the tile that was sitting outside the turret bathroom. I'm not sure why there's so much left since the floor has already been installed. The small tiles on top are part of the baseboard, and there might be more tile because it will go up the wall to the counter height. Again, I can't remember how we'll implement it in this room. I know we talked about going up the wall in the guest bathroom, but I'm not sure about this room. These tiles could also be the tile that goes on the bath wall, with the small pieces being used as the edge.
This tile has a little more grain to it, which makes be think it's going in the bathtub alcove. It's not that I wasn't paying attention in the design meetings, it's just that there's so much information, and finishing design isn't my domain. I guess we'll see next week where this goes up.
The turret bathroom floor is installed awaiting grout. The tile extends all the way into the walk in closet beyond, which I'm not sure was in the initial design decision. Margaret texted us saying that carrying the tile into the closet will prevent it from looking too stripy, transitioning from wood, to tile, to wood again. I'm thinking that the closet door should remain closed most of the time, so you'll rarely get that view and it seems like the closet should have a wood floor. I guess we'll have to discuss it.
These last two pictures aren't changes from the builders, but something that we ordered separately and will have installed. This copper finial will be installed on the peak of the gazebo in the back. I climbed out on the roof and put it up there to test fitment, but didn't leave it since it needs to be nailed in with copper nails. We left it on site so it can be installed whenever they can get around to it.
Here's a closer shot of the finial in place, but not installed. I think that this, in combination with the dragon weathervane will give the house a personalized look. We chose and ordered this ourselves. It was made by a copper smith in Florida and it fits perfectly. All we had to do was provide the roof pitch and number of sides to the gazebo and they did the rest. I don't think we have to ground this since it's not the highest point.
So that's about it for this week. Lots of progress in lots of places and things going on in parallel all over the house. Next week might see the installation of some of the decking, more tile, maybe interior doors, and maybe the start of stone on the rest of the house. 15 weeks left!


No comments:
Post a Comment