Sunday, November 22, 2015

Second floor poured just in time.

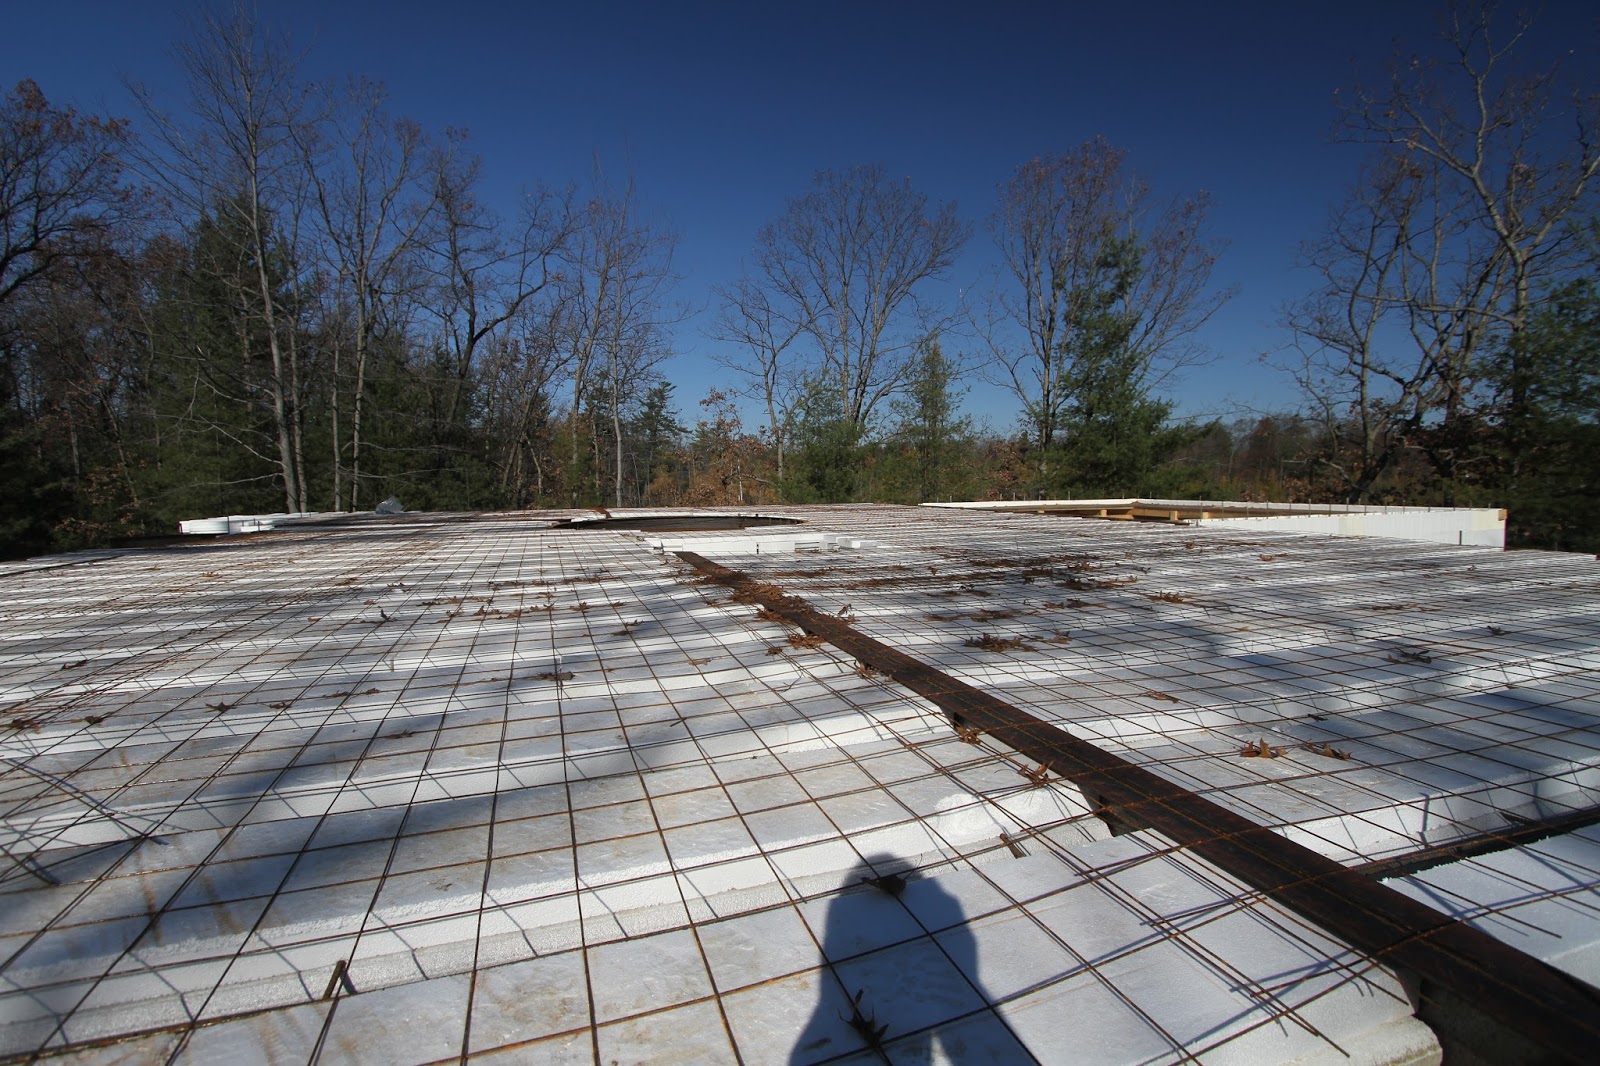
  The second floor was poured on Thursday this week, and it was just in time before some early winter weather.  I didn't get the change to see it before the crew laid three inch Styrofoam sheets on the concrete to keep the warmth in and slow down the curing process.  Nonetheless, I did walk around up there to take a look and see the final views of the house from the second floor.  We'll have numerous windows in every direction, as well as a master balcony walkout.  Despite the snow, the views were awesome.  


     Here's a shot standing in the master bedroom looking towards the master closet.  This odd corner will be hidden behind walls.  You can see how much heat the concrete curing process gives off.  Snow was collecting on the foam, but not on the small areas of concrete still exposed.


     Here's a shot standing in the master bedroom looking across the house.  The greatroom is to the right, the elevator shaft is on the left in the mid ground and the rotunda opening is behind it.  There will be a balcony walk out in the master bedroom right next to the greatroom wall.  There's house on another street through those trees, but you can barely see them during the winter, and can't see it at all during the summer.


     Here a shot standing in the master bedroom looking towards the front of the house.  This is where the master closet will be on the left, master bathroom on the left mid field, laundry room towards the center, and the turret room bathroom in the middle of the house above the front door.  You can see a bit of the turret on the right of the frame.


     Here's a shot of the greatroom from the second floor.  The fireplace will be right in the middle of this view, but there will be two "balcony" openings from the second floor landing that will look down onto the great room.  There will be a second bank of windows above the ones on the first floor.  The powered floor float is sitting on the temporary support walkway.  I didn't go out on it this time.


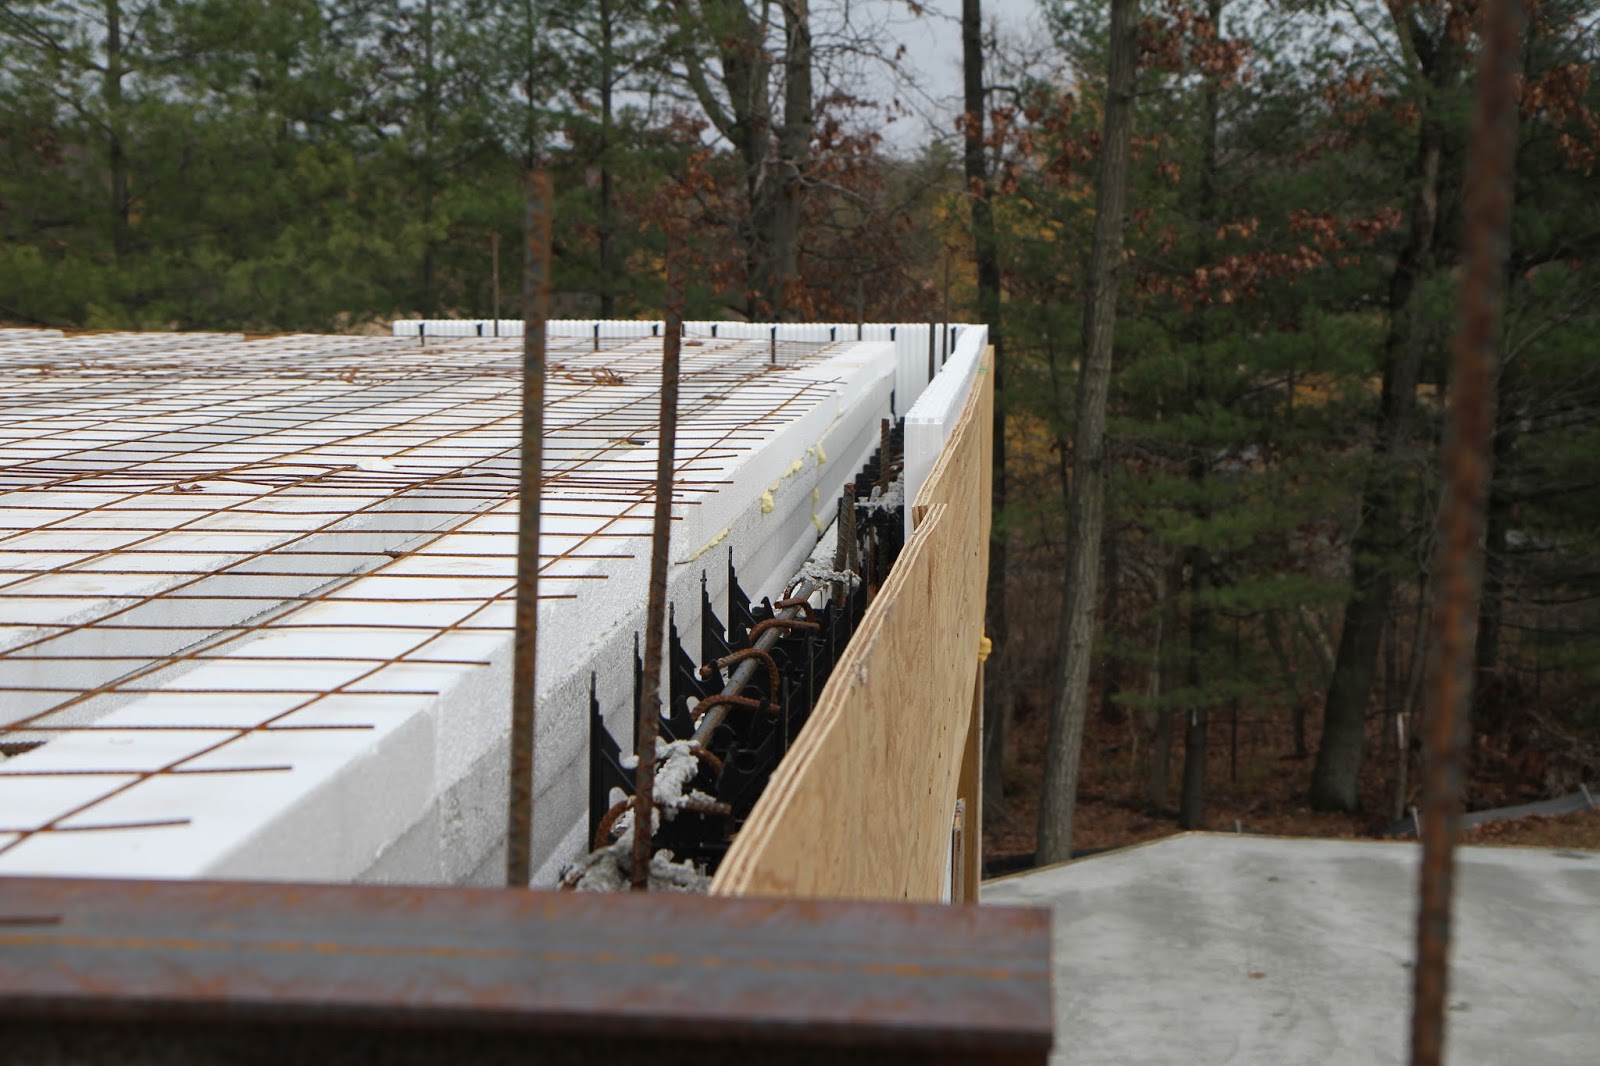
     Here's the turret.  From below, it looked unfinished because the shape didn't look round.  From above, you can see how they made the round shape.  They blocked out the round shape in the Lite Deck but didn't cut it away.  Now that it's poured, they can cut away the excess Lite Deck.  It will be interesting to see how they make the round walls of the turret.  The plan shows ICF, but I'm not aware of curved ICF pieces. 


Here's a shot of the driveway and front yard from the turret.  Those three pines are going to remain in the final landscape design with grass being installed on the right field.  The driveway will be where the trailer and my car is.  Sure is beautiful in the winter time, but we'll have to figure out a good solution for the snow removal of the 250' driveway.  Anyone know of a UTV with a front hydraulic attachment point for a snow thrower?


Here's a shot from the turret of the front of the house.  You can see the garage in the back ground.  Most of the view of the front door will be blocked by the front porch so you won't be able to see the front door from the turret.  The turret actually floats above the front porch, which flares out around the turret.


     Here's the back yard from the master bedroom.  We'll have two windows flanking the bed, above the night stands, and an eyebrow windows above them.  The gazebo room will block the view on the left of the frame, but we should be able to see some of the pool and most of the back yard.  You can see the outline of a mulch bed around the oak in the middle of the yard.  It was installed at the advice of the Great Oaks arborist.  It will help mitigate any compaction caused by heavy equipment running over the ground here.

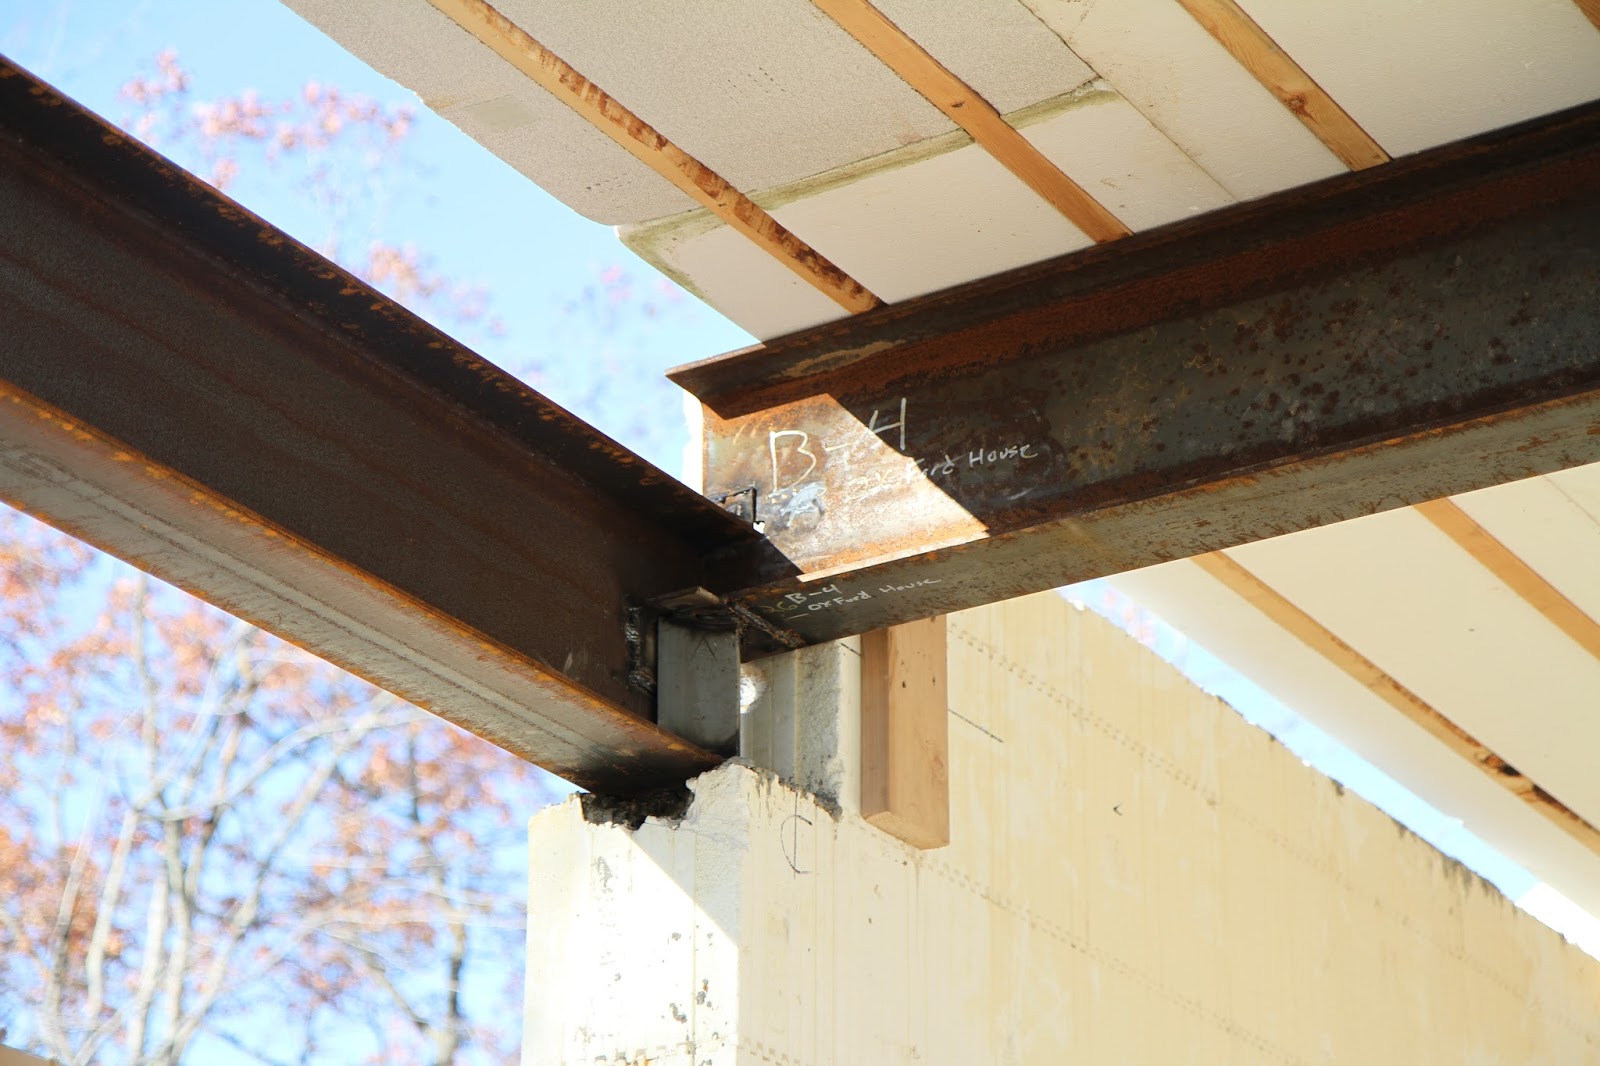
    So there will probably be a couple weeks of second floor concrete curing before the start the second floor walls.  That puts us in the first or second week of December for second floor wall construction, which should take a week or two to completion.  After that, trusses will be measured and ordered, but I expect some delay due to holiday shutdowns.  Realistically, I think we're looking at a mid January button up, so we'll probably take delivery of the windows after the holidays.  A few weeks off schedule, but pretty close.  We're getting some warmer weather in the next week, so all the snow should be gone.  It probably won't hold out for the month of December, but walls can be poured in the snow.  

Tuesday, November 17, 2015

Second Floor Prep part 3: Getting close?

The weather is all over the thermometer these days and today was the coldest yet.  We had a meeting with our interior designer at the house so she could take a look around.  We discussed some design ideas, but they were mostly put out there to get our minds working on the future.  Our second meeting was with Geoff and Great Oaks for the landscaping.  He brought out his pool design/installer subcontractor so we could talk about the logistics of an ICF pool, which he has never built before.  Money will soon be pouring out of our pockets for all the preliminary landscaping structures that need to be implemented to support the driveway.  We also got a chance to drop of the revised landscaping plans to the HOA.

Not a ton of work has been done since the weekend before.  The week was a little wet, so it probably slowed progress down.  More prep to the second floor was finished, but there still looks like some work needs to be completed before the pour.  We’re in the third week of November now, so time is really getting short.  A mid-December button up seems less likely.  


The LiteDeck for the stairwell going up has been cut to shape but forms still need to be added for the concrete pour.  Remember, the steel beam next to the stairwell will be cut out after the pour so this will be open all the way up.  Should be a pretty dramatic look.  We discussed stairway railing and baluster design with Margaret, but I think we’re still undecided on what we’re going to go with.   


Another shot of the stairwell.  This wall will go all the way up to the ceiling and we’re also trying to figure out if we’re going to have some kind of paneling or wainscoting traveling up the stairs.  If we did, it might need to continue on the second floor rotunda walls as well.  It’s a more traditional look, but if implemented cleanly, could look a little modern as well.


Some of the “halo” is up on the exterior wall.  As with the first floor, a single course of exterior wall ICF is added to act as a form for the floor pour.  This allows the floor to tie directly in to the wall rebar spikes, which continue up into the second floor walls.  Again, this floor will be a monolithic pour, starting with the beam pockets, which contain helix steel fiber.  When it’s still wet, but setting, the floor will be poured without the helix fiber.  I hope I can get a pour date, and maybe take some time to watch the process.  Not enough movies of the build.


Detail of what the “halo” looks like next to the LiteDeck flooring.  You can see the channel that will be filled with the pour, which actually fills some of the top of the first floor walls.  The curved rebar pieces you see there are part of the ICF header above every door and window opening.  From this angle, I think one more course of exterior wall ICF is required since the slab will be about 3” above the LiteDeck.


Here’s what the second floor looks like right now.  You can see the interior wall of the elevator shaft, which looks like it’s built up to the correct height for the pour.  Considering another course of exterior ICF needs to be installed, and the turret still needs to be completed, looks like there’s a good amount of prep required before the pour.  I’m guessing (hoping) they’ll attempt a pour next week.  


Parting shot of the rotunda from the front door.  Looks like a post-apocalyptic war or something (playing too much Fallout 4).  I think all the temporary supports are up so at least everything is prepped from below.
As I’ve mentioned before, the windows have been sitting in the warehouse since Spring but we should be able to take delivery soon.  Normally the  bank pays out loan disbursements after installation, but they said they would be able to approve a draw on the windows if they get a clear receipt of delivery.  With the delay in the second floor, I’m not sure we should take delivery before Christmas.  I guess it depends on how much shutdown will happen around the holidays.

We’re rolling forward on getting landscaping approval from the city.  They required a right-of-way permit, which I called in to get extended until next May.  It’s required for improvements to the driveway since we’re connecting with county roads.  We’ll need to have all the silt fence and orange barrier fence installed before the city will grant approval.  We’ve decided to install the 600’ of orange fence ourselves since we’ll want the freedom and flexibility to remove and reinstall it as we progress through the landscaping phases over the next few years.  When we get the pool design approved, we can start excavation and use that as fill dirt for the front yard.  A few retaining walls are required so the timing of all these steps is delicate and all costs are out of pocket since they’re not rolled into the mortgage.  

Sunday, November 8, 2015

Second floor prep part 2. Back porch poured.

November is here and the house is really getting along.  The weather is holding out for now with sunny days in the low 50's F, which seems to be great for house building.  Second floor looks almost all the way prepped with rebar and rebar mesh installed.  There might be some final floor forming that needs finishing as the turret and master closet still doesn't look like the final shape.


 The front porch section is semi-poured, with the beam pockets filled with the Helix impregnated concrete.  Usually I would like to see the beams poured with the slab, but since this isn't going to be structural, I'm not worried about it.  This section will be under the front deck boards so it only needs to serve as a weather barrier.  The forms for the slab are in place, and looks to only be a few inches thick.


   Steel bars were welded on all the beams that will be exposed to finishing materials.  I'm guessing that these will be drilled as attachment points for whatever face covering we'll have.  Here's the inside radius of the rotunda.  The multiple attachment points are required to make the wood, or whatever, curve on the inside radius.  Pretty neat to see how the Lite Deck fits right into the beam height.


Here's the full outer radius of the first floor stairwell.  There will be one above it on the second floor.  Plywood covers the stairwell down.  The door to the basement will be to the left of the post, but the stud wall you see there is only temporary support.  The Lite Deck in the stairwell still needs to be cut to shape and forms need to be added to contain the concrete.


   We can finally walk on the back porch and gazebo!  As with the front, the deck has an 8 ft depth and the gazebo is 20 ft across.  This will all be covered porch.  I think they needed to pour this because the master balcony, which will be part of the porch roof above the walkout in the middle of the picture, will require support posts on the slab.


   Shot from the front door towards the back of the house.  I think all the temporary supports are almost in .  There might need to be a few more in the foreground here.  The rotunda steel without the attachment point steel will be cut away after the floor is poured.


   Sneaking up on a ladder to see the second floor prep.  You can see the tophat pieces of foam are installed, the four pieces of rebar per beam pocket is in, and the light rebar mesh is in place.  As predicted, the tophats increase the foam base to the height of the beams so the floor will be poured over the beam.  Some exterior wall still needs to be installed before the pour can take place.  It will be amazing to walk on this level, to see how high above the ground it is.


   On the ladder, looking over the garage wall to the back porch.  Since the all porches are covered, there will be lots of great places to sit when it's rainy out.  The gazebo will have a wood burning fireplace, so I can't wait to light up a fire and sit to enjoy the outdoors.


   Ground height shot of the back porch and gazebo.  Sliding door walk out on the right, mudroom door on the left.  The window on the left is the kitchen sink window and the one on the right is in the greatroom.  Steps will come of the porch at the mudroom door.

    
   Back porch from the mudroom.  You can see the porch slab overhangs the ICF a bit, by design.  Exterior building material of river stone will be on applied to the ICF walls, so this will make the porch about flush with that material.

    
   Back porch from the sliding door walk out.  We're thinking about having bar on the railing in the foreground, and the grill station on the rail right before the gazebo.  The gazebo will contain a table and seating for the fireplace.

   
   Last but not least, progress on the turret.  I think the general shape is there, but it needs to be rounded off and blocked for pouring.  Also the rebar isn't in place here, but that's to be expected if the floor isn't formed yet.

This week will see a site visit with our interior designer Margaret and a short visit with Great Oaks and their pool designer.  Great Oaks is staking again so the city can approve the design, so it's a good time to get the ball rolling on the pool design, since we want to use the excavated material as fill for the front yard.

Monday, November 2, 2015

Second floor prep part 1: Lite Deck completed

Another beautiful fall day here, about two years after we purchased the property.  The second floor Lite Deck looks like it's completely installed but there's still a lot of prep work before the second floor pour can happen.


Here's the odd area over the garage where the master bedroom closet will be.  In a normal construction, I would be worried about having living space above a garage, because you would have to make sure the floor is well insulated since it's shared with an unconditioned space.  For this construction, I'm not so worried. First, although the garage is unconditioned, it's all ICF.  As long as the garage doors and slab are insulated, it won't get too cold in there.  Second, since the floor is Lite Deck, it's well insulated by nature and air tight.  
You can see the beam that replaced the wood header.  There wasn't a beam pocket there last time, so they must have cut it out.  This will carry the load of the master closet.  The shape of the floor doesn't yet match the blueprint.  Since the garage is at an angle to the house, the actual closet only has a corner coming into this space.  It will be interesting to see how this develops.  Two things will have to happen.  1, They'll have to cut away the floor before pouring to form the room footprint.  2. They'll have to build ICF exterior wall on this floating floor, that will have to support the weight of the roof.  I don't know if there are plans to put a post in here, but I think it might be necessary.  The thickness of the beam might be large enough to support the span.


Here's where the closet beam ties into the garage wall, and the interesting way they did it.  The beam leading to the left is the header for the large garage door.   Since the span of the door is longer than a two-layer ICF wall can safely span, a steel header was required.  The steel beam going to the right is the closet support.  Close up of the tie in below.


You can see they welded an angle iron to the garage door header, and also placed an angle on end under the brace.  The angle-on-end piece sits on the beam.  I'm not sure if the angle-on-end is an integral part of the support, but it seems like it will be strong enough.


Here's a shot of the rotunda looking back at the great room, from the front door.  It's a lot darker than it has been in the past because all the LiteDeck is in!  You can see the start of the outer stairway wall on the left.  The LiteDeck that isn't installed on the left of the rotunda is where the stairwell leading up will be cut out from.  The steel in this area will also be cut out after the floor is poured, to create an open stairwell to the inside rotunda.  There are some temporary supports up in the back ground, but more will have to be put in place before the pour can happen.


Here's the dining room and mudroom from the front door.  More temporary supports will be needed in this area before the pour.  We were sitting in the rotunda and kind of missing the open sky.  I guess we'll just have to wait until we can stand on the second floor.  The back porch isn't poured, and I think it will need to be so posts can be installed to support the master balcony.  I was told a pour was supposed to happen last Friday, but maybe it was delayed.  


Here's to the left of the front door, the study and guest room.  The outer stairwell wall will continue around a bit and constitute some of the guest room bathroom wall.  Blueprint shows that the curve will be removed from the bathroom and study, so we'll have some dead space in the walls to run conduit and utilities.


Standing in the great room looking towards the front door. Some of the temporary support is up.  The great room will remain open until the trusses are in place.  Even though the ceilings are 9', putting the LiteDeck up makes the place feel smaller.  I don't think I'll shake that feeling until stuff starts to go in.  I was standing in our current kitchen with a measuring tape, trying to get a feel of how the cabinets will feel, and how much space will be available around the island.  When I lay it out in a preexisting room, the new place feels huge!  When I'm standing in the new place, it doesn't feel that big.


Standing in the guest room looking all the way to the kitchen window.Some day, all these long views will be obscured.  There will be some open feel to the house, but definitely not an "open concept" design.  I think with 5,000 sq. ft, we'll have enough space to not have to worry about creating the illusion of space.


Standing in the mudroom, looking at the study.  We're planning on pushing the laundry room wall into the master closet a bit so concrete beam pocket placement is critical here since we'll need to pull water and drainage through here.  The idea is to line up walls so we can have clean ceilings on the second floor.  We'll have the laundry room and master bathroom back to back.  I'm hoping we can get the drain down through the butlers pantry wall.  How it runs in the basement is another story.


And here's what it looks like from above.  LiteDeck only.  What remains is final shaping, top hats, which will bring the thickness of the foam to the beam height, and all rebar.  They'll have to also install the outer ICF walls to act as a form.  I don't think they'll paint these beams before the pour.  They'll be entrapped in concrete anyways so I think that will be okay.  Can't wait to walk on this.


Another shot of the rotunda.  The stairwell down is under the plywood and it's creating the illusion that the wall doesn't have a continuous curve.  The wall will continue past the post, up to where the next post is.  The post you see in the center of the frame is actually at the top of the stairs and will be hidden in a wall, but it forms one side of the doorway leading down.


Rotunda looking at the front door. The basement stairs will be just to the right of the post on the right of the frame.  The curved wall will terminate to the right of that.  All the Litedeck between the curved wall and the steel will be removed and formed for the stairwell up.


Here's how the turret supports and turret floor look right now.  I think more floor needs to be added and of course the roundness needs to be cut.  Again, if this wasn't a LiteDeck installation, I would be worried about the temperature of this room.  As it is, there are seven windows in the turret so it won't be as well insulated as the rest of the house.  Having the floor be inherently insulated and air tight is nice.  Also, since the floor sits on the beam here, we have the opportunity to spray foam the space between the deck ceiling and the turret floor.  It probably won't be necessary, but it might be nice.

So as I said before, tasks left for prep before second floor pour:
  • "Top hats"
  • Rebar
  • Exterior wall
  • Final floor shaping
  • Rear porch pour and posts
  • Master balcony construction
  • Inspection
Seems like a lot to get done and I'm hoping that it will be completed in 1.5 - 2 weeks.  That would kind of put us on track to be buttoned up by the second week of December, but it will really be cutting it close.  They'll need some cure time, 1.5 weeks to set up second floor walls, and an unknown amount of time for the roof trusses.  The more I think about it, the less I'm confident on the December deadline.