Saturday, July 25, 2015

Pour in, Floor in!

We have a basement floor!

I guess the rest of the pour happened on Tuesday as scheduled, and the wife and I had some time to take a look at it today.  We caught the framing crew setting up the temporary supports for the LiteDeck above.

 Last time I saw the elevator shaft, I was concerned because it was set up for concrete to be poured into it.  There was foam, plastic, and rebar grid in the shaft, so I was wondering if we were going to need a pitless elevator.  I texted Matt the framer and he knew this area wasn't supposed to be poured since there's already a slab/footing in there.  Here's the result.  From the slab/footing to the slab/floor is 8-10 inches, which is perfect for a residential elevator pit.  Awesome.

 The crew installed the second post for the stair support before the pour.  If you look closely, you can see faint markings on the floor used to measure out the curve of the stairwell.  It's just a hair under 4' wide, which I guess is a good width for two people on the stairs.  Standing on it, you wouldn't guess that's a good width because it feels a little cramped.  I guess it's just one of those things that will need to be stood on to get the feel of.


Here's the joint between the first and second pour.  Looks okay and there will be a wall on top anyways.  All the floor is finished to a very smooth surface.  No troweling marks are present anywhere.  Professional job as far as I can tell.

Even thought they're only temporary supports, it really feels like a house is being built.  I can start to imagine the stud walls for the real interior walls.  We're finally out of the dirt!

 They had a good system of measuring and calling out the cut lengths.  All 2x6s and Matt said they would be used later for the final walls.  I'm not sure what he meant by that unless they're planning on ripping them to 2x4 size.

 Here's the edge of the slab at the side walk out.  A 2x4 is used as a form and the slab sits on top of the ICF foundation.  Some day a sliding door will be here.

Here's the rear walk out.  Again, the slab sits on the ICF foundation.  It's great having the basement poured because we can actually get a feel of how much headroom we have.  It's more than enough to get a good hanging pull up in.

Controlled cracking joints are already cut so as far as the basement is concerned, it's done.  The builder will finish the exterior walls with drywall on completion, but that's it.

After the temporary supports are finished, HVAC, electrical, and plumbing will be called in for first floor pass throughs in preparation for the pour.  I'll have to make sure to be there so I can get data line holes.

We're hunting for an interior designer and have met with 2 of 3 candidates.  It's tough to choose one so far because we really don't know what they'll design for us until we hire them.  The landscape designers provided a design concept we could use to make a decision on, but I guess interior designers only provide an expected time schedule and some rough ideas.  If anything needs to be moved on the first floor for plumbing, it will have to be decided pretty quickly.

Sunday, July 19, 2015

When it rains, it doesn't pour

After a month of delay to fulfill the new topo requirement to the township, we finally got the inspection and could proceed to pour the basement.


Wouldn't you know it that this summer is getting  rain almost every other day?  A pour was scheduled on Wednesday, but was canceled the night before by the concrete company due to supply limitations.  They did manage to get some concrete to us on Thursday, but only a portion of the basement and the stair footing.  The concrete providers said they would come back next Tuesday to finish the rest of the pour.

 Here's the space between the elevator shaft and the workout room.  They poured the future theater and storage room.  A few observations.

  • First, he spikes used to hold the temporary form board pierces the plastic, foam, and drives pretty deep into the substrate.  How annoying would it be if, in the future, I see water weeping up from these channels?
  • Second, how does this joint affect the finish and quality of the slab considering this isn't going to be a single pour?  Granted, there will be a wall over this joint, but are they going to create an expansion cut here?
  • Third, with the board in place, the rebar grid couldn't be pulled up into the slab so it's basically sitting at the bottom of the concrete.  I've read conflicting information on the efficacy and purpose of the light gauge grid.  Some people say it's just to help mitigate crumbling and hold the concrete together under cracked situations.  Others say that it will absorb some of the stressing energies, but only if it's elevated in the concrete.


Another shot of the storage/theater.  This is where the back wall of the theater will be.  I think the pipe on the left is the drain stack for above and the other is for the theater wetbar.


Here's the storage side.  I noticed some slight pooling of water around the pipe (that you can't see) that will be used for a sink rough in.  I hope they didn't think it was a drain and sloped to it.  The basement should slope towards the pipe you can see, which is the actual drain.


Here's the pour for the stair footing.  The pit was about 12-14" deep.  This footing will be used to support the weight all the way up to the second floor.

Another shot of the footing, looking at the workout room.


Here's the power wagon they used to distribute the concrete.  I didn't get to attend the pour, but my wife said the concrete truck drove down to the side walk out and aimed the chute into the power wagon.  They placed 4x8 boards down to drive over and dumped.  One or two other guys distributed and floated the floor.  That took place two days ago.  The concrete was hard enough for me to walk on, so that bodes well for future build time.

Thursday, July 9, 2015

Papers please. Pour please?

Well, Alpine Engineering finished the foundation and topographic survey earlier this week and my builder, Ken, rushed them over to the township offices yesterday.  They were reviewed and accepted and an inspector was scheduled to do what he does today.  My framer has a target date of Monday the 13th for the basement pour.  From start (completed basement prep on June 7th) to finish (expected pour date) this new township requirement set us back a month.  Some times I feel like this house will never get done.  Here's an image of the survey.

It provides some interesting information.  First, the first floor of the house is about level with the street, but there's a dip in the middle of the property by almost 10 feet.  Combined with the fact that the basement walkout is at about that same elevation, this confirms that we'll need a grinder pump for sewage, unless the sewer hookup is greater than 20ft below the street, which I'm guessing it's not.  The survey also marks the approximate wetlands location, which appears to be much farther out than I initially expected.  It's about 2 feet lower than the basement foundation, so that's not too bad for drainage.  This shows that we're 543 feet from the street and marks the length of all our borders.  It's truncated to fit on the page so it looks like we don't go as far out into the water as we really do.

Hopefully next time I post, I'll have some more to post about.

Monday, June 29, 2015

Power, pour (soon), and preliminary landscaping

This week was met with not much progress.  The topographic survey was submitted and accepted.  I'm told we'll get a basement pour in on Tuesday pending inspection so that's good.  We're in a holding pattern on the house until the basement can be poured.  Soon.....

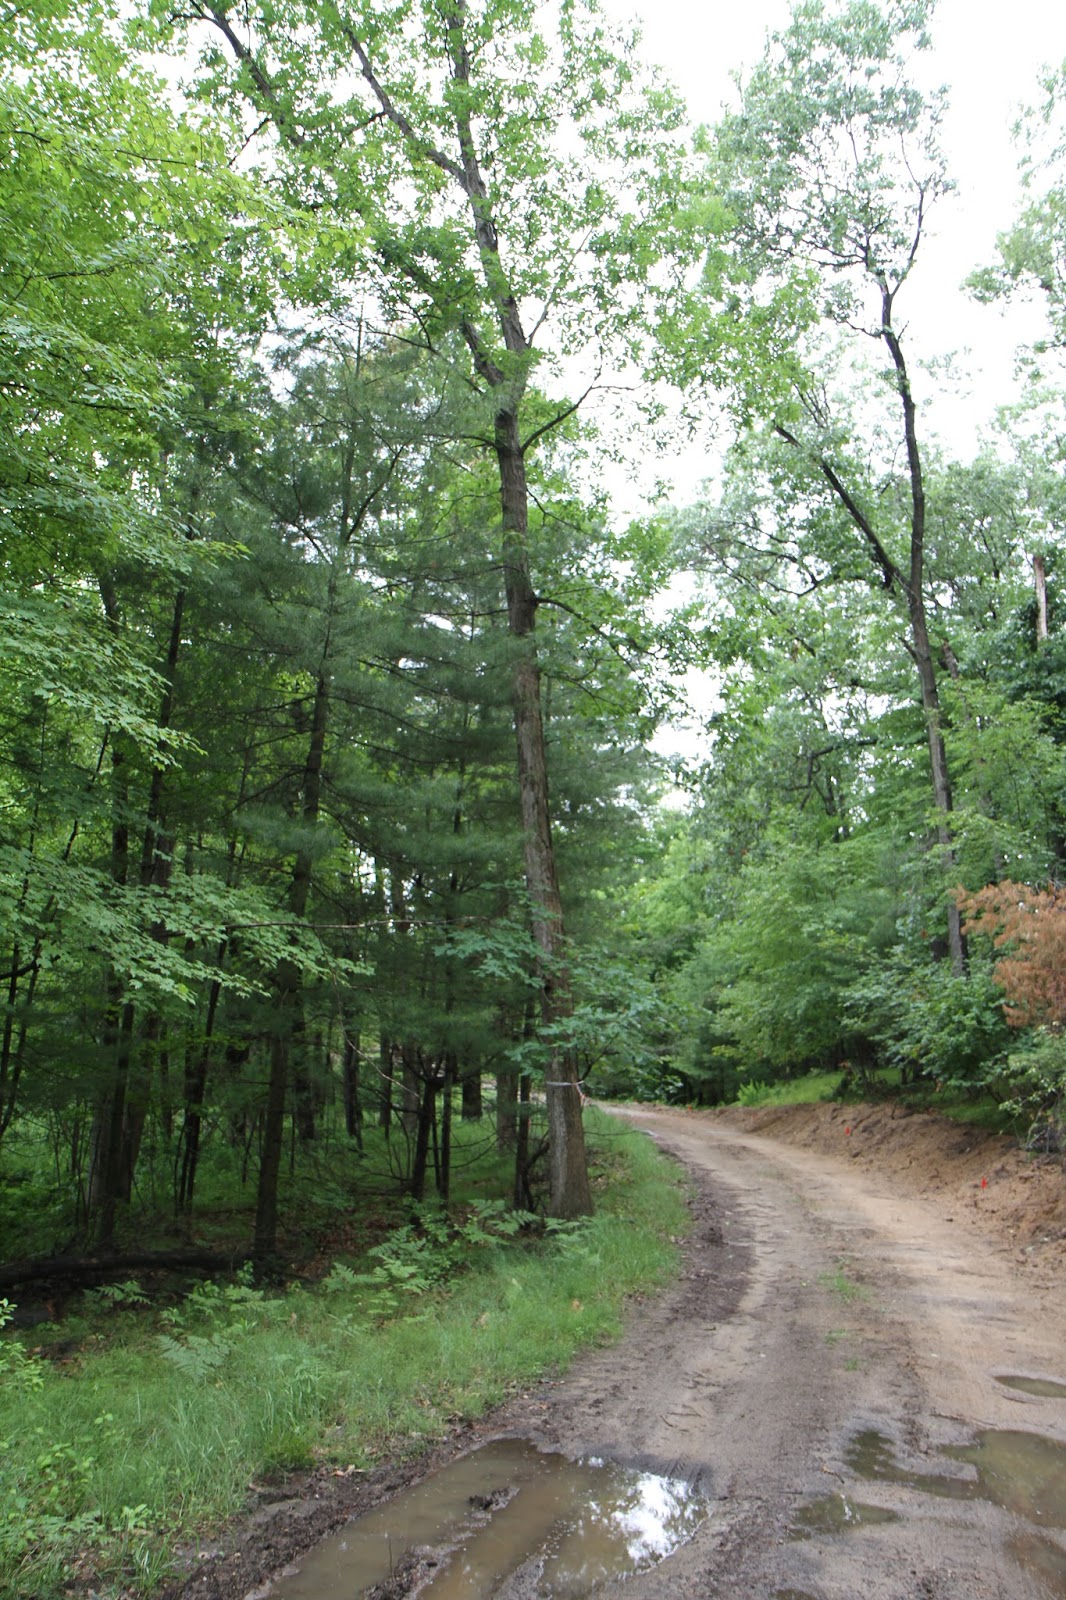
One thing new is that the landscapers at Great Oaks Landscaping have marked trees for removal with white tape, and the scope of their work area with blue and pink tape.  I spoke to the HOA board member in charge of approving landscaping plans and he requested that I submit preliminary plans before July 7th so he can have some time to tour the property.   I requested these plans from my planner  at Great Oaks, Geoff Fornari and it looks like they're on the ball to deliver.  HOA rules state that any tree that's greater than 6" in diameter, 4' from the ground needs approval for removal.  There are a few big trees that we'll be taking out to make room for retaining walls, paths, and pool.

 Many of the perimeter trees will be removed to create a cleaner boarder and driveway.  It's a shame when the larger trees have to go.  I'm not sure what the policy is about keeping the wood.  I really need to find someone to cut the trees into chop-able logs.

 They marked the trees for removal with red and white ribbon and metal tags.  Very professional approach.


 The edge of the work is marked by pink and blue ribbons.  I think this is mostly used to mark the wetlands areas where we'll need a silt fence.  Some of the trees marked for removal are already dead.

Unfortunately, some of the trees that will be removed are nice oaks.  I think there are two or three that we'll be removing.  I really hope I get to keep the wood.

 DTE delivered on the meter.  I though they were going to put one on the main box and one on the EV panel, but they only installed on the main.  There are two sockets hooked up to the main for construction purposes, so I guess that's okay for now.  This will save some costs since we won't need to run a generator anymore.

Saw this group of bucks walking around the property.  Maybe I'll get some antler shedding.  I don't mind them now but I'll have to find a way to keep them away from our landscaping plants.

Next step is the basement pour and some curing time.  When the surface is hard enough, they'll set up temporary shoring for the first floor and start to mark out the pass throughs for HVAC, electrical, and plumbing.  I'll have to make sure to be there since there are some specialty pass throughs I'll want for networking, security, and sound.  Soon after that, we'll be able to get the first floor pour in.  When that hardens enough, they can start to assemble the first floor walls.  There will be a minimal cure time on the first floor since they want it hard enough to carry the weight of the second floor.  I think there's enough work to keep the builder occupied until the second floor can be poured.

Tuesday, June 23, 2015

Red tape, red paint

    Looks like we've hit a temporary snag that will cause a little delay in the basement pour.  I guess when we initially applied for our building permit, the person who usually handles the permitting process was on vacation.  Because of this, we got approval on our build without obtaining a topographic survey of the build site.
   When we applied for the permit to pour the basement, the missing topo survey was discovered so there's a temporary halt placed on the build until we fulfill the requirement.  Ken called out our surveying firm to schedule a topographic survey and submit it to the county.  Until then, we can't complete any tasks that require a permit.  Luckily, DTE was still able to install power and some smaller tasks were completed.

 Here's where that pit was dug near the front of the property.  There used to be two pylons here, but now there's one.  DTE was required to obtain permission from the DEQ and bore under the driveway since it crossed over a designated preserve culvert that passes under the driveway.  You can see the remnants of the trenching in the back ground, and a cute Frenchie named Chloe in the foreground.
   Here's the only pylon near the front.  It's labeled "Charter" so I'm assuming it's for Charter cable.

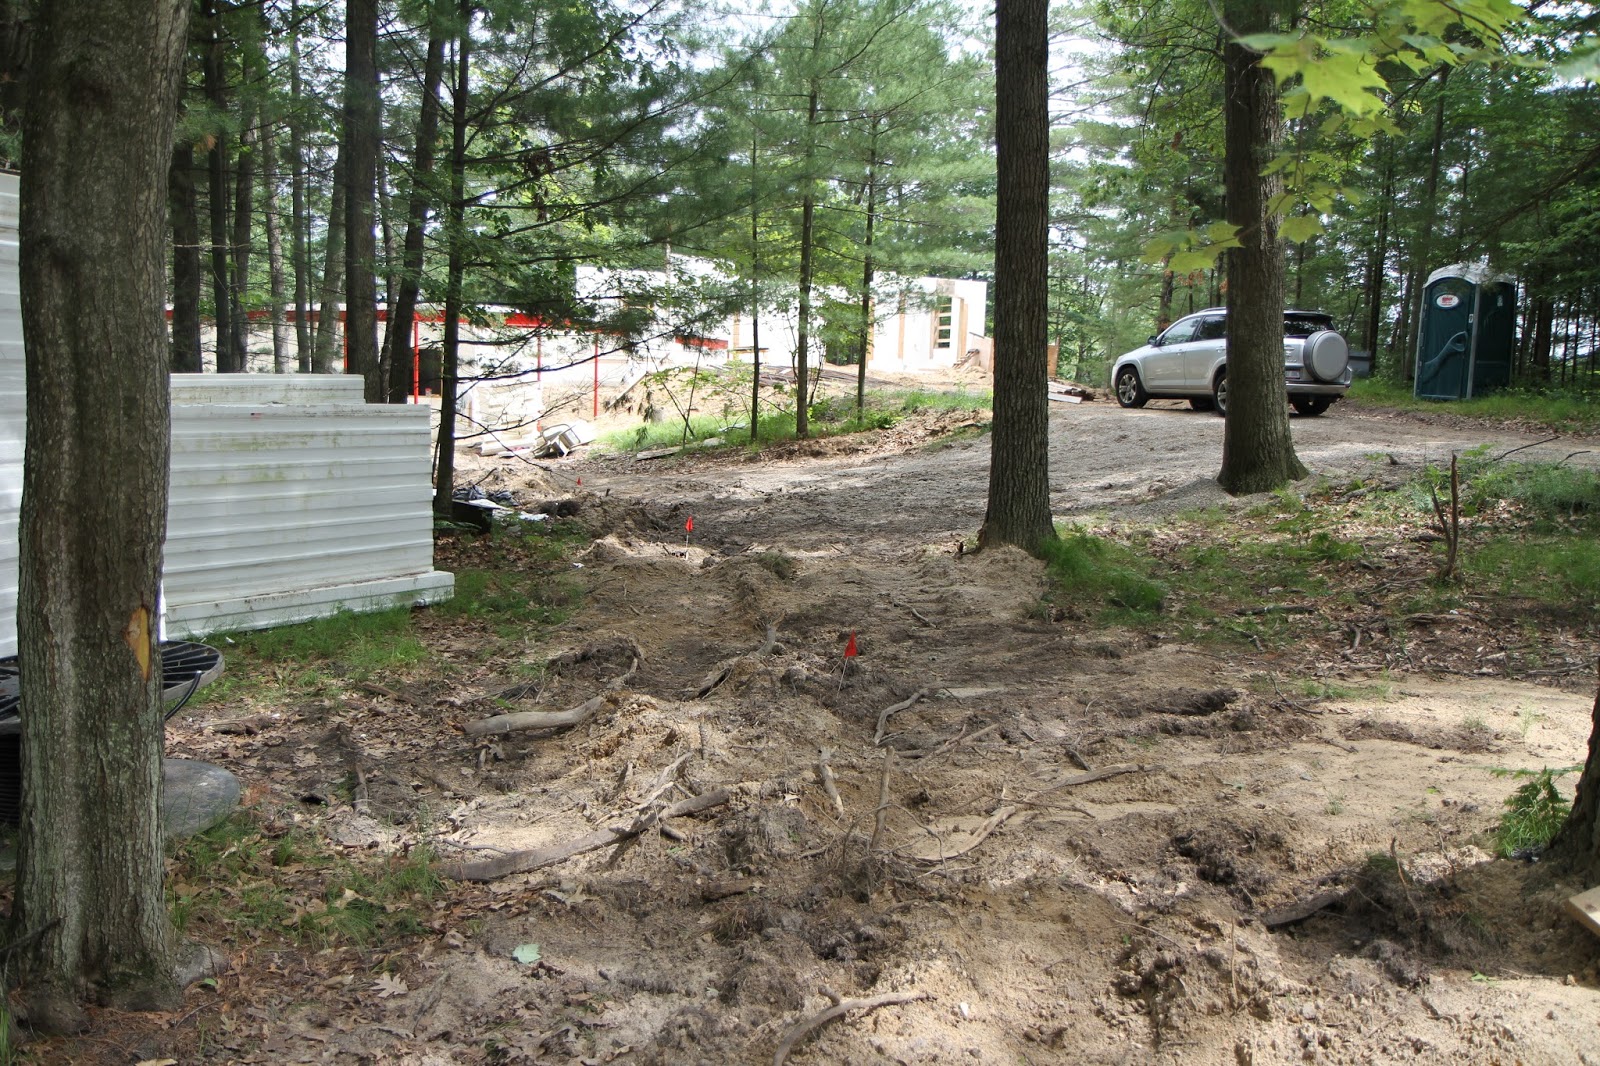
   Shot of the driveway.  The sand on the left is all that's left of the trenching process.  Maybe when we level this, we'll be able to flatten out the mounds and have some space on the sides of the driveway.

   Approach to the house.  DTE coordinated with Consumers for gas, AT&T for telephone (never going to use it) and Charter for cable.  From what I understand, they're in different depths in the trench with electrical being the deepest.

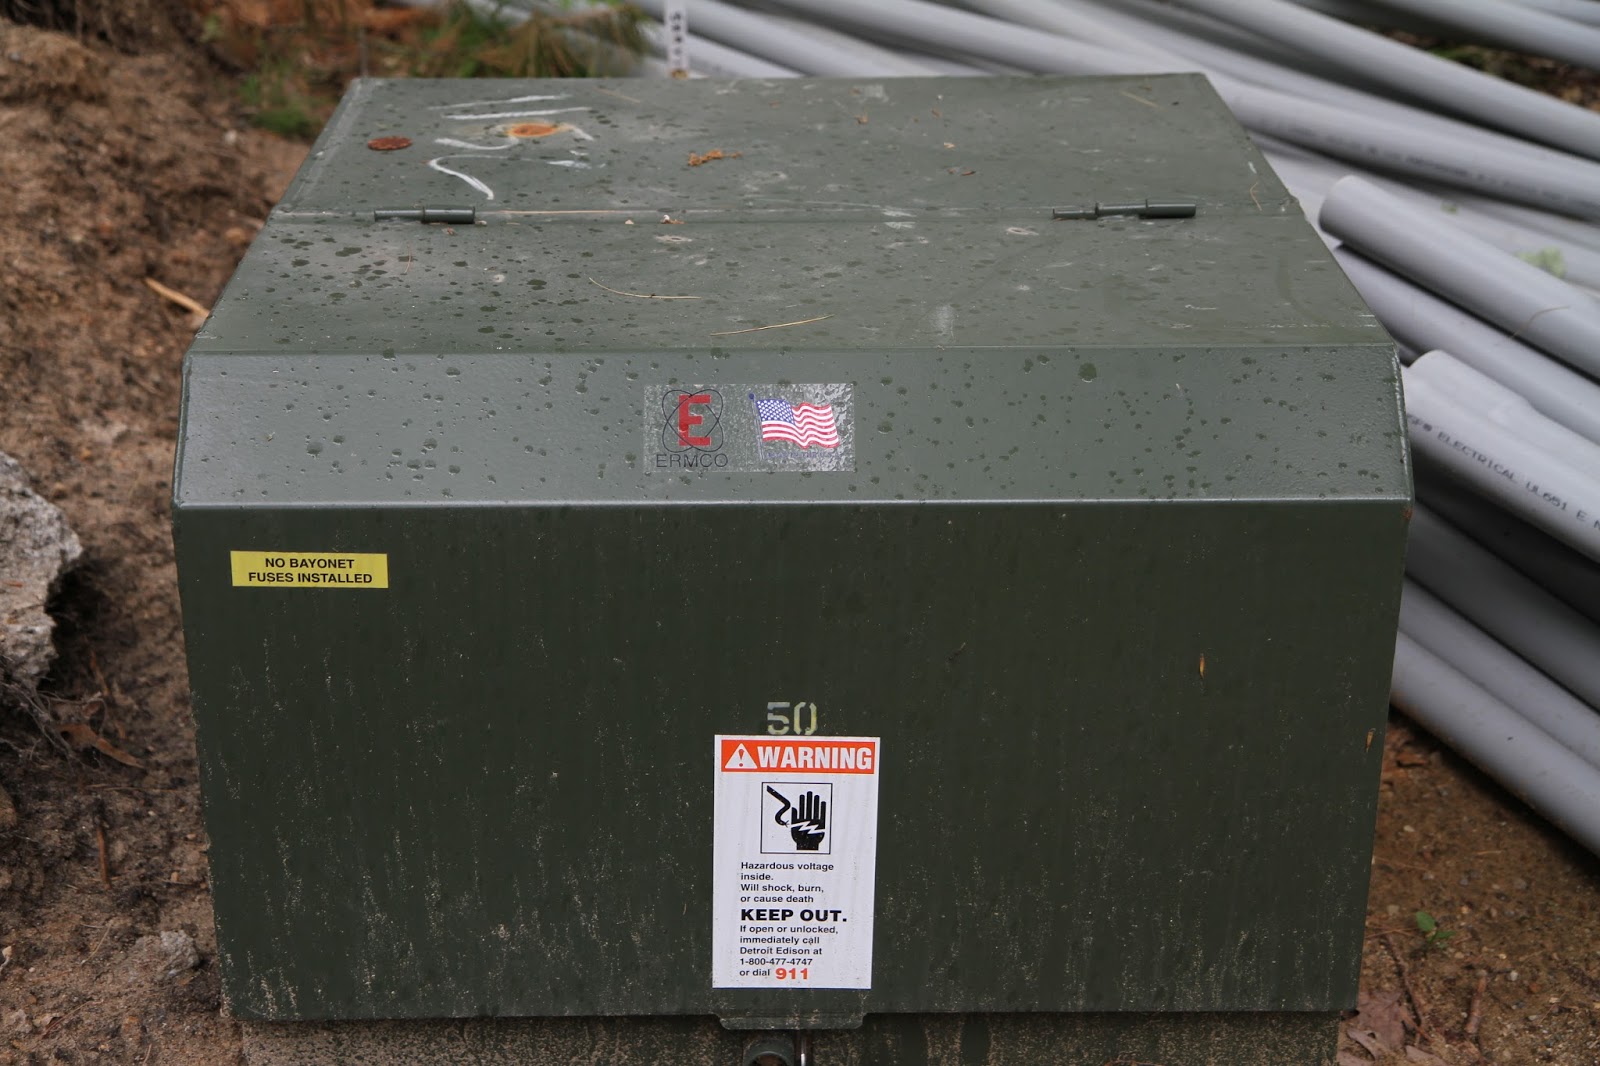
    Here's the ground transformer cabinet and a pylon for telecommunications.  One cable enters the box and two leave to power the house main, and EV charging/geothermal
   You can see some of the coaxial on the left of the picture.  The core was about 18 gauge and there was probably a 1/4" of insulation surrounding it.  Very hefty coaxial.  I couldn't find evidence of it leading to the house, but it will probably be installed later with a trenching machine.

  Here's the top of the telecom pylon.  I'm guessing both AT&T and Charter goes in here, ready to be connected to the house.

    Here's the path through the "Front yard" that the trenching took.  I think they dodged enough tree roots to not cause any major damage.  We really want to keep all these trees.


  The power is connected but the meters aren't in place.  You can see that one line goes to the house main on the left and one goes to the joint boxes for EV and geothermal on the right.  The DTE coordinator said that the meters should go in this week and we'll finally have power on site.
  Here's the mega gas meter.  The pipes are way larger than what I have at my current house because we said that we're going to be installing a back up generator and possibly a pool heater.  It sits on the corner of the house, under the turret/porch.  There will be a retaining wall coming off this corner.

   The crew took this "down time" and painted all the steel with rustoleum.  You can also see the exterior course of ICF that was added to the first floor.  This will allow the first floor concrete pour to go to the exterior ICF and tie in with the rebar spikes in the basement walls.  The first floor ICF walls will also tie into these rebar spikes, so the whole structure will be tied together.

    No pouring in the basement, but all the beams and posts are painted.

   I can't wait until there's some concrete in here.  I think everything has been accounted for.

 They started installing some of the LiteDeck that will go on the back porch and gazebo.  They also constructed a short retaining wall in the unconditioned storage space that will be under the deck.  The area on the right will be full height, around 7 feet.  There will be 3 feet from the top of the wall to the ceiling.  This will allow for some longer items to be stored under the gazebo and deck on the left.

  Here are the two kinds of rebar that will be used in the LiteDeck floor.  Two of the thicker pieces on the left will be placed in the "beam" areas of the floor.  They're about 5/8" thick.  The thinner will be placed in a normal grid on top, in the slab and are about 3/8" thick.

Hopefully the "as is" building permit will be approved soon and we can get the basement pour in before July 4th.

Sunday, June 7, 2015

Basement prepped for pour. Electrical starting up.

I was greeted by this welcomed site:
DTE has cordoned off the area around the power stub next to the driveway.  This is the head point where most of the utilities (cable, power, gas, telephone) will originate from.  You can see the flags for AT&T in the background, leading up to my neighbors driveway.


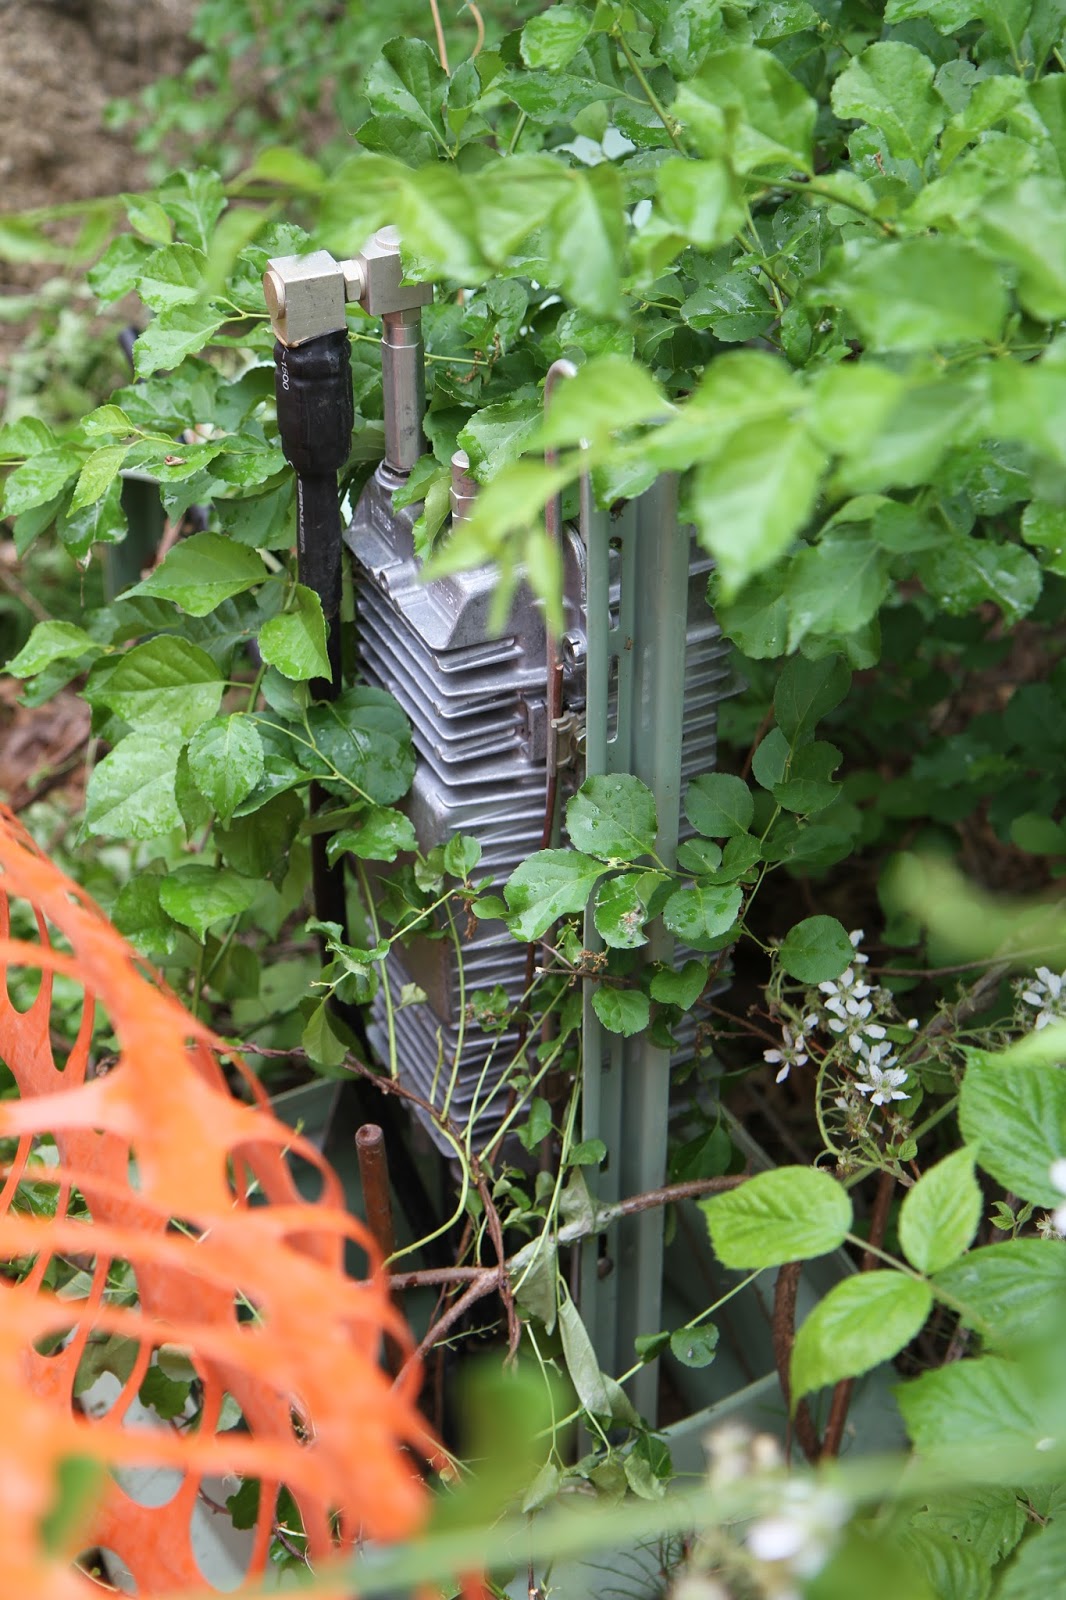
Here's the pylon for something.  It's a thick cable and I always thought it was for the power until I saw the thing sitting next to it.

I'm not sure I noticed this before, but it was probably covered by a cylindrical plastic cover.  I'm not sure what it is, but it looks much more "electricy" than the other one.  Maybe there are two power pylons in this area.
 Here's further down the driveway, closer to the house.  It's where the 50 KVA cabinet will go.  I was told there would be one cable coming into it, and two coming out that will hook up to the two meter boxes on the house.  One for main house power, one for geothermal and electric vehicle.

 That's the pedestal for the power cabinet.  My guess is that it's going to be sitting on the wood.  I'm not sure what all the trenches are for, especially since they're not deep enough to run utilities in.

Here's a closer shot of the cabinet.  I know there are some interesting workings on the inside, but I didn't open it up.

 Here's the conduit that will be run.  I'm not sure if this is just for the section that crosses the designated conservation area, or if this will run from the cabinet to the house.  There's a good amount sitting here, so I think it will be used in a few places.


 They did some work leveling a ramp to the main garage door and filling and leveling the inside of the garage.  There were tracks through the back door and back yard.  No barrier around the big oak tree in the back.  I think they used a small bobcat so the weight shouldn't cause too much distress and soil compaction on the tree roots.

 They used some of the fill sand in this area for the garage and maybe the basement.  There's a bit more they can use up against the greatroom wall since we'll be putting in the access doors to the area under the deck there.

 The basement has been prepped for concrete and is awaiting inspection to pour.  You can see the light rebar grid that sits on the plastic sheeting.  Underneath that is 3" thick expanded polystyrene foam sheets for insulation, on top of pea gravel drainage.

 Here's the area where the stairs will come down.  Since it carries the rotunda shape from 2nd floor to basement, it was decided that there needs to be a concrete pad poured to carry the weight.  This and the elevator shaft seen in the back left are the only two structures that will support beams all the way to the 2nd floor.

 Here's a close up of the layers in the floor.  This is the sill for one of the walkouts and you can catch a glimpse of the ICF wall foam.  The gravel is an example of the pea gravel used for drainage and it was placed on top of the native sand.  The white is the 3" EPS foam used for insulation.  The black plastic will prevent any material float from getting to the concrete slab and the rebar grid will be impregnated in the concrete slab.

 The slab carries into the elevator shaft.  There's a pad under here anyways so there's no way to have a pit here.  Would have been a great hiding place.

 Here's a shot backwards, looking at the workout room.

The slab will be about 3" thick so the windows will be about 33" above  the slab.  Floor to ceiling will be 9'9".

Here's what has been built so far.  Nothing new on the outside, but hopefully soon...