
Nothing is sweeter in the house building business than those lovely green stickers. Previous rough inspection stickers were just put on the sliding door glass, but this one was placed on the EV charging panel. There are three panels in the basement so I'm not sure why they decided to put it on that one, but I'm happy it's there. The electricians got the EV charging circuits installed so I called DTE to have the PEV meter installed. That will happen on the 22nd.

Here are the two circuits in the EV panel. The top double breaker is 80 amps and powers the dedicated Tesla wall charger. The lower is a 50 amp circuit and is connected to the NEMA 14-50 socket in the garage. It can be used to power a welder, or any other car charger. The 80A on the Tesla charger means that with an expected 10% drop, I'll be getting 72A at the plug, which is exactly what my car can charge at outside of the Superchargers. The 50A is similar to what I have currently and charges at 40A in my car.

Here's the installed NEMA 14-50 socket in the garage. There a local cutoff switch but it's not as convenient as a throw switch. I won't be using this on a daily basis for charging, but we have the option to use it if we ever get a second electric vehicle.

Here's the dedicated Tesla wall charger that I'll be primarily charging on. I'll have to get some cable management installed since I won't always be using the full length of the charging cable unless I back into the garage. With the circuit at 80A, I'll get 40 miles of charge per hour so my daily commute should charge in one and a half hours. I did specify a 100A circuit and Mike confirmed that the wire installed can handle 100A so we'll have the electrician swap out the breaker for a higher amperage, which will net me about 45 miles per hour of charge.

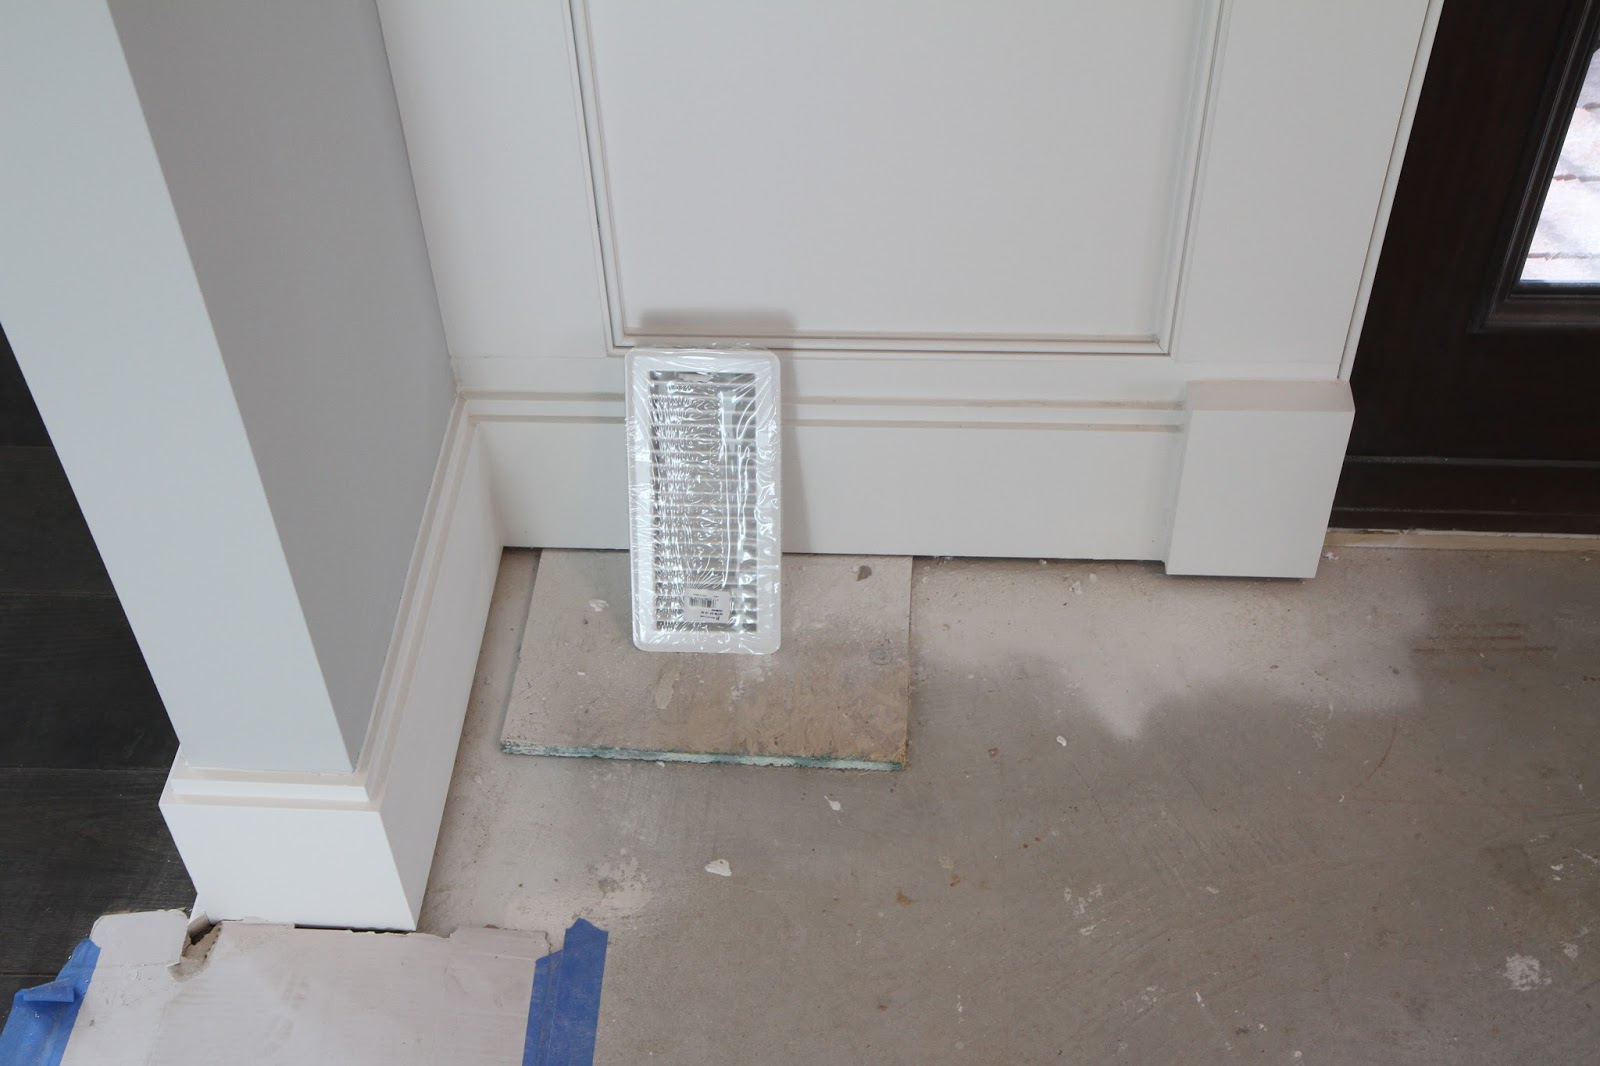
This metal vent was sitting on the board that's blocking the heat duct in the foyer. The tile for the foyer has arrived so we should be expecting the tile installers to come in one more time to finish grouting the back splashes and install the foyer tile. There's still some design decision needed in the foyer. We're pretty sure we want the interface between the foyer and rotunda to match the curve of the rotunda, but Mike was trying to convince us to make the interface straight. Straight makes some sense, since the transitions between the office and dining room to foyer is straight. Unfortunately, there isn't a straight line across the rotunda, so the tiles will need to be cut to make the pattern square. A curve will automatically take up that correction. That will be decided this week.


The remainder of the hardware has finally been delivered to the house so we'll finally get the full hardware implementation. We were missing handles in the master bathroom, guest bathroom, and some in the kitchen. These are the handles being installed in the guest bathroom. I couldn't remember what handles we chose for this room, but the probable reason why they were delayed was because we wanted the two-tone look to match the floor tile. They're a clean and simple handle, and will look nice in this bathroom.


Now that the microwave drawer plug is installed, the microwave drawer finally has power. We've never had a drawer style microwave so it will be interesting to see if it's more or less convenient to put things in from above rather than take them out from the front. The drawer opening and closing is powered, actuated with a touch surface press. All buttons are on the front, so there is a small element of bending over a bit to read the buttons but the timer is pretty clearly visible from the standing position. We don't generally use all the built in cooking features in our current microwave, so I'm not sure how useful these features will be in the new one. There's no turntable in drawer units, and generally there isn't a need for it. In counter top microwaves, the magnetron is located in the side of the microwave and the normal wavelength for the microwave is about 5 inches. That means that across a standard plate, the amount of energy imparted varies within 5 inch increments, which is why you can have hot and cold spots in dish cooked in a microwave. A turntable will rotate the dish moving the food in and out of these varying locations, allowing the energy to be imparted more evenly. The magnetron in drawer style microwaves is located in the top, pointing down. This means that, unless the food you're heating is greater than 5 inches deep, you'll get a fairly consistent heating across the width of the dish, and more variation from top to bottom. Since food on a dish is relatively thin, there's less variation in temperature across the cross section. Sorry for the science deviation. The drawer opens fully in about 3-4 seconds which seems slow enough to not spill soup. I think it will be pretty convenient.


An unexpected design change again. The electricians replaced the LED puck lights that were installed in the upper butlers pantry cabinets with the LED under cabinet strip lights installed in other locations. I'm not sure why these were changed, but we're not sure we like how it looks. There might have been some voltage issues that prevented it from lighting properly, but we were not notified about the change. They're installed in a very visible location in the middle of the cabinet and while they provide good, even light, they're kind of distracting. I think a better implementation might have been closer to the doors so you don't see the light, and maybe make it shine back into the cabinet for more indirect lighting. I'll have to see what we can change.

Moving upstairs, Distinctive Designs has started installing the shoe molding on the wood floor. They've already finished the installation in the master bedroom and have plenty of pre-painted molding the basement ready to install. There's less to install on the second floor since we don't have a space above the great room, so installation of this should happen quickly, if the wood floor installers can every finish. There was no progress on the wood floor installation this week and they still have the turret bedroom left to finish. Apparently, after needed to order 300 square feet more of flooring, much of the delivery was ordered from the wrong dye lot and had to be returned. I'm not sure who's error it was, but I'm hoping it will be resolved quickly and we can get past this bottle neck.

The triangular piece of tempered glass railing was also delivered and installed this week, completing the railing installation everywhere around the house. This piece was previously measured or cut incorrectly and had to be replaced. I'm happy with the outcome here and really glad we spent the extra money to get glass railing on the master balcony. The view is so much better with glass, especially since it will allow better view from the seated position, which I plan on being in for the majority of my time on the balcony.


Waiting installation is the replacement shower heads for the second floor bathrooms. We replaced the square shower heads after trying them out because they're too much like a rain shower with a low flow and we wanted something with a a higher stream. The plumber will be back this week to install four shower heads on the second floor. I don't think there's anything else left for them to do in the house so we're all set for the plumbing inspection.


Well, that's about it for this week. Next week should see more Control4 programming, hopefully more wood floor installation, most likely more progress on the shoe molding and touch ups around the house, and probably more tile installation. If we pass the final HVAC and plumbing inspections schedule for this week, the last inspection to be performed will be the final building inspection and we can finally get a COO and move in! Just because we have a COO doesn't mean all the touch ups and floor finishing will be completed, so we'll have to wait for that to be completed, but at least there's no more red tape to cut before the house is ours. It won't be long now!
I am really impressed with this blog post content, Thank you for sharing.
ReplyDeletewe are provide best services in Tesla charger installation
ReplyDelete