This week brought about more incremental progress on the finishing millwork both inside and out as well as information about the timeline in the near future. We got a short visit to the house today before running all our other weekend errands. The deck installers were working the Saturday, applying more fascia. More of the porch columns were finished, with an expected completion this week so the painters can come back and paint them. Millwork on the rotunda is almost done with just a few bead details remaining to be installed. Parts for the dining room ceiling are on site and will probably be installed and finished in the next couple weeks. Things are moving forward into August, but I'm getting anxious about meeting the August deadline. Can all the finishes be installed in one month? I guess we'll find out!

The deck installers were just off frame, working on the porch to the left of the front door. They're working on installing the fascia and have completed the highest part here. The two lower pieces still need to be installed and the red beam will finally be hidden from the front. It will still be visible from the lower elevations so I might get under there some day soon and paint it black. The lower column wraps haven't been installed yet, and I think they're waiting for the fascia to be installed before they finish them off. They were just about done with the part they were working on, so this will probably be finished this week.

Mike Perri's carpenter, also Mike finished installation of the post wraps on the side porch completely. including the small cove pieces so these are ready for primer and paint. They're complete all the way around the corner, so it's just those in the round part and below to finish and all the exterior millwork and woodworking will be done. I guess the gable pediments still need to be painted and mounted, but that will probably happen once all the interior millwork is completed.

Here's a close up of the panel detail on the columns. The sides front and back have one panel, but the sides have two, as pictured here. I'm interested to see how it's prepped before paint because I'm not sure if all the corners will be caulked, like the rest of the house was. I think they would need to be, just as the nail holes will need to be filled; a tedious job. The painter is expected to come back within the next couple of weeks to shoot the posts so hopefully the interior millwork will be completed so he can quickly move on to painting the interior.
Here's a close up of the corner pillar at the back of the house. The sides of the pillar are divided so the top rail of the railing has a solid place to attach to. It was probably possible to keep the single panel design and attach the railing to the flat inside the panel, but doing it this way provides a more refined look and gives more thickness for the attachment hardware to drill into.
Moving inside, Distinctive Designs started installing the lower pieces of the corner bead to the rotunda paneling. It's probably easier to install the parts on the stair riser since the radius is lessened due to increasing elevation. I didn't see any corner bead installed on the panels on the inner radius. That's the area with the greatest amount of curve so how they pull that off remains to be seen.
Here's a look at the entire panel, first one finished in the rotunda. Progress is a little slower than I thought it would be in here, but it seems like the slow down is on the most fine details. There's not much left to complete in the rotunda besides the railing installation so once this is done, the painters can come in. All the stair components will be stained to match the floor, and the wall panels will be painted white to match the panels in the greatroom.
The rotunda floor border/halo top was finished further this week with the joints and nail holes filled. They also laid out the rotunda railing where it will be installed. I'm not sure if they're planing on doing this soon but it's the first time they had this here so it must mean something. The three balusters are still in the turret room but I'm wondering if there needs to be some other support as you go around the rotunda. Maybe the stainless steel balusters will provide enough support.
The two short sections of railing were installed on the greatroom overlooks. The same balusters will be installed here as on the rotunda railing. The floor lip was also installed here, making me wonder how the baluster will be installed. I didn't think to look at the underside of the railing to see if they pre-drilled for the baluster insertions . If they did, it might be possible to insert each baluster then secure them down.
Here's a close up of where the railing attaches to the wall It looks like there was a hole already filled with a plug and there's still one drilled out. There's a screw going towards the wall so I'm not sure what that other plug was for, nor am I sure what this hole is for. Both sides of the rail have the hole, but not the plug. Hopefully the plug won't be too visible when this wood is stained.
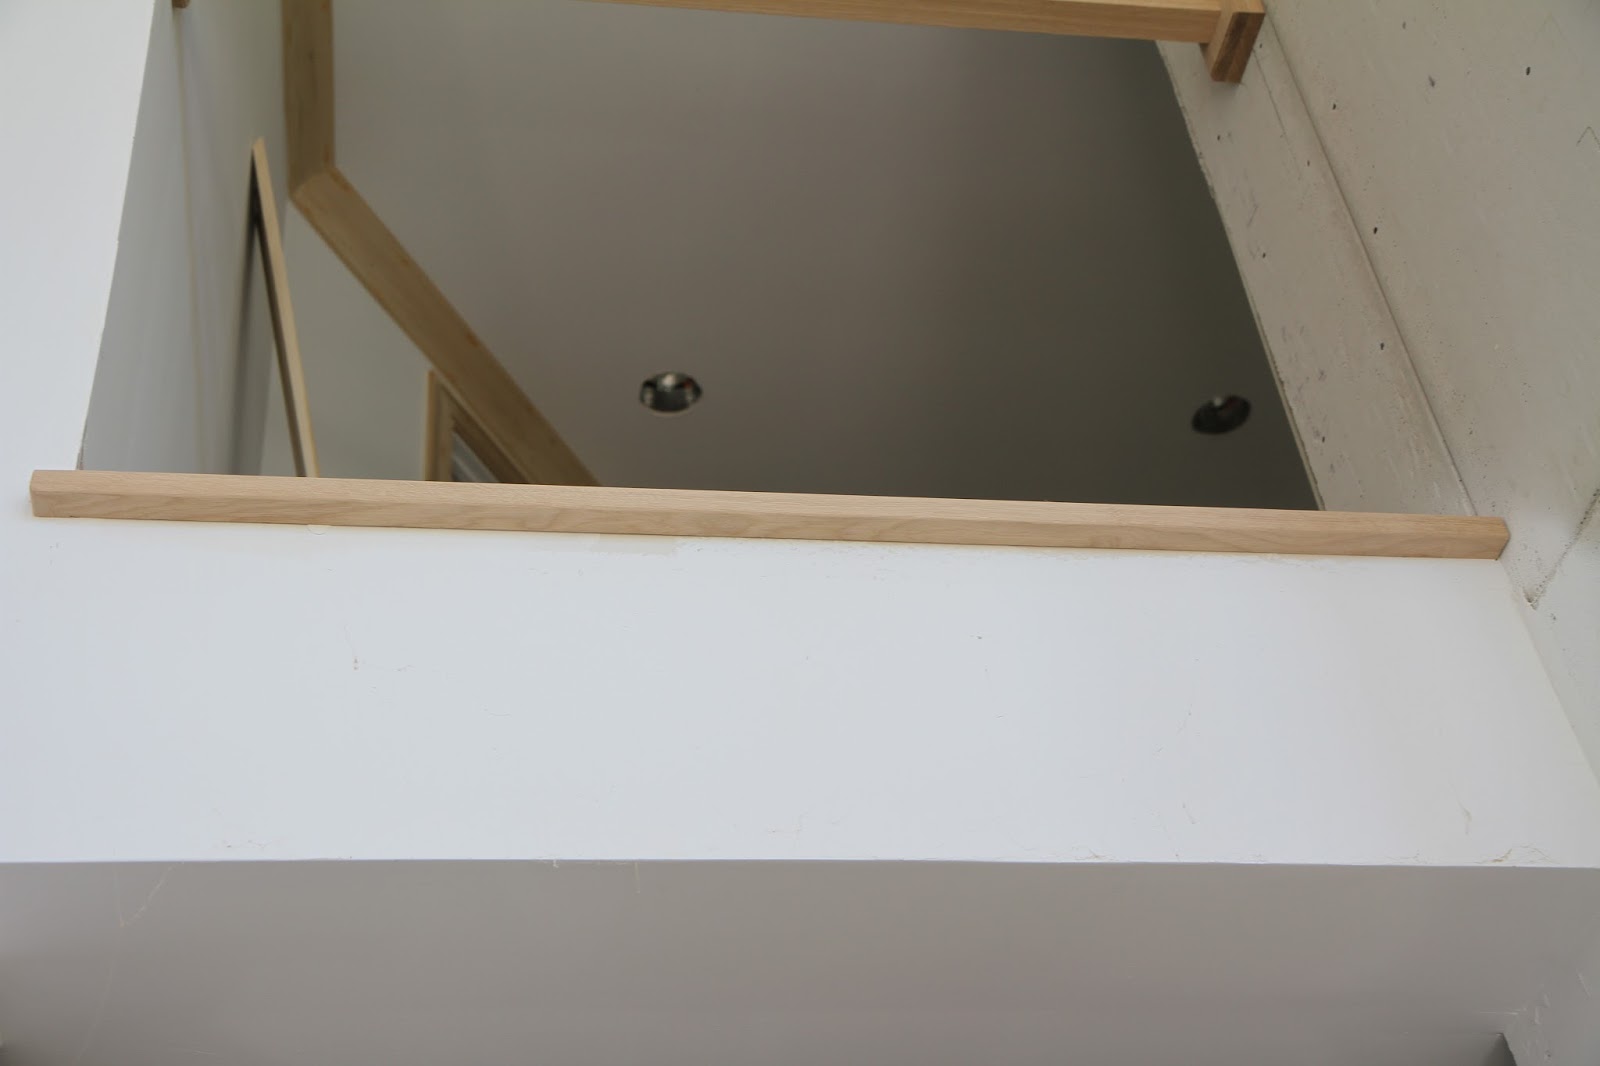
Here's the floor border/lip that's installed on both of the greatroom overlooks. Nothing too special about this, other than that it's a piece of wood installed on a concrete floor without any visible face screws. It's close to the walls on both sides and on the left will be some baseboard molding with the right being covered by the fireplace stone.
Here's that same lip from below You cans see the railing doesn't have any holes for the balusters so I'm not sure how they'll be installed. If I recall correctly, they might be hollow tubes so there might be a keeper that fits inside the tube that can be installed to hold the baluster in place.
The railing in the basement stairwell has been installed. It's very solid with no wiggle or vibration so I think it will work out well forever. I'm not sure how much will be finished on the basement stairs as there's a fairly large gap between the stringer and drywall. I'm hoping that will at least be finished nicely and we can figure out if we want anything fancier done at a later date. I'm not sure if the railing will need to be removed to stain or if the walls still require some paint.
Tile is still slowly moving forward with the grouting of the guest bathroom. I can't remember if there was supposed to be corner shelves in here. There are two sitting in the guest closet and the only other shower that might need it is the mudroom shower. This one is grouted now, so it seems like an odd install sequence to add it now.
Last week, the floor was covered with a protective piece of cardboard so this is the first time I'm seeing the shower tile installed. The drain will have a square grate and of course this is a zero threshold shower; the only one in the house. We'll have to figure out shower curtain/glass after we move in. We'll probably just put up a curtain for now and get glass when we can.
Here's a close up of the grout color and job that was done this week. Back when we were picking out tile colors, we also decided on grout colors and I think there were a few different whites to go with. I couldn't tell you the color now, but it looks white and clean, so I'm happy. They did a great job with the grout, even with the more 3d tiles.
Here's a look at where the floor tile on the right meets the shower tile on the left, and the slight ramp up into the shower. This increase in height was needed so that the shower could slope towards the drain, without having to slope the entire room. Should water escape the shower, it will flow down into the room more, but that shouldn't be a problem since we don't have any wood until the base cabinet. The pipe is for the toilet water supply.

A few more courses of tile were installed on the fireplace column, but progress stopped at the fireplace itself. I'm not sure if they needed more information or are waiting for the metal to be created before moving forward. A thin piece of wood is sitting where the metal will go, that might be used as a spacer for the tile installation. Mike said that this tile requires a lot of labor to install since they couldn't miter the corners. The stone crumbles too much when you cut it too thin, so they are alternating the face edges on the corners and polishing the cuts. Luckily, most of the other tile in the house is completed, so they can spend some time here.

I found a piece of the floor tile for the mudroom and mudroom bathroom. It's a little dirty with drywall dust, so ignore the white streaks. It's a gray tile that feels similar to slate, and we're using a 2'x2' format, which felt much larger than I anticipated. There were a few boxes of the tile, so I'm guessing this is next to be installed.
A piece of wood was mounted on the second floor fireplace. It's the exact size as the beam will be so don't think it's the actual mounting plate, but rather a place holder for the actual beam. The tile installers should be able to apply the stone right up to this piece and the beam mantle will mount on another piece. I think it will be quite some time before the stone gets up here so that gives
Lars some time to complete the mantle.
Left over tile is being labeled and stored in the second bedroom on the second floor. There are three or four stacks of spare tile for the rooms that have already been completed. I'm not sure if we get this in the end, since we already paid for the materials. It might be nice to have a few extra pieces if something should become damaged. If we do get it, we'll probably just end up storing it in the basement forever.
The last picture in this update comes from the butlers pantry. These odd circular pieces of MDF are what will be the ceiling detail in the dining room. We've gone through a few design iterations for this ceiling, from tray to panel to this. It's supposed to mimic the old plaster ceilings, but this will look a bit more modern with cleaner lines and fewer profiles. We've had to also modify the design to accommodate the large mounting plate for the
dining room light we wanted. It is one of the first rooms you'll see when you come in, so we're really trying to dress it up.
That's it for this week. I got some dates on upcoming tasks so the next few weeks should provide a flurry of activity. Old Country Stone has all our bluestone at their yard and they're cutting the seats for the gazebo, so they should be out in a week-and-a-half to two weeks for installation. Excavation and grading should begin this week, but Great Oaks Landscaping is coming in on the 8th to install two necessary retaining walls. The porch posts should be completed this week and we're expecting delivery on the last two exterior doors. Next update should be pretty interesting as we get closer to the beginning of August and the end of the build. 5 more weeks!


No comments:
Post a Comment