Tuesday, January 16, 2018

Final Electrical Inspection Passed

   After a brief thaw of 50F during the week with a good amount of rain, winter returned to freeze all the precipitation into a dangerous icy sheet.  The once cleared driveway is now a treacherous sheet of ice under a crunchy layer of snow.  Mike called someone out to plow the snow off, but it didn't look like they could penetrate the ice.  Temperatures are dipping down into the single digits at night and barely breaking double digits during the day so salt is useless.  Despite the ice and cold, progress continues in the house as we push towards the finale.  The first step of the final four steps has been completed, a passing final electrical inspection.  Next week will be the plumbing and HVAC final inspection.  After all the touch ups and installations are completed will be the final building inspection after which we'll obtain our COO and can move in.  It's getting real folks.


   Nothing is sweeter in the house building business than those lovely green stickers.  Previous rough inspection stickers were just put on the sliding door glass, but this one was placed on the EV charging panel.  There are three panels in the basement so I'm not sure why they decided to put it on that one, but I'm happy it's there.  The electricians got the EV charging circuits installed so I called DTE to have the PEV meter installed.  That will happen on the 22nd.


   Here are the two circuits in the EV panel.  The top double breaker is 80 amps and powers the dedicated Tesla wall charger.  The lower is a 50 amp circuit and is connected to the NEMA 14-50 socket in the garage.  It can be used to power a welder, or any other car charger.  The 80A on the Tesla charger means that with an expected 10% drop, I'll be getting 72A at the plug, which is exactly what my car can charge at outside of the Superchargers.  The 50A is similar to what I have currently and charges at 40A in my car.


   Here's the installed NEMA 14-50 socket in the garage.  There a local cutoff switch but it's not as convenient as a throw switch.  I won't be using this on a daily basis for charging, but we have the option to use it if we ever get a second electric vehicle.


   Here's the dedicated Tesla wall charger that I'll be primarily charging on.  I'll have to get some cable management installed since I won't always be using the full length of the charging cable unless I back into the garage.  With the circuit at 80A, I'll get 40 miles of charge per hour so my daily commute should charge in one and a half hours.  I did specify a 100A circuit and Mike confirmed that the wire installed can handle 100A so we'll have the electrician swap out the breaker for a higher amperage, which will net me about 45 miles per hour of charge.

   The singular dome light was installed above the rear garage door.  It had to be lower profile than the other LED shop lights because of the garage door clearance.  Looking from the ground, it doesn't seem like there would be an issue with ceiling clearance, but Mike said the LED shop lights installed around the rest of the garage couldn't fit in the space between the door and ceiling when it was open.  There's more than enough light, but the dome will help illuminate the space a little bit more.


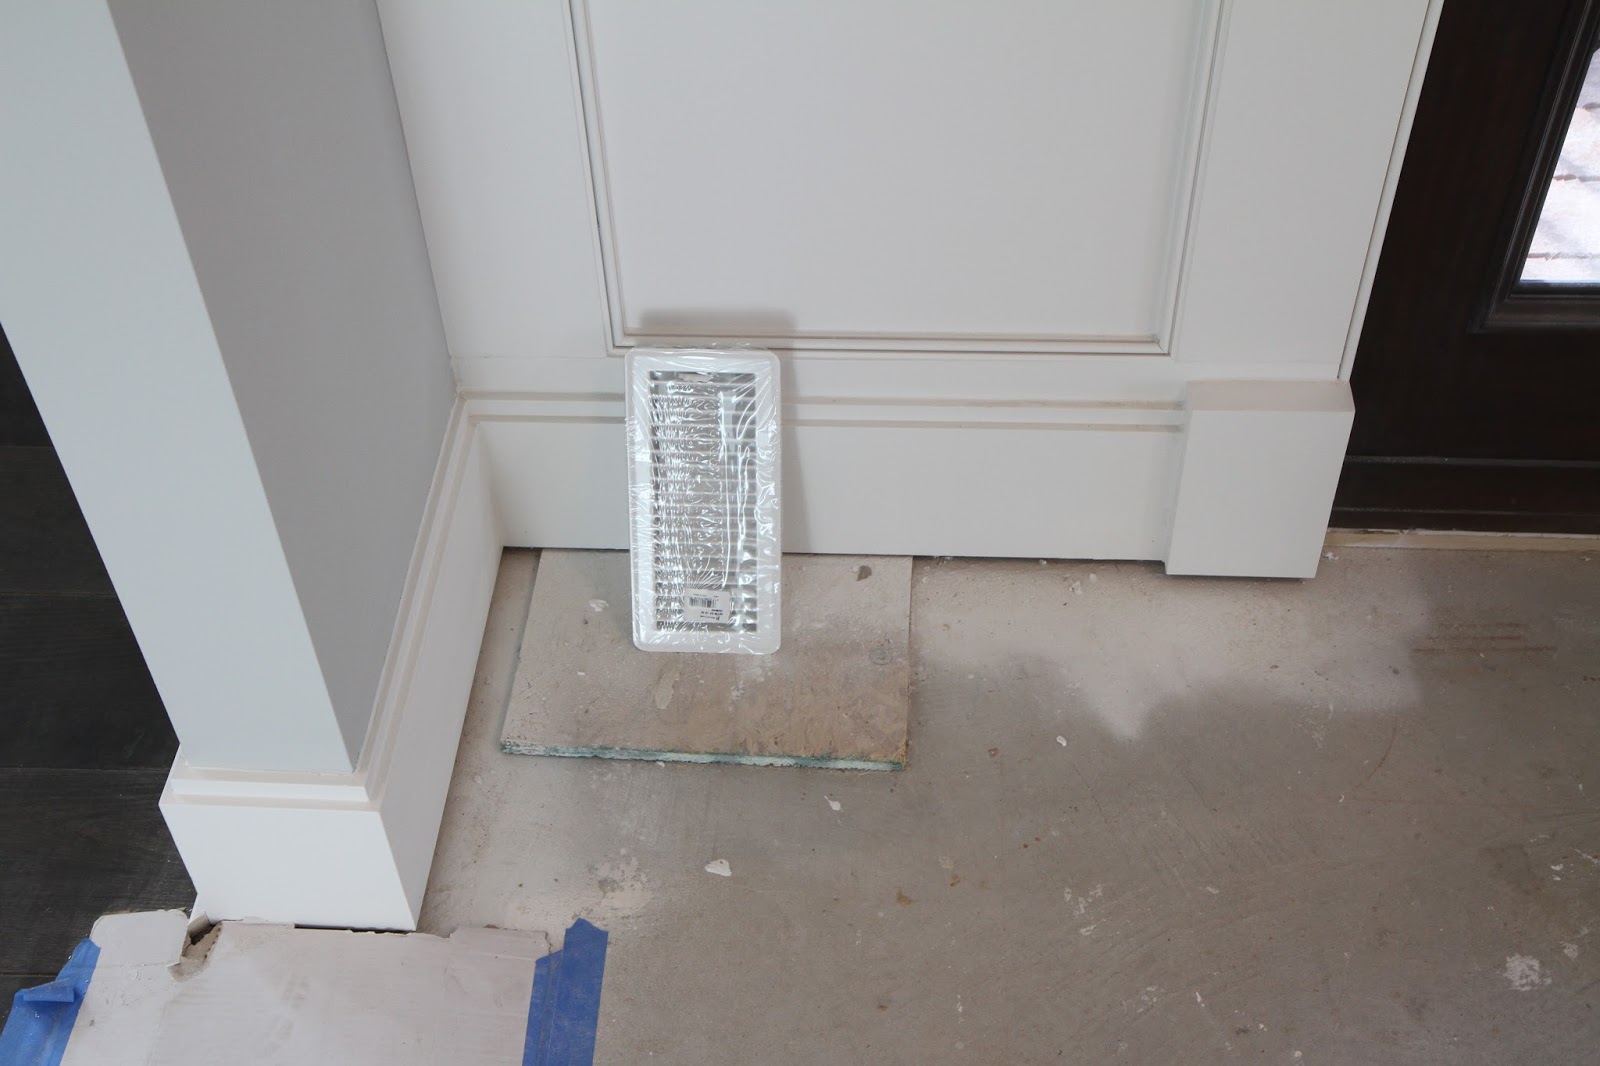
   This metal vent was sitting on the board that's blocking the heat duct in the foyer.  The tile for the foyer has arrived so we should be expecting the tile installers to come in one more time to finish grouting the back splashes and install the foyer tile.  There's still some design decision needed in the foyer.  We're pretty sure we want the interface between the foyer and rotunda to match the curve of the rotunda, but Mike was trying to convince us to make the interface straight.  Straight makes some sense, since the transitions between the office and dining room to foyer is straight.  Unfortunately, there isn't a straight line across the rotunda, so the tiles will need to be cut to make the pattern square.  A curve will automatically take up that correction.  That will be decided this week.

   The electricians reinstalled the foyer sconces after finally getting them repaired from the manufacturer, and after replacing the glass that the painters broke.  Unfortunately, one of the sconces was returned without the chrome metal stem.  They also installed the hanging light in the barrel vault on the front porch, but I forgot to take a picture of that.  All the worry about the height of the light was for naught as we don't have any friends that would ever bump their heads on the light.

      The pucks in all the art alcoves are connected to the Control4 system and functioning.  We've had some issue with the installation of these pucks.  We were hoping that they could be installed more flush, or recessed into the box a bit.  We had to have the electricians adjust them because the installation hole was put on the front of the installation.  Also they're not perfectly flush against the box ceiling so they don't look great.  I'm hoping it will be fixable.

   A few pieces of walnut quarter round is being stored in the great room.  I think these will be used for the shoe molding around the kitchen island and butlers pantry cabinets so they match the cabinet materials.  There isn't a lot and those are the only two areas where walnut cabinets touch the floor.  Distinctive designs is hard at work installing the remaining shoe molding around the house.

   The wood vents were installed on the first floor in all the floor vent locations.  We've had these stashed away somewhere, but they were in the raw wood form.  Now they're stained to match the wood floor color and secured in place.  The first floor is the only level with in-floor vents since the second floor and basement have in ceiling ducts.  The vents don't seem to impede the air flow much and they're not closeable, which isn't a good idea anyways.


   The remainder of the hardware has finally been delivered to the house so we'll finally get the full hardware implementation.  We were missing handles in the master bathroom, guest bathroom, and some in the kitchen.  These are the handles being installed in the guest bathroom.  I couldn't remember what handles we chose for this room, but the probable reason why they were delayed was because we wanted the two-tone look to match the floor tile.  They're a clean and simple handle, and will look nice in this bathroom.

   The stainless steel panels were finally installed on the fridge and freezer columns this week.  They're still protected with a black sheet of plastic, but cut outs were made to fit the handles and other access points.  One of the panels arrived damaged, but since the installers that Mike hired to set the appliances are Wolf/Viking certified installers, they could quickly obtain a replacement and warranty their installation.  I'm not sure if it's up to us to remove the film or if Mike will remove it when there's no more risk of damage.  I wouldn't mind removing all the film.  The fridge and freezer are currently operational, but turned off.  I haven't tried running the filtered water but I'm assuming both the water and icemaker are hooked up properly.

   The electricians finished installing the wall receptacle plates in the kitchen.  We went with a white plate that was devoid of any face screws for a cleaner look.  We have sockets installed at a good interval so we shouldn't have any issue with power.  We considered installing power strip under cabinet things, but decided against them.  They may seem convenient because you can install power where ever you want and aesthetically they get rid of the plates on the walls, but we didn't like the idea of having to bend down to look under the cabinet just to plug something in.  We're not planning on having anything permanent plugged in and sitting on the counter top so the number of plugs we have installed should be just fine for us.

   To be installed next week, the air switch for the garbage disposal is sitting near the sink.  PMP stone is supposed to come back this week to drill the hole this switch will be installed in.  It's an air switch because pressing the button pushes air in a tube connected to the electrical controller for the garbage disposal.  I'm not sure why this needs to be an air switch, but I suspect it has to do with electrical switches in the surface of a wet location.

   Other electrical installations were completed in the kitchen.  This plug was installed at the end of the kitchen island, closest to the sink.  The microwave drawer in the island is the only thing that will be plugged into this and it's fairly inaccessible and not convenient to plug anything else into.  I'll have to take a look at the breaker panel in the basement to see if this is also tied into the island receptacle on the other side of the island and I suspect they are.  A microwave doesn't pull enough current to warrant it's own breaker.


  Now that the microwave drawer plug is installed, the microwave drawer finally has power.  We've never had a drawer style microwave so it will be interesting to see if it's more or less convenient to put things in from above rather than take them out from the front.  The drawer opening and closing is powered, actuated with a touch surface press.  All buttons are on the front, so there is a small element of bending over a bit to read the buttons but the timer is pretty clearly visible from the standing position.  We don't generally use all the built in cooking features in our current microwave, so I'm not sure how useful these features will be in the new one.  There's no turntable in drawer units, and generally there isn't a need for it.  In counter top microwaves, the magnetron is located in the side of the microwave and the normal wavelength for the microwave is about 5 inches.  That means that across a standard plate, the amount of energy imparted varies within 5 inch increments, which is why you can have hot and cold spots in dish cooked in a microwave.  A turntable will rotate the dish moving the food in and out of these varying locations, allowing the energy to be imparted more evenly.  The magnetron in drawer style microwaves is located in the top, pointing down.  This means that, unless the food you're heating is greater than 5 inches deep, you'll get a fairly consistent heating across the width of the dish, and more variation from top to bottom.  Since food on a dish is relatively thin, there's less variation in temperature across the cross section.  Sorry for the science deviation.  The drawer opens fully in about 3-4 seconds which seems slow enough to not spill soup.  I think it will be pretty convenient.

   The bottom hinge plates of the swinging pantry doors were masked and painted.  There was a can of black paint in the pantry that was probably used on the hinges that were previously silver.  I'm fine with this addition and wouldn't have been offended by either color.  It would have been easier to paint the hinge plates before installing them, but it was some kind of last minute design decision.


   An unexpected design change again.  The electricians replaced the LED puck lights that were installed in the upper butlers pantry cabinets with the LED under cabinet strip lights installed in other locations.  I'm not sure why these were changed, but we're not sure we like how it looks.  There might have been some voltage issues that prevented it from lighting properly, but we were not notified about the change.  They're installed in a very visible location in the middle of the cabinet and while they provide good, even light, they're kind of distracting.  I think a better implementation might have been closer to the doors so you don't see the light, and maybe make it shine back into the cabinet for more indirect lighting.  I'll have to see what we can change.


   Moving upstairs, Distinctive Designs has started installing the shoe molding on the wood floor.  They've already finished the installation in the master bedroom and have plenty of pre-painted molding the basement ready to install.  There's less to install on the second floor since we don't have a space above the great room, so installation of this should happen quickly, if the wood floor installers can every finish.  There was no progress on the wood floor installation this week and they still have the turret bedroom left to finish.  Apparently, after needed to order 300 square feet more of flooring, much of the delivery was ordered from the wrong dye lot and had to be returned.  I'm not sure who's error it was, but I'm hoping it will be resolved quickly and we can get past this bottle neck.


   The triangular piece of tempered glass railing was also delivered and installed this week, completing the railing installation everywhere around the house.  This piece was previously measured or cut incorrectly and had to be replaced.  I'm happy with the outcome here and really glad we spent the extra money to get glass railing on the master balcony.  The view is so much better with glass, especially since it will allow better view from the seated position, which I plan on being in for the majority of my time on the balcony.

   Here's the piece of wood that will be used for a flooring transition between the master bedroom and bathroom.  It's wider than the piece used between the master bathroom and closet, which allows for a nicer foot feel.  It will be stained to match the floor and won't be covered by the door when it's closed.  I'm okay with this implementation and the difference between the closet and bedroom doesn't bother me.


   Waiting installation is the replacement shower heads for the second floor bathrooms.  We replaced the square shower heads after trying them out because they're too much like a rain shower with a low flow and we wanted something with a a higher stream.  The plumber will be back this week to install four shower heads on the second floor.  I don't think there's anything else left for them to do in the house so we're all set for the plumbing inspection.

   A minor note, the switch plate in the master closet was installed, but still needs to be painted to color match to the walls.  It looked like this location was going to be too tight to fit a plate, but they either installed a narrower plate or the install was better fitting than expected because there it is.

   The washer and dryer were hooked up and set in place last week.  There was some water in the washer, so it looks like they run through a cycle to test the connections.  I didn't run the machines, but I did power them up and play with the controls.  They look like they're going to be nice machines and are easy to use.  One snag, the latch on the dryer pedestal is broken and needs to be swapped out.  They open with a push and the broken one isn't latching at all.  Mike would have preferred a new latch, but Witbeck is sending a whole pedestal as a replacement.  It's probably easier to send a whole unit then to order a single part.

   The backsplash tile for the turret bathroom has finally arrived and is waiting to be installed.  We have a meeting on Thursday with Castro, the tile installer, to go over the foyer tile layout so I'm assuming that's when they'll be in to install this tile and grout the other backsplashes.  Mike had to actually go online and hunt this tile down since they discontinued it.  The sheets will probably be cut in half for the actual backsplash height and will be topped with a frosted pencil glass tile.  When this and the foyer gets installed, we'll be done with all the tile installation.

   Well, that's about it for this week.  Next week should see more Control4 programming, hopefully more wood floor installation, most likely more progress on the shoe molding and touch ups around the house, and probably more tile installation.   If we pass the final HVAC and plumbing inspections schedule for this week, the last inspection to be performed will be the final building inspection and we can finally get a COO and move in!  Just because we have a COO doesn't mean all the touch ups and floor finishing will be completed, so we'll have to wait for that to be completed, but at least there's no more red tape to cut before the house is ours.  It won't be long now!


Wednesday, January 10, 2018

Little Progress This Week

   We got to visit the house on another blue sky winter day while the flooring installers were working on the second floor.  Despite the clear skies the abundant sun does little to warm anything with temperatures in the single digits.  Night time temperatures are dipping into the negative territories, so this month will be a good test to see how energy efficient the house really is.   Not much work was completed this week, which is a little expected, but also a little confusing.  I saw trucks there every day this week, but can't figure out what was accomplished.  There was a little progress in the kitchen, but not as much as I expected.  Floors on the second floor progressed a little, but not as I would have thought possible after a few days of work.  None of the tile back splashes installed in previous weeks were grouted.  It's like we're reaching the limit of completeness, but will never reach it.  Hopefully thinks will pick up soon and we can really think about moving.


   The cold temperatures and nearly weekly snowfalls keep the snow packed hard on the driveway with no hope of thawing out.  I'm resigned to having a snow driveway this winter unless we get a little warm up because I don't think even a snow plow will be able to break through the hard pack ice and snow now.  Maybe if I can get some salt down, we could clear it a bit.  It's not slippery, but  would prefer if it wasn't there.  Two of the flooring installers were at the house when we arrived so at least there's evidence of effort, even if it is slower than I Would want.


   Behind the scenes, work is building up for the electricians.  There are a few other tasks for the electricians to complete but we were waiting on the hardware for the Coppersmith light that will be installed in the barrel vault at the front door.  The replacement for the broken sconce glass was also delivered so I think the electricians will be called back to complete the rest of these installations.  They still need to perform the final hookup of the Tesla charger in the garage and install a NEMA 14-50 plug.  IT seems like they don't like to come to the site unless there's a lot of work, so there should be enough for them to do now.

   Painters tape dot the walls as evidence that we're in the final stretch of building.  Either Mike, the painters, or both parties are placing small pieces of tape on every little blemish to they can be corrected.  Paint drips, dents in the walls and woodworking, missing paint, and cracks that need caulk top the list of things that need to be corrected.  I think this step will come before the final finishing of the floors, then we'll be all done.  We also brought our own roll of tape because Tanja is very particular about how things work and finds many more mistakes than I do.  It will take a few trips to mark everything, but it's an important step in the finishing process.  It's much better to get all the mistakes corrected at once when the painter is on site than to repair things we find later piece meal.

   The chimney on the hood was installed this week, covering the huge, unsightly pipe and all the wires connecting the remote blower to the hood controls.  Although it's not our first, or second, pick for a hood, I think it looks good enough for now and functions well.  The hood chimney had to be wide because the exhaust pipe was large and off centered.  This off centering made the wide pipe necessary and excluded many selections for our hood.  I think if we one day have enough money, we'll purchase our original choice vent-a-hood, and sell this one.

   The cabinet panel was installed on the front of the dishwasher, but the machine itself isn't permanently set into the space and can shift around.  This is probably done so we can get perfect alignment on the surrounding cabinet panels.  I think there's also supposed to be some hardware installed on the front of the panel so it matches the rest of the hardware, but it has yet to be installed.  The panel should be pretty easily removable so the hardware installation shouldn't be difficult.

   The packing material is starting to disappear from the cabinet installation.  This is the first time we're seeing the vertical pull out to the right of the dishwasher.  Since the dishwasher is in the space to the right of the kitchen sink, this places this vertical pull out just one cabinet away from the kitchen sink.  This pull out has one round storage area for spatulas and other tall cooking tools, and two black areas for knives.  There's also a shelf below, but most of the space is occupied by the knife block, so I'm not sure what we'll put there.  I wasn't sure what kind of knife arrangement would be in these things, but I'm pleasantly surprised by what's there.

    The "block" is actually filled with thick plastic bristles, for lack of a better description.  That allows you to put the knife in anywhere you want in the block.  They're packed tightly enough so the knives stay upright and since they're plastic, won't dull or damage the blade in any way.  The actual knife organization is up to you since the knives can go anywhere, but having two blocks will help keep the smaller knives away from the larger ones.

   The panel for the refrigerator was picked up from the store.  If you'll recall, the appliance company didn't deliver the panel when they made the initial delivery.  After some calls and searching, they found it at the warehouse and delivered it to the store for Mike's guys to pick up.  Now that it's in the house, it can be installed on the fridge and we can complete the appliance install.  I have a little concern about the suction power of the hood.  It doesn't feel as strong as I thought it would.  Although I can feel some cool air coming in at the baseboard from the make up air, the relay to open the baffle isn't installed yet, so the pipe isn't wide open.  Porter and Heckman say that the house is so tight, that turning on the hood vent fan will create a vacuum, which is why we're not getting full suction.  I'll test out that theory next time I'm out there by opening the door and turning on the fan.  They might  have the relay installed by then too, so I can test it out that way.

   Progress on the wood floor on the second floor has been slow.  I thought I saw them come a few times this week, but the only progress is to finish the rest of the rotunda walkway.  This section probably takes a bit more time to complete since they need to not only fit the double curve of the wall and railing, but fit the railing perfectly since there's no shoe molding to cover gaps.  Even still, I would have expected much more progress.  Mike said that he tries to push them, but it's a delicate balance right now.  There's more work than workers out there so they all have the option to take other jobs if they don't like the job they're on.  Crappy work ethic, but unfortunately true.  Also, they miscalculated and we needed to order more floor.  That came in, but it we need to order another 200 square feet since some of the delivered material is from a different dye lot.

   Here's a look towards the turret bedroom of the wood floor progress.  They pretty much terminated the hallway runs into the room, right at the threshold, but the courses will run into the room continuously.  It would have been a nice touch if they could have gotten a longer piece from the rotunda into the bedroom, but this is good enough.  As long as there's not a clean break at the door threshold, the floor should look continuous.

   Here's the transition of the wood floor in the rotunda to the laundry room.  No elevation change and no threshold.  This is what we wanted for the whole house and achieved it everywhere but the master bathroom.  This is covered perfectly with a closed door and there's no real crack between the two materials to speak of so it should be easy to clean.

   I found these two light fixtures in the garage, waiting to be installed.  The small dome light on the left is going to be mounted on the garage ceiling above the rear garage door.  There wasn't enough space between the garage door and ceiling to mount the LED shop lights so this will go in its place.  Even without it, there's enough light, but this will get rid of the minor dark spot a missing light will cause.  The one of the right is for the side of the garage and will illuminate the walk around porch when it's installed. 

   That's about it for this week.  I'm hoping next week will bring better progress, but there aren't many tasks left to complete.  We should be getting final electrical inspection this week with final HVAC to soon follow.  Hopefully the tile and flooring installations will progress so we can get done with the final touch ups and get the floor cleaned and waxed.  This feels like it's going to stretch to the end of January now so I'm hoping for a late February move.  The weather is forecast to be in the 50's this week so maybe we'll get some of the snow to melt off the driveway so I can clear it. 

Tuesday, January 2, 2018

Wood Floor Progress

    As I previously suspected, the progress updates from here on out probably won't be as spectacular, but they're still progress towards the finish.  It could also be due to the fact that we visited the site just a few days after the last visit earlier in the week and also that we're in the odd week between Christmas and New Years.  Despite the short work week, we're still seeing progress in the installation of the wood floors and finishing hardware installation.  We took the girls to the house this visit to get in some good snow play time and mock-live in the house.  Mike stopped by, on his birthday no less, to check up on the progress on the house and provide a timetable update.  All the work from here on out is pretty straight forward.  Electricians will be coming back this week to finish everything up and schedule the final electrical inspection.  HVAC and plumbing final inspection will be scheduled soon since all those installations are complete.  The shoe molding on the first floor is almost complete and will be installed on the second floor once the wood floor is completed.  Some hardware and tile is still expected to be delivered in the new year, which will need to be installed before the final wax/oil coat is applied to the floors.  Somewhere before that, we'll need to tag all the paint and wall touch ups.  It seems like the final touches will take a couple of weeks alone but we're almost there.

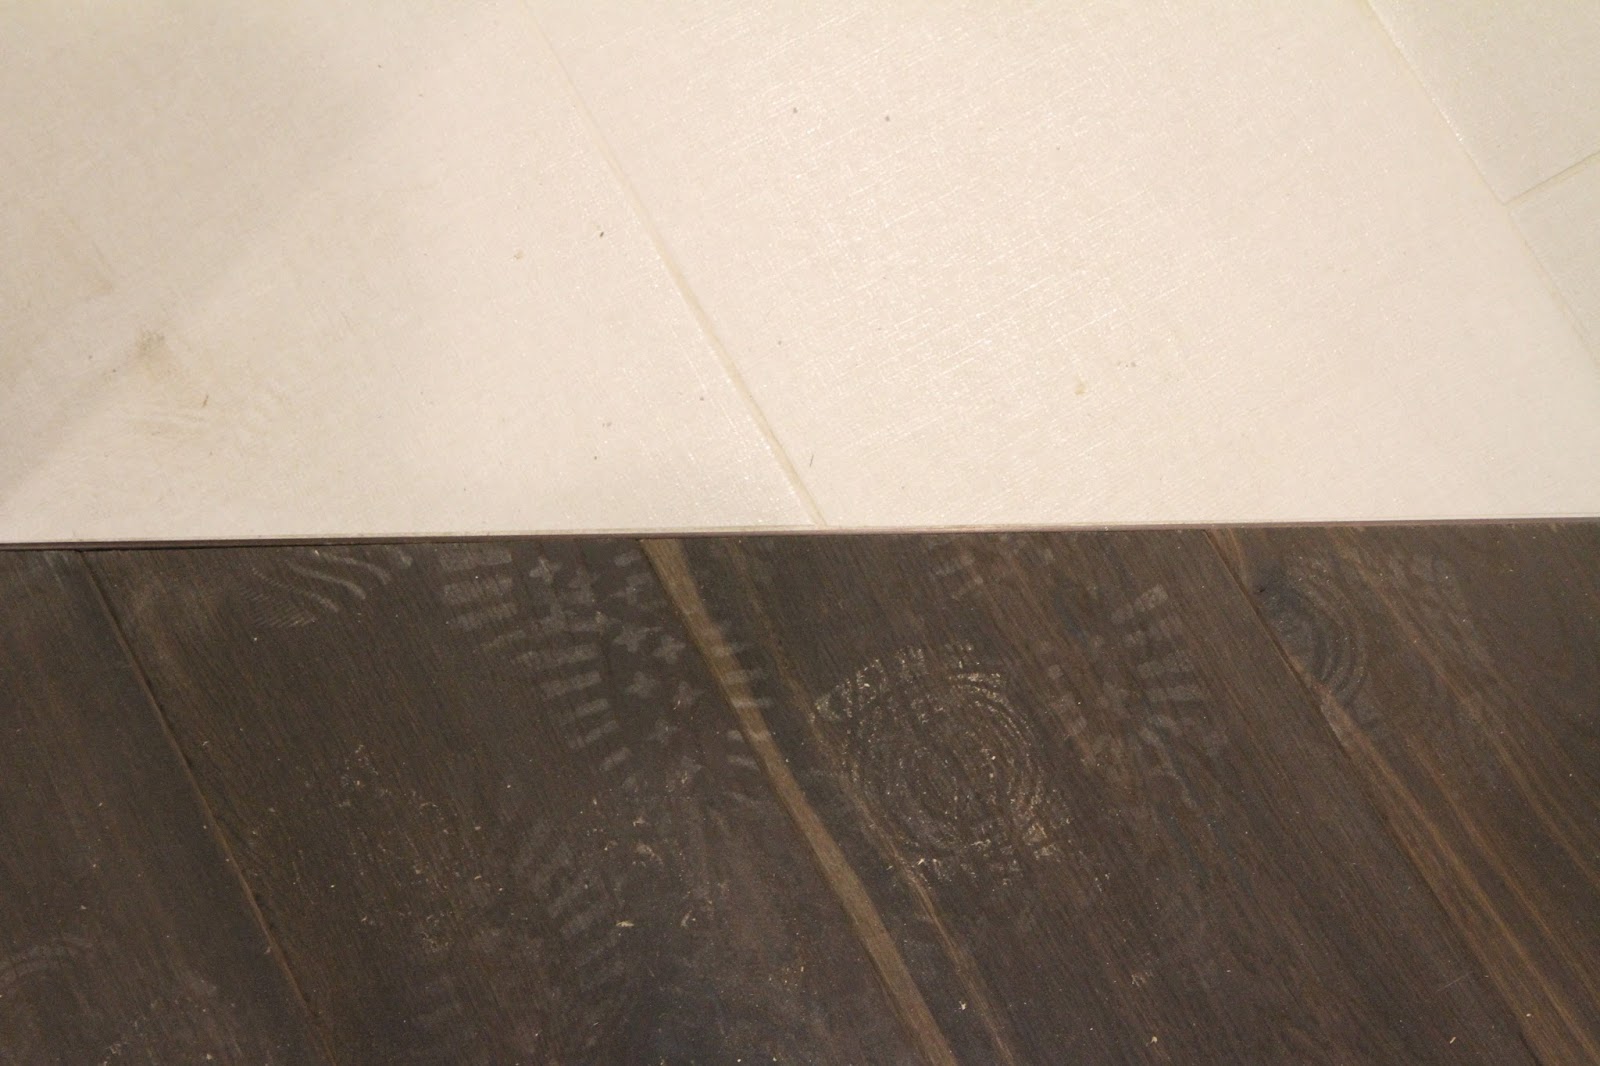
   There has been some discussion about how we should handle the transition between the foyer tile entry and the wood rotunda.  Mike and Margaret are pushing for the transition to be straight.  It makes a little sense since the transition between the study, dining room, and foyer are also straight.  Wood floor has been installed up to the straight edge transition.  The only issue I have with this is that the two wall corner points aren't the same distance to the front of the house.  This will be adjusted by starting the tile install at the rotunda and making up the difference at the door.  The other option is to make the transition between the two curved, following the radius of the rotunda.  I'm not sure if this would equalize the tile issue, but we kind of like this idea because it preserves the unique roundness of the rotunda.  The foyer tile is expected to be delivered the first week of January, which works in well with the timing of the final inspections.

   Distinctive Designs has set up in the study as a cutting station for the installation of the shoe molding.  They were set up near the great room, but it's probably easier to keep the dust to one room.  They placed a protective pad under the saw horses to protect the floor.  A piece is being wedged between the two air returns to impart the curve necessary for the rotunda pieces.  Looking around the house, I think the rotunda is the last part of the first floor to be completed.

   Most of the rotunda shoe molding is already in place with just the largest piece needing installation.  The shoe molding seems to be going on pretty quickly with the painting being done in the basement.  The final touch up painting will be performed by different painting crew that performed the initial painting.  I'm not sure if the the first painters were booked or if Mike likes someone else for the finishing work.

   We're still waiting for the front panels to be installed on the fridge, freezer, and dishwasher, but there still a little more progress in the kitchen since the last update.  The chimney for the hood will be installed this week, but most of the hardware on the cabinets is in place.  It's the same hardware as used in the butlers pantry, with knobs on the doors and handles on the drawers.  They offer great utility without distracting too much from the rest of the kitchen.

   There are a few different size handles installed, depending on the size of the drawer it's installed on.  We did chose to use two handles on the corner drawers because there's no real way to install only one.  The garbage pull out on the right of the picture has a knob on it which is consistent with the knobs on the other door panels, but is mounted in the center top.

   The knobs on all the cabinet doors have been installed, but I don't think the final adjustments have been performed.  I didn't go through and open/close every door yet but there are some that are a bit too tight for good functionality.  We only installed one knob on the corner cabinet hinged door to avoid confusion about which knob to grab.  We got quotes on the glass for the cabinet inserts, so we'll need to finalize those details and order them as soon as possible.

   The installation of the wood floor has moved into the rotunda on the second floor now with the master bedroom, rotunda landing, and second bedroom being completed.  They almost got up to the elevator rough and should be able to complete this pretty quickly.  Accuracy is needed on the railing side since there's no shoe molding to hide gaps.  The transition from the floor to the top of the stair landing is perfectly flush and once stained, should be indistinguishable from each other.

   Here's a closer look at how the wood floor meets up to the inner rotunda railing.  I think the wood floor will get a bit darker when the final oil and wax finish is applied as the color is very closely matched elsewhere.  These boards also might be a little lighter in color than the other pieces.  Dust quickly accumulates even on these new pieces so a through cleaning will be needed before the final application.


   The closet has been finished in the second bedroom since the last update.  I'm tempted to bring a cordless vacuum and start cleaning up the dust in some of these rooms, but it will probably just get dirty again.  I'm interested in how they'll clean the floors before waxing them.  There's a special soap for washing the wood floors every time you want to rewax so maybe they'll just use that product.  Maybe I can be on site when they perform the work so I can do it myself in the future.

   The flooring installers have completed the wood floor in the master bedroom.  There's still a transition piece that will need to be installed and stained between the wood floor and the master bathroom tile.  As expected, the installation in here was pretty quick after they established the common center line with the rest of the house.  The short curved wall to the right of the door probably took the longest for the installers to work through, but once that was established, the rest is a standard installation.

   Here's the bed area of the master bedroom with the completed wood floors.  There's a small stack of wood flooring being stored in here for the rest of the installation, but the installers are using the turret bedroom as the workstation from now on since it's the only place left in the house without installed wood floors.  Since the installation is newer in here, there are fewer footprints and less dust, so the color is very close to what the final color will be.  The wax/oil finish will keep the matte appearance and will have to be maintained periodically.

   Here's an angle of the master bedroom from the bed area looking towards the balcony door and rotunda door.  We're still working out the details of the TV installation and will probably just use the 37" we currently have in our master bedroom for this space.  We'll be bringing our bed to the new house but currently have a dresser with a media hutch on top we'll have to see if we can reuse.  It's holding clothes, which should all be able to go in the master closet, so the extra storage won't be necessary.  There should be enough space to put it on the dividing wall if we want.  Our nightstands will also be making the trip to the new house and will flank the bed, placed under each of the side windows.

   Hardware installation has begun in the master bathroom.  The large 10' handle have been installed on the larger drawers and tower cabinet doors, but we're still waiting for the 8" handles to be delivered.  We're probably going to get two more 10" handles to install on the dummy drawer fronts under the sink, but because of the way the drawers were installed, it will be difficult.  Those drawers were initially fully functioning drawers until we decided that we wanted an under mount sink.  Rather than removing the front from the drawer, the drawer itself was cut to fit the sink, then made immobile.  Now there's not enough room to install the handle screws so something else will need to be done.

   Here's a closer look at the handles installed in the horizontal orientation on the drawers.  The drawers under the sink are "U" shaped to accommodate the sink drain plumbing the drawers on either side are full length.  The handles are deep enough to drape a wash cloth on if we wanted to, but we have hooks on the wall for stuff like that.  There's definitely more storage than we currently use so it will be interesting to see how these get filled as we live in the house.

   Here's a close up of the same handles in the vertical orientation.  It's nice that they can be oriented in both directions so we didn't have to pick out different hardware for the tower cabinet doors.  We'll have to be a little careful about opening these doors since they're close to the wall and towel hooks, but it's not like we'll be throwing these doors open with wild abandon.

   The door handle was installed in the master closet storage door as well.  I think all the interior doors have door handles installed now, but the handle on the garage entry door is missing the deadbolt.  We'll need to pick out door stops for nearly all the doors around the house and we're not sure if we'll use a floor stop, a springy thing, or a solid thing. 
   That's about it for this week.  We should be seeing more wood floor installation next week as well as grouting of all the tile backsplashes.  We're still waiting for delivery on the turret bathroom backsplash tile as well as the foyer tile, which should be coming soon.  The fridge and freezer panels should be installed soon as well as the dishwasher panel.  Not much else left to complete now.