The snow hasn't started to really accumulate yet but that doesn't mean we're not seeing the occasional light flurry. Winter is knocking at the door and we're luckily finally finished with the exterior of the house. Except touch ups, which will have to wait for spring, and the railing on the decks. I guess the correct statement is that everything temperature dependent is completed on the exterior. I should be happy to pass this milestone, but there's a definite slow down in progress on the inside that's tempering my jubilation. There's still weekly progress that I'm thankful for, but I don't know if we're really experiencing slow progress because of the start of hunting season and holidays, or if all these fine details just take more time. I wouldn't have expected this part of the built to stretch on for months. But progress does come, this week with the start of the finished plumbing installation, tile progress in the master bathroom, some additional lighting control programming, and a little more wood floor installation. The gazebo posts were painted as well as most of the switch and receptacle plates. No new electrical installations since last post which makes me wonder why the electricians are dragging their feet. There's just enough progress each week to be mostly satisfied, but not enough to stop us from pulling out our hair in frustration.

Finally! A near completed look at the back of the house. The painters got a couple of good days last week to put paint and primer on the posts in the gazebo, completing the appearance. The only things remaining to be installed on the exterior are the front and back porch railings and a little more exterior lighting. The sconces on the rear garage walkout and the two basement walkouts still need to be installed. Mike had some of his guys installing some of the interior lights, but left these to the electricians since they'll need to chip away at the mortar and stone to get the lighting mounts to fit.

Here's a closer look at the gazebo, now that all the paint is applied. The porch railing designs have been finalized and are in production, so we'll hopefully see them installed within the next few weeks. Mike had the railing installers redesign the rails in the gazebo since the initial design called for extra posts next to each gazebo post, rather than tying directly into the support posts. A good amount of leaves accumulated in the gazebo and were easily blown out with my leaf blower. Since the railing is spaced off the floor, it shouldn't impede removing any snow or leaves.

Moving inside, stain application has made its way to the office built in top and shelves. The color looks dark, but only because there's a layer of dust on the floor. It feels like there's one application of the polyurethane top coat since the surface is smooth, but still has some bumps and inperfections. I think they'll hit it with some sandpaper to knock down the bumps and apply one more layer of polyurethane before it's done.

The wood floor has made its way across the rotunda but stopped short of the front entry closet. The closet itself has a new layer of leveling compound poured. Mike said the floor installers ran out of wood and need to order more so I'm not sure if they stopped here due to the lack of supplies or because of the leveling compund. I didn't see many boxes of flooring in the house and with almost the entire second floor to install, I'm surprised they're this short on the initial estimate and suspect there was more waste than initially calculated. Mike already ordered more wood, but with the Thanksgiving this week, I'm not sure when we'll see delivery.

The entire handrail for the rotunda has been stained and is in about the same condition as the top and shelving in the office. It feels like there's one coat of polyurethane and it needs one more. The base of the balusters aren't taped yet and should probably be masked before the lower piece of wood is stained. I'm not sure why they decided to do it in two parts. It seems like it would be easier to get the whole thing taped off and apply all the stain at the same time. Since the treads also need to be stained, they might be waiting to do all this at the same time. Speaking of which, I didn't notice if the risers of the stairs are painted the same white as the paneling in the rotunda, as it should be. Since the stairs are high traffic areas, I can see them wanting to wait to finish these parts until near the end of the build.

The Sound Vision was in one of the days last week to work on the lighting control programming. They still have a good amount of work to do, but much of it can be performed remotely. They did get a few more lighting circuits sorted out and hooked up the the switches closest to the exterior doors so they can turn all the house lights on and off, removing the need to push buttons on the controllers themselves. The sconces were hooked into the system so we got to look at the three ambiance lights turn on for the first time. The main overhead lights are still uncontrollable, but they'll hopefully be programmed soon.

The "old timey" Edison bulbs in the great room sconces are actually LEDs with a long LED filament. They're purposefully lower in light output to mimic the older bulbs, and a little yellower in color. We're not going to be using these for primary lighting so I think they're perfect for this application. The light gives a nice glow to the wall around it and will probably light the room enough during the night, but won't be useful for general lighting.

No real progress in the kitchen, but the island looks like a frosting station for Christmas cookies. It's being carefully used to paint all the plate covers for the house, some of which are already installed. We couldn't get over the color difference between the white of the plate and the white of the electrical receptacles so we decided to have them painted to match the wall color. Nick actually stopped by when we were visiting so we got his expected schedule. They'll finish up with the plates and additional touch up this week, then revisit after all the floors, tile, and plumbing have been installed for the final interior touch-up. They'll also revisit in the spring to an exterior and interior touch up since there will be some shrinking and expanding that will happen as materials dry and reach humidity equilibrium. Even after we move in, there will still be some work left over.

This is what one of the receptacle plates looks like on the gray walls. The receptacle itself can not be painted, but at least there's only one white now. The screws can't be painted either since it would just crack the second you use a screwdriver on it. The Control4 switch plates are getting the same treatment so everything will have a uniform look around the house. I think painting the plates gives the house a little more contemporary look since it reduces the visual impact of the plates, providing a cleaner look. It's possible to get colored switch buttons for the Control4 switches, but I don't think we'll exercise that option.

The Sound Vision installed the rear speaker grills in the greatroom for the surround sound system. I have mixed feelings about this. As you'll recall, we initially had the paneling rounded to match the round speakers. The design was changed since everything in the room was square and rectangular. Now that the speaker grills are installed, it doesn't seem to lessen the visual impact the speakers have on the wall. The round speakers are still visible through the grill and the grill if offset from the rest of the paneling. I'm hoping that the grills aren't color matched to the wall and once painted, will make it disappear more.

The finished plumbing fixtures are making their way into the house in many areas but some are still waiting for the tile to be completed. The kitchen faucet picture here is ready, but the tile backsplash still needs to be installed since it runs above the counter, behind the faucet. We probably won't see the installation of this faucet for a while since the tile installers are still finishing up work in the master bathroom.
The plumbers did install some of the other faucets and shower heads, but no sign of toilets or the master tub. The faucets for most of the bathrooms are the same with those being different in the guest and master bathroom. This faucet in the mudroom is the same as in the two bedrooms upstairs. It's made by Hans Grohe and we chose it for its simple design and ease of use. We like the single hole installation for cleaning and think it works well across all ages.
The faucet for the butlers pantry bar sink was partially installed. All that's left is the pull down and final hookup to the water in the cabinet. It's the
Brizo Vuelo and it's the same design as the kitchen faucet, but slightly smaller to fit the space. We really liked the organic curved design of the faucet and handle and single hole installation. This one has a simple single handle operation and the kitchen faucet adds touch control. I'm still not sure what we'll use the sink in the butlers pantry for. Maybe hand washing all the glasses that will be stored in here or something.
The doors on the dining room built in were once again removed so that the raw wood could be polyurethaned. There's no stain tint so all the color is from the walnut veneer itself. I didn't see the doors anywhere near by so I'm not sure if they took them to coat them in a spray booth. The walnut wood, when dry was a lighter dustier color, but now that it's coated, is closer to the butlers pantry or floor color.

After trying to get the interface between the dining room built in top and wall correct, I think we're settling on this solution. If you'll remember, there used to be a pretty big piece of trim on the back and sides of the top where it met the wall. We had it removed to see if we could just caulk the joint or float more drywall compound to fill the gap, but neither of those solutions looked really clean. Distinctive Designs came up with this final solution; a smaller piece of wood to act as trim to hide the gap. It will need to be stained just like the rest of the cabinet, but I think it's the best we're going to get.
The dining room is currently being used for spare parts from the electrical and plumbing installs. Cardboard from the flooring material was laid down to help protect the floor, but judging by the footprints, not everyone is walking on the designated paths. The roll away dumpster is nearly full so another will probably be needed before the project is complete.
The faucet in the second bedroom upstairs is the same as the one in the mudroom. We're going to need to sort out mirrors since all the bathrooms will need them. Probably something smaller rather than the full size mirrors you've seen in the past.
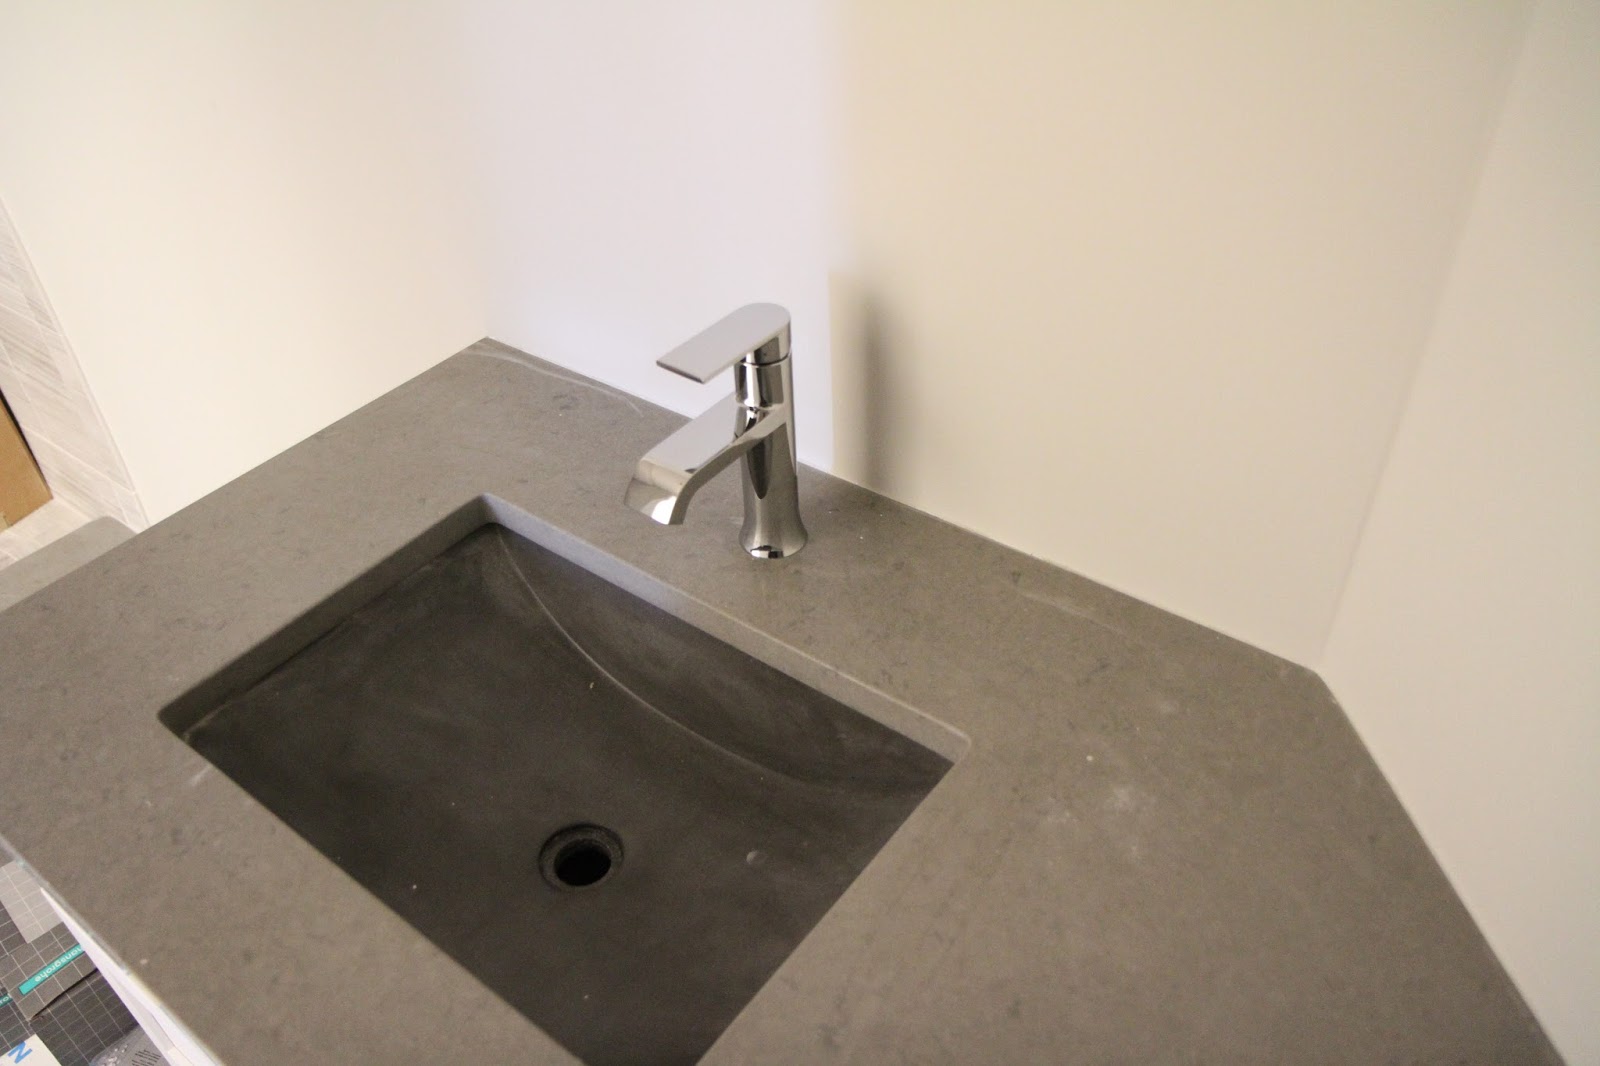
The faucet has a clean design without being too spartan. There's a small lever on the back to actuate the drain plug in the sink. The aerator is soft touch rubber which helps with cleaning. In combination with the spray angle, the faucets extend far enough to get the stream right at the drain, something that's difficult to determine unless you have access to all the components. The last unknown is how the master bedroom faucets will spray into the sinks.
The setups in the showers are all pretty similar, except for the one in the master shower. This one has a selector for tub faucet or shower and a temperature control handle. The shower head also has a selector lever to switch between the shower head and an attached shower handle. We had to go through each shower to mark where we wanted the hand shower holder. I don't think it's possible to run both the shower head and hand shower at the same time.
The trim and border tile is installed on the master shower window as well as all the penny rounds on the arch. It's a little hard to make out from this picture, but there's a profiled stone tile that borders the window. All this tile still needs grout floated so there's still a good amount of work to do before this is completed.
The same trim tile was installed on the shower caddies. There's still one shelf that needs to be installed on each caddy but I think this trim looks super fancy. I think they'll need to cut some of the penny round tile out to fit the shelf, so I'm not sure why they didn't install it from the beginning. It will probably sit behind the trim tile so there shouldn't be a need to cut it out of the sides.
All the penny rounds have been installed on the wet side of the curved shower wall. They had to flatten the tile out a bit around the valve boxes so the face plate can sit flush with the tile. Cut wall tile was installed on the flat sides of the curve. I really like how this bathroom is turning out. It looks much fancier than I thought it would and the mixed materials looks good together.
All the penny round tiles were installed on the master vanity wall above the sink, but still need to be installed underneath. There are some visible seams where the sheets of the penny rounds were installed, but I think those will disappear when the grout is floated. There are just a few sheets of tile that need to be installed under the vanity, but it's not the easiest place to work.
Here's a head on shot of the master vanity. Once this tile is grouted, the on wall faucets, lighting, and medicine cabinets can finally be installed. After the hardware, tub, and toilet, this room will finally be completed. The lights in this room aren't programmed yet so this room remains dark. Hopefully The Sound Vision programs these soon so I can finally get some clear pictures in here.
The same faucet was installed in the turret bathroom as the mudroom and other bathroom. Not much to say about it since it was covered in the other caption. The design seems to fit all the bathroom styles well
The shower setup in here is slightly different. As with the other upstairs bathroom, we needed an elongated tub filler because of the design of the tub. The shower head is the same with a toggle to switch between the shower head and hand shower. The controls for this bathroom is slightly different.
Controls in this shower use a push button rather then turn handle for selection between the tub and shower. This one also has a static temperature setting so you can just set the temperature you like and never have to worry about it every time you turn the shower or tub on. The dial will remain at your desired temperature and you just push the buttons to turn on and off the water flow.
I'm not sure what's going on with the main water connection in the basement, but something is different. The PEX coming down from the ceiling is the pipe that leads to the rest of the house. The multiple angle PEX attached to the copper water main is something new and a little confusing. I'm not sure why they installed this or what its purpose is. There are already valves installed before and after the water meter in the copper so there's no need for another shutoff in the PEX.
The basement railing is sitting in the basement workout room for stain and sealing application. It's at about the same level as the other railings in the house but the railing brackets are already installed on the walls so once it's done, it will be quick to reinstall. The basement stair treads also need to stained but probably won't happen until all the finishes are installed.
That's about it for this week. This week is Thanksgiving so I'm not expecting a ton of progress. We do have a meeting on Friday to finalize some of the electrical fixture heights. The last week of November will be a big one as we're expecting all the appliances to be delivered, landscaping installations in the back yard, and continued wood and tile installations. The grading inspection has been submitted so that's one more final step completed. We just need to get everything installed and get the final Certificate of Occupancy and we'll be clear to move in!


No comments:
Post a Comment