The weather is really starting to feel more like autumn than summer with daytime temperatures in the 70's and night time temps in the 50's and 60's. While these weekend visits are a great break from the work of the week, the time it takes to get up there, visit, and back is starting to become cumbersome on our already short weekend. I love visiting there, but I'm really ready to live there. This week brings us the completion of the all the interior millwork and the start of installing the built ins. Tile continues to progress up the fireplace column and by the end of the day, the first floor was completed. I didn't see any progress on the tile in the other rooms, so it seems like all attention is on the fireplace. The stair railing was drilled for balusters and garage doors are fully functional. The front porch was finished across the front door and we actually have a front door now! The tin ceiling was lightened up a bit and the electrical panels are getting filled. We really are on the home stretch, and it will be an amazing feeling to finally be done.

The deck installers finished the front left and right fascia of the porch. I had the twins with me so I didn't have time to take a close look at the install, but from this distance, it looked good. Both pieces are a white Azek, which from experience, will need an occasional power washing to remove mildew, even in full sun exposure. All of the front fascia of the front porch is Azek, so I can just blast the whole thing when it comes time to clean.
The front right fascia of the porch was also finished in a similar manner and the small pile of dirt that was here has been pushed under the deck. There's still some fill needed under the left side, but since it's a little more visible, we might put stones under there. Great Oaks is responsible for moving in that dirt and will bill accordingly. There will be planting beds in front of both of these porch areas, once Great Oaks starts their installation this next Monday as part of the Phase 2 landscaping implementation.
Hardwood Door and Bevel came to install the front door, but not without issue. It looks like the template they provided for this door was accurate since no modification of the exterior siding and trim was needed to make the door fit. Mike was on site to supervise the install, which is good because we didn't know what to do with the security wire. Jonathon of
The Sound Vision was also planning on swinging by to look a the build progress and happened to get there just in time to tell them what to do with the wires.
Even with all eyes on the install, the threshold is not solid and there are way too many, very noticeable install plugs in the casing. When you step on the threshold, both the normal part and the extended threshold, it's very soft and makes a crunching sound. None of the other exterior doors around the house have the same issue, which leads me to believe that they didn't install any padding or foam under the threshold. Makes me wonder if there's even any adhesive under there. On the right side of the door, there are three vertical plugs that secure this side of the casing to the jamb.
For some reason on the left side of the door, there are four in a row and two in a vertical line. There's absolutely no reason for there to be four screws like this and the plugs they used aren't even stain matched or flush with the rest of the wood. I'm not sure if they're coming back to finish the install and just barely had enough time to fit the door or what, but so far, this install isn't up to par.
There's also a small chip out of the finish of the door near one of the sidelites. This could also be touched up, but the original coating process is a Sikkens application with two coats of stain and three coats of polyurethane. A touch up won't come close to the same level of protection, so every care needs to be followed during the initial installation. I'm not sure how careful they were here.
This is where the security wire comes through the door jamb for the sensor. It was expected that there would be a drill hole, but what wasn't expected was the large scrape next to it. Again it can be repaired, but it's an indication of how careful they were during the initial install. Craig from Hardwood Door and Bevel told me he would stop by to take a look at the install himself, so I'm hoping something will be done about this considering the trouble we had with the balcony door.

The worst issue with the install is how short they cut the brick molding. The brick molding is the pieces on the door that's closes the gap between the door casing and the rest of the house. They cut it way too short, as it's supposed to come all the way down to the deck. This is installed incorrectly and partially confirms that they weren't careful during installation. I believe this is an incorrect installation and it's pretty troublesome since you can't just extend the brick molding. It needs to be a singular piece from top to bottom so the whole piece on both sides needs to be reinstalled.

The deck installers completed the decking with the center section in front of the door. It's currently being protected with some of the cardboard since installers are still walking in and out of the house, but the install feels solid with no bounce. The LiteDeck underneath was sheathed with a piece of plywood and waterproofed, over which sleepers were installed for the deck to attach to. Single Azek boards span the entire space for a clean installation.

On the other side of the door, Distinctive Designs installed the interior millwork around the door. Because of the height of the door and the addition of the soffit to hide the second floor plumbing, there was very little room at the top of the door for trim. We decided the way around this was to install the same panel look from the rotunda to each side of the door. This allowed us to use a single panel frame across the top of the door, removing the need for standard trim. I think the implementation was pulled off perfectly and once again Distinctive Designs came through for us on a difficult situation.

Here's a closer look at the top of the right panel. The same corner bead trim was used inside the panel. There's a thin piece of trim that frames the door itself. If the door installers need to reset the door, I'm hoping that all this finished work doesn't get in the way. A small cove trim piece was installed at the top of the paneling on the underside of the soffit but nothing on the sides. Wood filler will be added to the seams in the panel and paint will coat the entire thing so it will be seamless.
Unfortunately, with the panel installed, the sconces are now not centered in the panel, so I'm hoping we can correct that. These sconces are installed in the exterior ICF, so the wall would need to be opened, some more foam removed, box moved, and drywall repaired. Not the easiest thing to do, but possible.
Speaking of purposeful drywall repairs, Distinctive Designs installed the steel rods that will support the floating shelves for the study built in. It looks like they had to remove the drywall to get eyes on the steel studs behind the wall since the steel rods penetrate the drywall, and both sides of the studs in order to supply enough support for the shelves and everything on it. Most floating shelf kits on available for purchase only rely on screws to secure a bracket to the studs, so the weight they can hold is very limited. The way these are installed should support much more weight.

I'm not sure if these are examples of the actual shelves that will be installed or just a convenient place to rest some nice pieces of red oak. I didn't measure them, but they're under 8/4 boards. I'm not sure if they'll just use these and drill them out to fit over the rod or if they'll use them to build a torsion box to act as the shelves. In any case, they'll be stained dark to match the butlers pantry cabinets.
Distinctive Designs also knocked down the powder-coated finish on the tin ceiling. The high parts of the tin ceiling have been sanded down to the bare metal, allowing more silver finish through and lightening up the whole thing over all. Some of the flat spots were sanded down too, which helped lighten all the dark parts. I was wondering if we would still need a glossy lacquer applied, but I think this is good as is. Knock another item off the finish list.

Distinctive Designs have finished with the installation of the dining room ceiling and I'm happy with how it turned out. It will all be painted with the same color so it will kind of mimic an old plaster ceiling, but it has a cleaner, more modern look. The mounting plate for the Winter should fit well in that center space. It looks like they centered the light box, which isn't necessary since the mounting plate will cover the whole area, but it's a nice gesture. I should take a close look at how that plate mounts up there to ensure we have all the necessary structure.

They started on the dining room built-in base as well, creating these two "legs". The only reason they had to install them was because there's a drain pipe from the laundry room that pops out of the wall in the corner of the nook. The design of the base was supposed to be a floating one, which it kind of still is unless you look at the back. I don't think it will lessen the impact much since the front of it will still appear to be floating.
Here's the pipe that's being hidden by the leg. It needed to go here, after following the path of the interior wall since that wall happened to be sitting right on a concrete beam. I guess it's gone forever now. I should request some insulation stuffed in that space so we don't get any running water sounds.
The tile installers were there when I visited this time so you know they're working hard if they're here on a Saturday. Two of them were installing the tile on the fireplace column and I got the chance to chat with them a bit. Installation of the tile is as difficult as I though it would be. It needs to be installed in layers all the way round the column. The cut corner exposure is staggered on each layer even though they come in sheets and the exposed cut needs to be polished, even when cut with a diamond saw blade. Now that they've cleared the major obstacle of the fireplace, they should be able to install more quickly. This is how much they completed when I left for the day.

Tanja stopped by later in the day as they were wrapping up and this is where they got to. This was about 4 hours later so you can see it's not easy to just slap up. Having the first floor completed is a pretty big step. They'll need to get on scaffolding to work higher up in the great room, but at least that's only for half the column. There wasn't any tile progress anywhere else in the house, but I did see some grout staged in the bathrooms that still needed it.
Here's the progress on the greatroom side of the column when I was there. They got a little past the top of the TV mount, which still needs to be painted. I think the look of the tile is working out well with the slight varying thicknesses and widths. There's definitely a repeating pattern with the widths that's hidden with the varying stone color. I'm absolutely loving how the metal surround looks with the tile. It looks both crisp and buttery smooth at the same time.
Here's the progress when Tanja visited. There will need to be some fine detail work near the floor on the second level, but once they're past that, it's pretty straight forward. I'm hoping we'll see this completed by the next weekend.
The car charger was installed, but not hooked up. I requested a manual shut off switch to sit before the charger just in case I wanted to disconnect it if we travel so I'm guessing hoping that's the hold up for the final install. The meter isn't on the EV panel yet, so there's no electricity flowing to it anyways, but once it's completed, I'll be able to charge up on my weekend visits if I want to. Right now I'm charging off a NEMA 14-50, 50A circuit in our garage. This charger is on a 100A circuit and supplies my vehicles maximum amperage of 72A so I'm hoping to see a near doubling of recharge rate.

Installation of the rear door is almost complete with only the weatherstripping remaining. Questions from last week have been answered and it looks like the tracks remain independent and as high as possible on both doors. The weather stripping on the front doors have been installed, so all that remains is to replace the double bay window section when it comes in, and I think there are faux carriage door looking handles and hinges that attach to the door to complete the look.

The Liftmaster 8500s were installed and are fully operational. You can bet that I played around with the doors to see how they operated. They're different than any door opener I've seen in their operation. The movement of the door is much louder than the opener itself, and it must have a setting or sensor somewhere to slow the door as it approaches full closed. It will descend at a certain rate, then slow the last foot for a soft close. Considering the adjoining garage wall is ICF, it will probably be near impossible to tell when the door is being opened and closed.

This is the electronic deadbolt for the garage doors. You can see the dead bolt throw protruding from the track that will impinge upon the door rollers. When the garage door button is pressed, the bolt throws open and the door can move in the track. Nice bit of security, but I'm hoping they used a high duty cycle solenoid so I won't have issues in the future. You can see the manual throw should something go wrong, but it's not accessible from the outside.
There's a yellow poly rope attached to the lowest roller, meant to be used as a pull string to pull the door down under manual power. I'm not sure if this is a standard installation, but without a center track, this would be the only place to put it. The doors lift high enough to be difficult to reach and pull down when open, so maybe this is the only solution.
There's also a manual pull unlock for the garage door, just like a center track door opener. This is often the source of security issues since someone can slip a wire through the weather stripping and grab the line, disengaging the garage door from the opening drive unit. The advantage for this opener is that the line doesn't move with the garage door and can be secured well away from the door making it more difficult to reach from the outside. Here you can also see the weather stripping, which is a slightly lighter brown than the surrounding "wood"

Here are the three garage door openers. I didn't spend the time to figure out all the functionality, but there will be plenty of time for that later. There were some uninstalled dome lights sitting near by, but I'm not sure how they'll integrate into our system. There's normally a light on the center drive garage door opener that comes on when the door is in operation. These were wireless units that only require a standard electrical receptacle. Considering we'll have sufficient light in the garage, I'm not sure where we'll put these because it wouldn't hurt to have something turn on automatically when the garage doors open. Then again, maybe the lights in the garage will be integrated into the Control4 system, so these won't be necessary.

I'm not sure what's going on behind the wall here that they needed to open and adjust, but there was a small access panel cut into the drywall under this box. Previous pictures with the wall open shows that the electrical that goes to this box comes across the wall from the HVAC chase and up through the bottom of the box. I can't imagine that they fished something new from the basement unless something was accidentally pulled when they were installing the shelves in the study below. All the wires are secured with retainer clips so the possibility of pulling a wire loose is low.

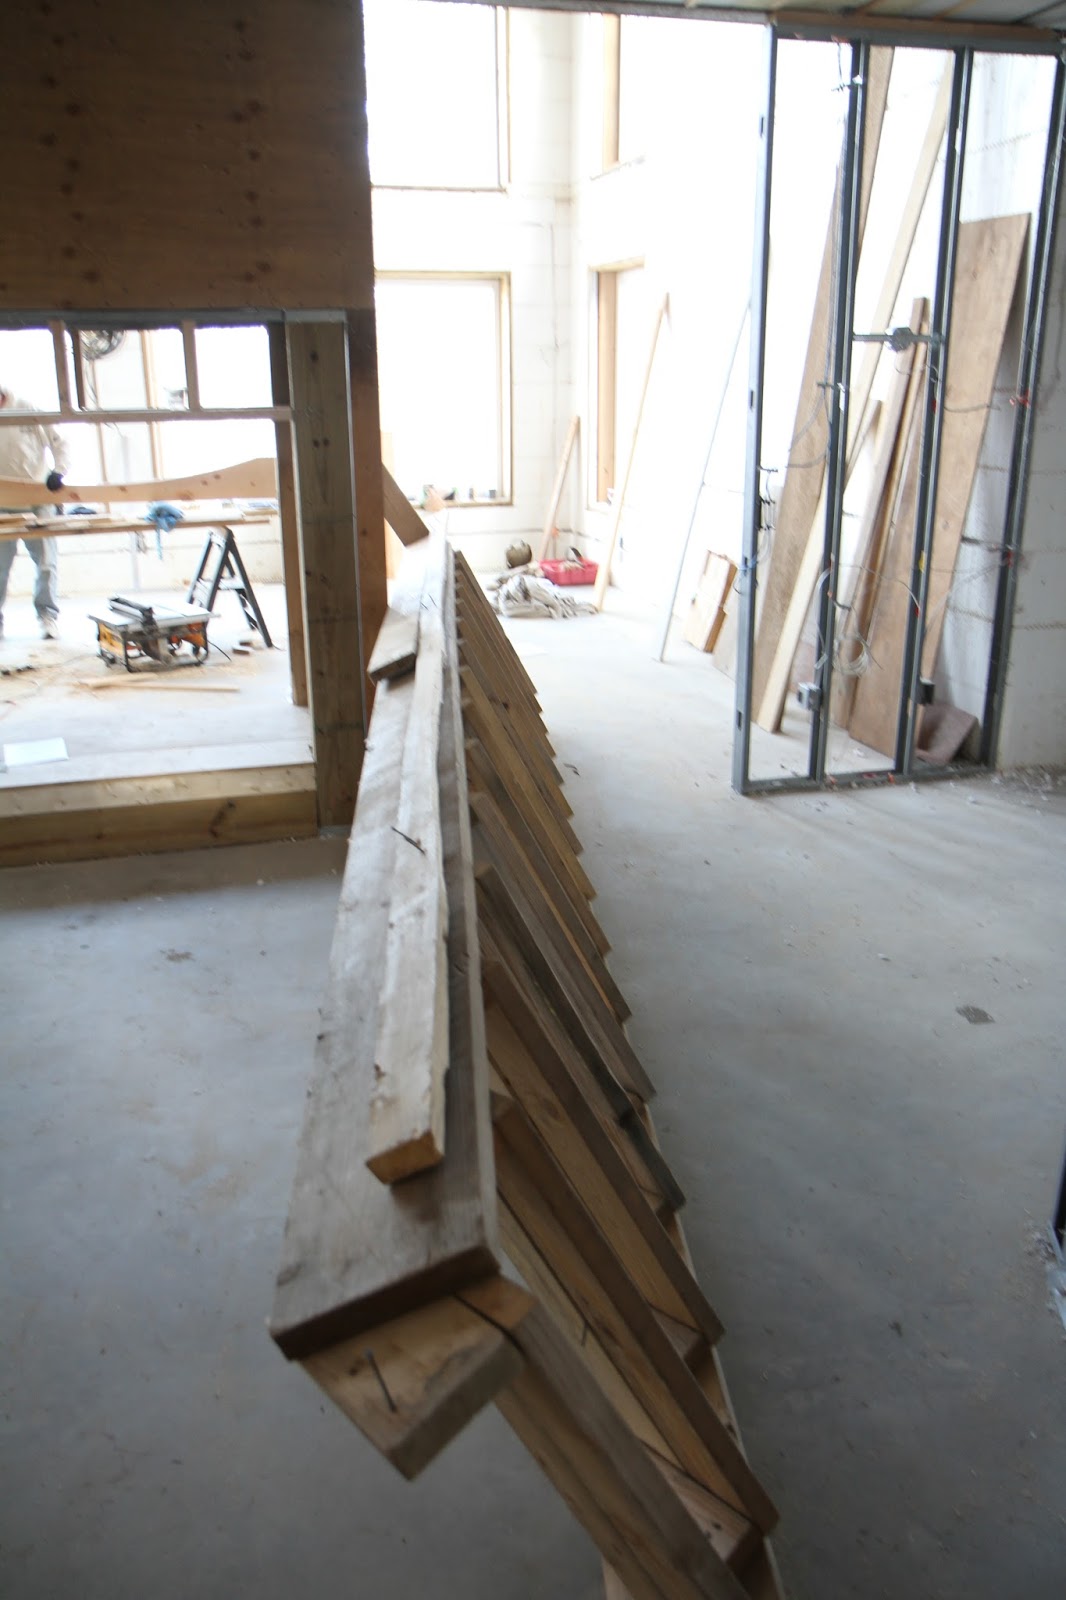
The rotunda railing has been drilled for baluster installation. I didn't get the chance to see if it was perpendicular to the step, but I imagine it has to be. They must have had some kind of a jig with a set angle to ensure these are drilled properly because it would be difficult to do by hand. Paint should be starting up pretty soon, so I'm pretty sure that the rail and floor border will be stained before the balusters are installed. Until then the temporary supports will need to stay in place.
The final base trim was also installed in the basement stairs, which completes Distinctive Designs responsibility for the basement. It will be unfinished for move in and we'll slowly implement our basement plans over the years. At least we have a safe and attractive stairway, which is much nicer than I originally imagined it would be.
Drywall installation in the mechanical room has extended to the electrical panel wall but there's still a little be left in the future bathroom that needs to be covered. The ceiling is still uncovered and I'm not sure how much will be covered with wood and how much will be painted to pass COO requirements. I'm not expecting the glass block window to be trimmed out nicely since it's in the basement and it's just in the mechanical room, but that's something I would like to tackle myself in the future. I'll also probably practice my mudding skills in this room, just to make it look nice.

A little work was done in the main electrical panel to connect power to the garage door openers, but most of it remains unpopulated. I think electrical is scheduled to come back in soon to hook everything up but a large portion of the lighting is dependent upon The Sound Vision. I spoke with Jonathon, who is trying to coordinate with Great Oaks to run an intercom/camera cable up to the front of the property before the driveway goes in. He also expressed interest in coming in soon to install speakers and get started on the final install for lighting controls. It seems like every time I talk to him, something new is out on the market and we're swapping in some upgraded parts. Technology is always changing, so over the three years we've been working with him, the install plan has been revised a few times. He suggested I get our internet connection provider set up so we can have access to data and cameras, even before the build is completed. It would be a vast upgrade to the wireless trail cam I have set up to monitor the site.

Here's the main breaker for the house panel. It's a 200A service and takes the main lines and supplies power to the panel rails. I didn't see a whole house surge protector in there yet, and I think we requested one, but I'll remind Mike about it since it requires the main service shut off to install. It's not really something you can install later since it requires two permits for shutting off, then turning on service.

Here's the exterior of the master balcony french door that I didn't get to look at before. It was just held closed with a bag of mortar mix, so I got the chance to get out there to take a look at the final installation. Mini person for scale. We had some issues with this door since the template that was provided by Hardwood Door and Bevel didn't exactly match the curve of the door. The center could set properly, but the left and right of the door dropped down more than the template indicated. Because of this, Mike had to have the siding and top trim adjusted and reinstalled so everything matched up perfectly. All the unpainted trim is what needed to be replaced.

Now that the rear garage door is installed, we have a completed rear of the house. I was initially concerned about having such a large part of the house without feature, but I think the combination of the stone and siding breaks up the space well. The addition of the rear walk out sconce will also help to add a visual element to the wall so in the end, the amount of unbroken wall space will be smaller. Landscaping plans include a small bed in front of this area as well and a small patio connecting the rear walk out to the porch stairs.

Here's a look a the rear garage door, a mirror of the front door. Again some faux hardware needs to be added, door hinges on each side and some handles that make it look like an actual carriage door that opens in the middle. The horizontal breaks in the panels are visible, but if you squint just right, it could almost look like two doors. It will be nice to have this door open when we're out in the back yard and need to get tools or equipment out of the garage.

The plumber came and started to hook up the main discharge pump from the grinder chamber. This pipe doesn't transport any liquids, but is just an electrical conduit that leads from the pipe to a status panel mounted on the house. It's also an indication on how much dirt needs to be added to get to construction grade. We always knew that the top of the grinder pump chamber will flush at ground level, but it's difficult to judge the height and how it will look next to the house. The pipe reinforces how much fill we need since it extends to the house and will be buried by at least 8 inches of fill dirt. There are also planting beds planned for this area but the planned path will need to deviate from the original design because of the placement of the grinder pump tank.

Here's where that conduit connects to the tank. I didn't take a look inside the tank to see how the wires were run if there's something inside that prevents liquids from entering the pipe. As far as I can tell, the pump is suspended off the bottom with the chain, which you also use to pull it up when it needs servicing. Of the entire build, this is the thing that makes me the most nervous because if this fails, then the entire house will be without sewer. I'm not sure what the maintenance schedule is for something like this, but you can bet I'll be on top of it.

Here's what the panel for the pump looks like. It contains the brains behind the pup and The panel and connects all the float sensors to control pump operations. It looks like the float sensors are just the electro-mechanical kind that you see on regular basement sumps. They float on the surface of the water and when they float beyond horizontal, a physical switch moves and close the circuit. They're simple and robust, but I installed a solid state water level sensor on our current sump. It uses hall effect sensors to detect the water level without any moving parts, which I prefer. I don't think it's possible to use this kind of sensor in this application so I guess the float sensors will have to do. From what I read on the
product page the red light will be on when the pump is running. I'm not sure if there's much else I can do to check operation, but I'll try to learn about the system.
That's about it for this week. Next update should see some big changes. Old Country Stone should be back in to install the gazebo stone and Great Oaks should be starting landscaping. Inside the house, painting should begin soon, but I'm not sure if it will start this week. Hopefully we'll see more progress on the tile install in the master bathroom since it's the last bathroom to get anything. I'm not sure what the timetable is for Great Oaks, but I'm excited about finally getting a real driveway. My car will at least stay cleaner on our visits. 9 weeks!