Maybe one more summer-like weekend left in this year with temperatures in the mid 70s with a perfect sunny day. Light breezes kept us cool as we sunned ourselves and watched the wildlife from the comfort of our gazebo. We're getting so close to the finish, we're starting to imagine and idyllic life here. Sure it won't be all relaxing and there will still be tons of work after we move in, but we took the chance to forget all of our current and future concerns and just enjoy the day.
This week saw progress on multiple fronts, both inside and out with painting, plumbing, tile, and wood floor prep on the former and finishing stonework and the final construction grade on the exterior. Tasks left are being checked off every week but there's still lots to finish before we can file for the COO. Hopefully we'll really be able to see it completed this month.
Not much change on the front of the house since the grade is where it's supposed to be at for the installation of the driveway. Great Oaks has acknowledged that the front steps were installed incorrectly and said the subcontractors that performed the work will need to return to fix it. When they do that, I don't know, but the stair project is really stretching on longer than I anticipated. We've had really good success with most aspects of the Great Oaks installed items and the subcontractors they got for the front concrete wall worked out well, but the installers for the front and back steps have been trouble.
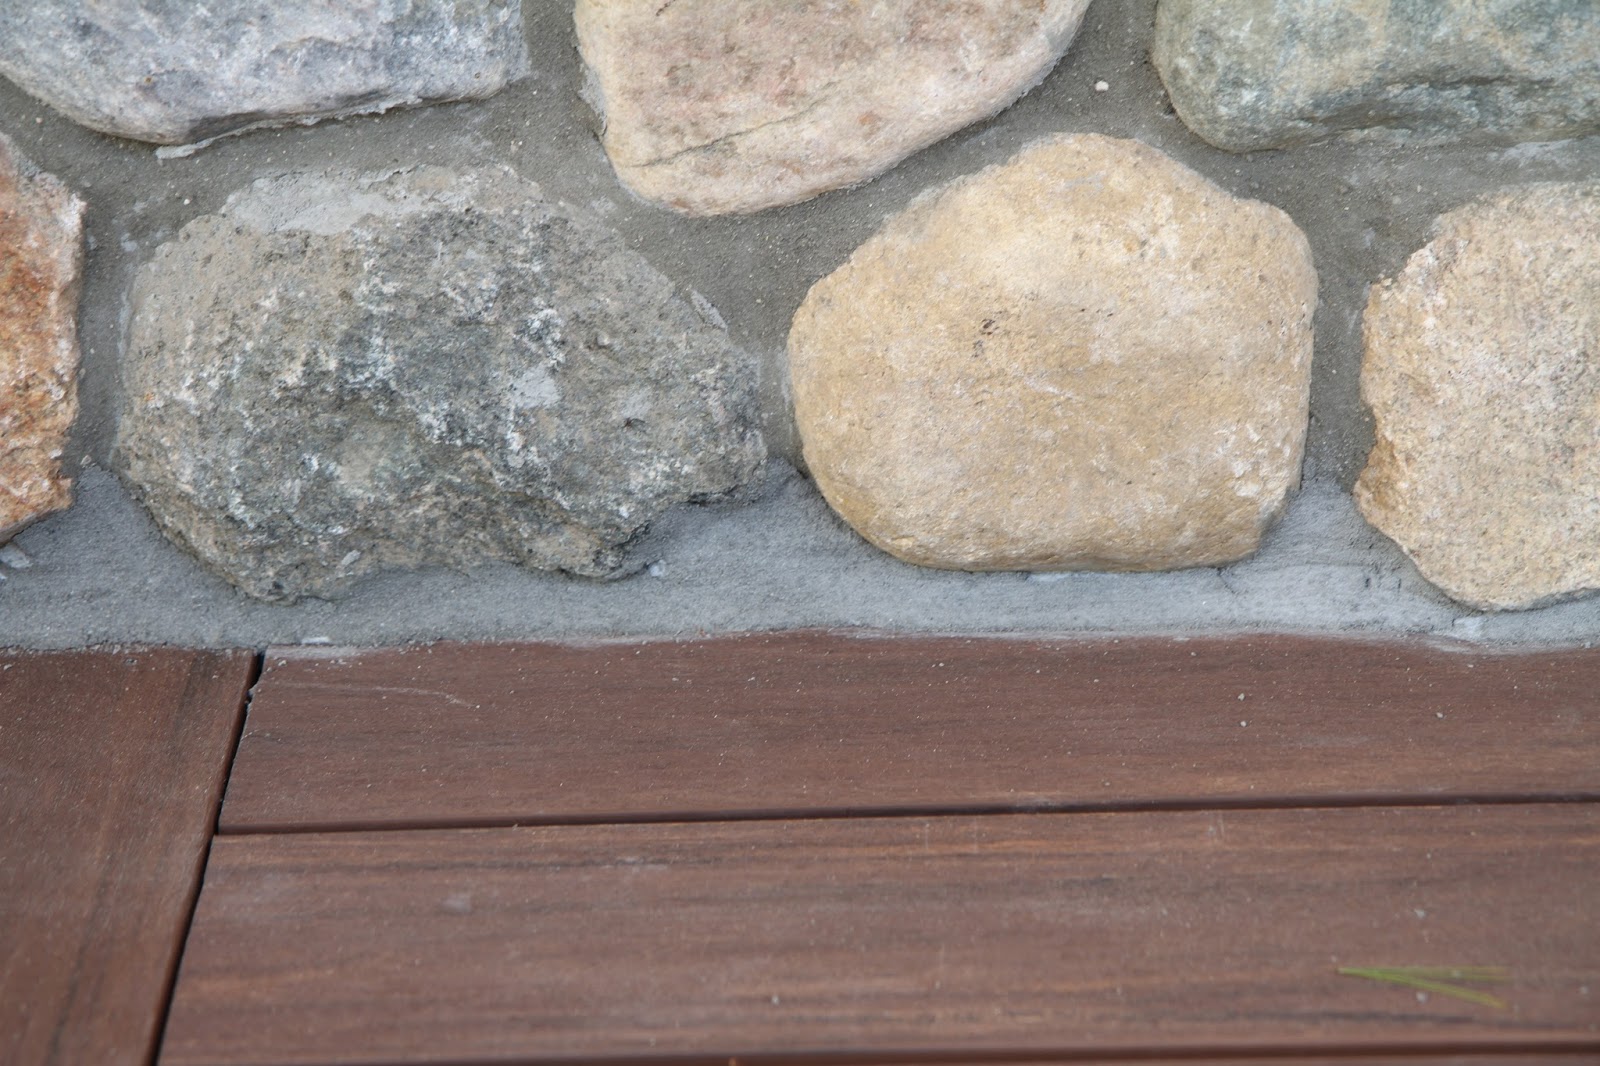
Old Country Stone was on site to finish the front porch stone work. After the deck installers went through, they had to remove the secondary flashing that was installed in order to get the Azek boards in place next to the house. The mortar was supposed to be installed on top of this flashing but it didn't work out so OCS just mortared the joint right down to the deck board. This should be okay since we're using Azek, which won't rot, and shouldn't be affected too much by movement. OCS got most of the front porch finished off, with just the back corner near the great room exterior door to complete.

One thing that Great Oaks completed that I missed in the past weeks is the completion of the front wall. They chipped off the stone overhang on the right side of the steps so it no longer impinged on the walkway. Now I think the front wall is finally done. The part near the house was repaired earlier so it's level. The bottom step are reversed to hide the chip, and now with this change, I think the wall is perfect. Now all we have to do is remove all the weeds and get some plants in there.

Speaking of the front wall, Mike got the side of the house graded to final grade. When we finally get topsoil and seed here, some of it will need to be scraped away to keep grade with the door and sewer pump, but this is what we're getting now for move in. You can't even see it now, but the top of the grinder pump tank is flush with the ground and all associated pipes are buried. The lower walk out has a step down which is good since there will eventually be a paver patio there. It rained hard the night before and this area is pretty much dry where as before, we would have a good amount of standing water. Since the drain pipe from the form-a-drain on the basement corner has gone missing, we also used to see some water infiltration in the mechanical room. There was no water down there this time so I'm hoping the grading fixed that too. If not, I'll need to dig to gain access to the drainage and put a new pipe in, which will not be fun.

One thing we were worried about with the addition of the fill dirt is that the stone posts would be look funny after losing some height to the ground. Now that the fill is in place, I think it looks fine. We'll probably need to get that small stand of maple trees root aerated as soon as possible since the root system was most likely compacted with all the heavy machinery running over it. There was also a good amount of land cleared to the left of those trees, which is in the plans, but we'll have to figure out where the planting beds are supposed to be so we're not needlessly filling the area with soil and seed. We'll also need to solidify any changes to the landscaping plans the placement of the grinder pump made when it comes time for irrigation installation.

Here's a look at the grinder pump cover with the fill dirt in place. It didn't seem like the PVC pipe was attached to anything and I don't recall any attachments on that side. I think both the PVC and rake are being used as a visual warning to not drive over the cover. The proposed path from the retaining wall steps to the patio at the walk out would have run really close, if not directly over, this location so there definitely will need to be some kind of reconfiguration of the landscaping here. If I get another nice day, I should take some aerial shots to see how the landscaping plan is lining up with the implementation.

Here's a shot of the fill from the basement side walkout. Considering the grinder pump cover was at least a foot above the previous grade, there was a significant amount of fill dirt added to this area. Remarkably, it's all very solid, even after the heavy rain from the night before. There was some wet dirt at the porch overhang edge in front of the side walk out, but that can be expected since we have the rain diversion system under the deck in this area. Once we connect the gutter to this system, the area should stay a bit dryer. Except for the patio, the planting plans call for a bed to be under most of the porch. It doesn't account for a back up generator, which will need to be installed in this location. We should probably also allow for access to the meters and generator.

Mike drilled through the wall so I pushed the coaxial cable from inside the house to the box outside and hooked it up to the orange coaxial coming from the Spectrum pedestal. The connection was tested by the install technician so even though we don't have anything to connect to, we have an internet connection. The hole will need to be sealed on both sides of the wall and the cable box is currently just on a spike. I would like to attach it to the wall so I might head out some time with my masonry bits and find a good place to mount it. The line from the pedestal remains exposed except for the section where the grade was corrected. Now that we have a connection to the box, I can bury the rest of it near the house.

The back yard got a second round of grading, pushing the rear most border out a bit and clearing up or pushing out some of the rubble and weeds. Since the large bulldozers weren't at the house, this is probably final grade. The yard is currently weed free since it was all tilled under and I'm not sure if there's anything I can do to keep it this way before we get soil and seed in. I'm not sure if I should do anything to preserve this since they'll probably just come in again to scrape the lot before dumping top soil.

In addition to completing the mortar work on the front porch, OCS also made a lot of progress on the gazebo stone. The border stone was added to the edge of the concrete deck and has yet to be mortared. Also visible here is the stones for the seats. They had to cut into the pillars a bit to fit the stone so hopefully Mike the carpenter won't be too annoyed that he has to redo the corners before they can be painted. There was already trim work that needed to be completed, but it's unfortunate they couldn't just remove the whole corner piece, rather than cutting a section of it off.
Here's a bigger look at the progress of the edge stone install with a peek at some of the blue stone decking. I think the transition between the round cobbles to the stacked stone is a good one, combining the color of the cobble with the shape of the stacked. The blue stone lip over hangs the stone below be an inch so water should run off it nicely.
The area around the back porch has become a hive of activity with material staging, cutting, and storage. The blue stone comes in a few different cut sizes and are further refined to fit the space before installation. The installers working for Great Oaks is also in the same space, constructing the back steps so we actually have two stone teams on site working in the same area. This could be good since the step installers need to coordinate the height of the landing with the OCS stone installers.

Here's the progress on the back landing and back step area. There will be a blue stone patio mortared onto the concrete pad connecting the rear garage walk out to the back porch steps. All the blue stone you see here is already mortared in place which may lead the more eagle eyed of you to a question as it did for me. Where are the steps? I contacted Bob Porter of Great Oaks who questioned the same thing and will be making a visit to the site on Monday to confirm correct installation. There's no reason to waste material under the steps, and I don't think the integrity of the steps will be as sound if they're not installed directly on the concrete pad. I never got to look at the pouring of this pad, so I don't even know if the proper depth footing was poured, let alone tying it into the existing structure as indicated by the plans. Hopefully Bob can sort this all out since we're already on a tight schedule.

Here's another angle of the back step landing. The plans have the landing 6 feet from the porch and two steps to be constructed at a height of 6 inches per step. The original survey has the porch to landing drop of about a foot and a half, but this currently looks more like 2 feet, which is problematic. If we have to add more steps, then that will push out the distance of the steps on the landing, which should have four feet from the edge of the steps to the grass. I haven't taken a tape measure to the height because I've been trusting that Great Oaks will implement it properly, but maybe I should intervene more since mistakes are being made. The width of the slab looks correct if you figure that each of those stones is about a foot wide. Hopefully we'll be able to get two steps in there or we'll be looking at requiring a railing for inspection.

Here's progress on the gazebo blue stone, as installed by OCS. Most of the stone near the kitchen walk out is in place and mortared with only cut pieces needed near the barbecue. They could install quickly against the house since the cobble stone was spaced off the concrete an appropriate amount for the blue stone installation. Most of the rest of the gazebo is already laid out, recognizable by the change in height of the stone. The installed portion extends in front of the seating towards the fireplace.

Here's what the main space of the gazebo looks like with the installed part on the left and the laid out, but not mortared part on the right. There's still a good amount of work to do for the general installation and there's a bit of an art to fitting these pieces. The stone is natural and while it comes cut in exact dimensions, there's no preplanned pattern so pieces need to be laid out and checked for aesthetics. There's a slight blue and brown variation in the stones which ties in the colors found in the round cobbles on the wall. The border stone runs a much more uniform blue/gray color and is already installed on the entire perimeter of the porch.

Here's the side of the porch near the mudroom door. There are some complications on this side because the concrete wasn't poured as level as the rest of the porch. Mike said there's a height increase as you move towards the mudroom door of about a half inch, so they're trying to make up the height difference using thinner stones or less mud. I think that as long as it doesn't exceed the threshold of the door, a half inch drop from the door will be okay and help shed water. There's enough variation in the stone itself to visually absorb that difference. You can see the installed border stone, which is good so the step installers have a final height to calculate to.

The seats are a single piece of blue stone from front to back and have a smoother finish than the floor stone. They're also uniform in color with this blue/gray. All the seats have been installed and we're thrilled with the results. The surface is smoother than the floor stone and having such large pieces makes it look much more like a bench than a low wall. Although the railing will block 1/3 of the seat, there's still enough room for sitting and maybe lying down on your side. It would have been nice if we had the full width of the seat but the railing is necessary for safety.

There's a surprising amount of height added with the installation of the blue stone. Not only is there about an inch and a half of stone thickness, but it looks like there's also another inch and a half of mortar so we're gaining almost three inches of height on the floor. This thickness of mortar is necessary for a couple of reasons. The stone itself has varying thickness from piece to piece so the mortar absorbs that difference so the surface remains flat. Also, the entire gazebo floor isn't perfectly level. Rather than leveling the concrete, it's easier to add thickness to the mortar so the entire floor remains level. The installed pieces feel super solid and this floor will last as long as the house itself, probably forever.

The Sound Vision completed a stage of work last week, capping off wires and securing cable bundles on the interior. They terminated most of the exterior wires with RJ-45 connectors to connect to cameras and wireless access points. We're just waiting on an already submitted bank draw so they can purchase the rest of the equipment for installation.
Moving inside, Nick and his painters have finished with all the trim and begun cutting in on the walls with the final wall color. In the study, they reinstalled the built in cabinet doors and taped off the painted moldings in prep for wall painting. There isn't any color on the walls in this room, but it's present in lots of other places in the house. Nothing full wall yet, but they'll probably get to that this week.
The wood floor installers have been through the house prepping for their installation. Of course, the concrete isn't level everywhere so they had to make some corrections, applying a leveling compound to low spots. I didn't see evidence of any grinding so at least we don't have any high spots. Leveling compound was found in almost every room of the house, so there was a good amount of correction performed.
I'm not sure what's under the tape, but I'm pretty sure it's related to the floor leveling. It seems like a spacer or reference point for the leveling of the floor. I found two of these on the first floor and none on the second floor, but I'm not sure if they got to leveling the second floor. There was one in the study and one in the kitchen area. They might have a device that sits on this reference point and a remote unit they take around the house that references off this point to determine where the floor is off.
Another small change is that all the wood covering the HVAC ducts on the first floor have been removed in prep for the wood floor install. This is the first time we've seen the ducts since Mike came on the project so it's a good indication of how far we've come. Once we start to see the wood floor, we'll know we're really in the final stretch because Mike is super protective about those and won't install them until he knows the majority of the work is completed.
I think the front niche in the foyer has some of the most complete wall paint applied, even though it's just cut in around the molding. The color is a Sherwin-Williams color called
Passive Gray in a flat finish. The same color will be applied in the foyer, great room, kitchen, and second floor rotunda. It's a bit darker than I remember, but I think it will really make all the white molding pop.
Here's the other niche in the foyer showing the Mindful Gray and the cut in. All the moldings are taped off to make painting quicker but the ceiling is just cut in by hand, which is the correct way to do it. If you try to tape off the ceiling, you'll definitely get a straight line, but it's difficult to line up the tape with the actual corner, so it's easier to see where the color deviates from the corner. I think the ceiling is already painted in the final
Snowbound White but my eyes can't tell the difference between the primer white and the Snowbound. I haven't seen paint cans labeled with the Snowbound but I usually paint the ceiling first. Pros probably have a better way to do it so we'll find out how far along we are.
The Mindful Gray was also cut in, in the basement stairwell, which isn't on the paint worksheet, but I think this is an obvious choice. Paint will really darken up the house and natural light has always been my concern in the rotunda area, so I'm hoping it won't be too dark. I think the only deficiency in our house plan is that the rotunda will tend to be darker since it's in the middle of the house without windows of it's own. House designers usually try to make a house two rooms deep so every room has access to natural light. The rotunda is relying on light from the foyer and the greatroom, so we'll probably have the lights on more in this room, which is fine since we have an awesome chandelier hanging in the rotunda.
The final paint color is being applied to the coffers in the greatroom ceiling. The satin Snowbound white has been applied to the coffer beams so the coffers get their flat
Nebulous White color which is a touch grayer than the Snowbound. The coffers closer to the fireplace appear darker than those near the window and I'm not sure if it's because of the light or if window coffers haven't been painted yet. The scaffold is still set up, so they're still at work, and it looked like there were missed spots in the windows coffers so I think they still have a coat or two to put on. Although both are labeled white, there's a subtle difference between the colors. You can see the difference, but it almost makes you wonder if you're seeing shadows or if it's painted differently.

The rear left and right speakers were also installed in the great room but the rest of the greatroom system has yet to be installed. There's a bit of dust on the cones, but the taping seems adequate to protect the speaker elements. There will be color matched grills applied to hide the speaker itself so it shouldn't stand out too much in the end. Once more of the system in installed, I'll provide more details on the hardware.

This is the paint that's being used for our interior walls. From what I've read online, it's a good budget paint that used by many professional painters for it's coverage and price point, so I'm okay with it. I'm not sure if a more expensive paint works better, or what a better or more expensive paint can provide that this can't so as long as the final appearance is good, I'm happy. I think prices on this paint range between 14 and 22 dollars per gallon for contractor pricing which puts it in the middle range of cost. I've seen varying opinions on the quality online ranging from "apartment paint" to "contractor grade", so it's definitely the highest quality paint. We'll see how it does on durability and longevity.

Porter and Heckman has installed all the vent covers on the second floor so I think their installation is complete. I believe the floor installers are supplying the first floor vents since they're flush mounted in to the wood floor. Since all the second floor vents are in the ceiling, there's no reason to wait to install the vents covers up there. They're all painted the standard white now, so I'm not sure if they're color matched to the ceiling, but in the turret room, they're not. We're still trying to decide if we want them color matched or just keep them white.

The masking was removed from the master bathroom so we can finally get a look at what the floor looks like with the grout installed. It feels great underfoot and the white grout disappears into the tile. Tanja is still bothered by the repeated tile pattern in the middle of the floor, and it bugs me a little but I think we're going to have to live with it. I'm not sure why they didn't spot it before, and while we could request to to be replaced, it might be more trouble than it's worth. I can't wait to feel the in-floor heating.
The ceiling in the turret room was painted but I don't have the name of the color right now. It's some shade of purple and the walls will be a shade of pink, not what you see near the door. Both colors are subtle but obvious if that's possible. You can just make out the return vent in the ceiling, painted white so it doesn't match. We'll ask Margaret's opinion on if we should keep it that way or get it painted to match.

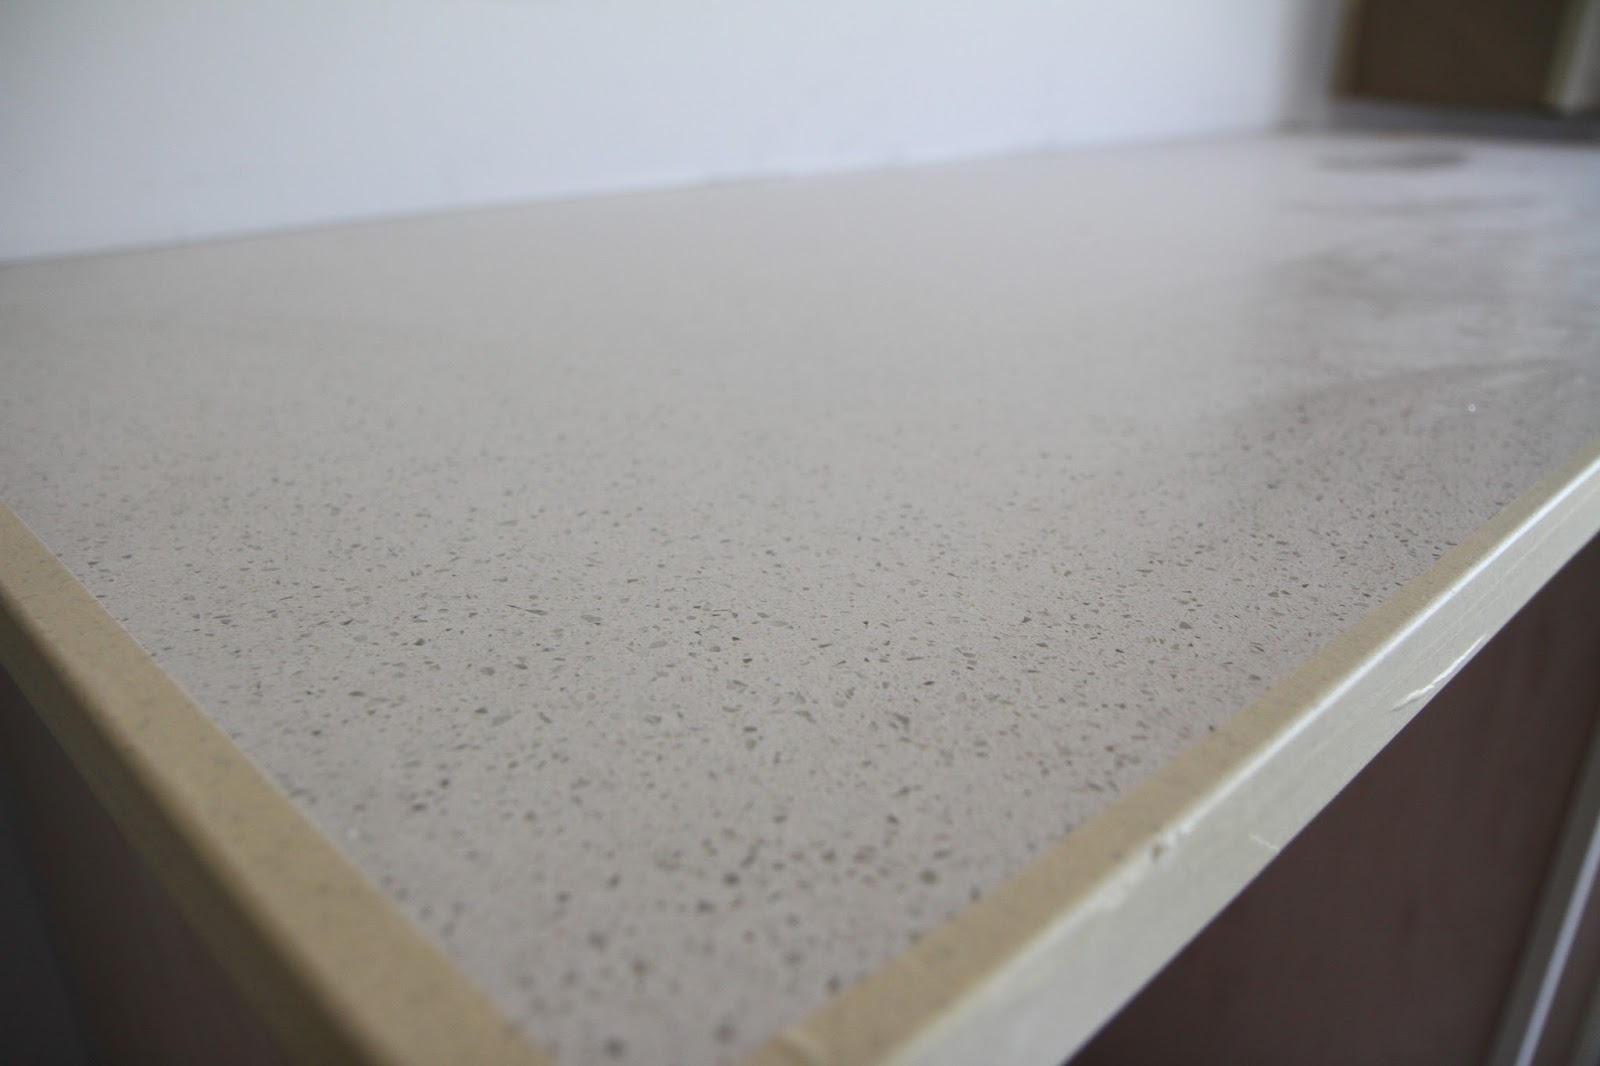
The tile installers finally installed the shower niche in the turret bathroom and grouted most of the shower/tub walls. There's still some grouting needed in the niche, but that shouldn't take too long. The shelf material matches the counter top. I think the tile seam is in the middle of the niche, but it looks off center because of the shadow. This and the master bathroom are the only two bathrooms with built-in niches, the rest using built-in corner shelves. The counter top material is man-made and should provide an easy, non-porous surface which is important in a wet location.

A little more progress in the basement with the final plumbing connections. A small blue pressure tank was added to the water system so it maintains pressure. It's connected to the water input line to the desuperheater. When it's pressurized with air, the internal air bladder will compress when the incoming water pressure is high and expand when it's low so the house water pressure will remain constant. It looks like all the pipes are attached between the two heaters now so it's much easier to see how the water will flow. You can trace the cold water pipe into the desuperheater, which outputs directly into the primary water heater. The output of the primary water heater runs to the rest of the house. The other copper pipe is for the hot water circulation loop, which feeds the water back into the hot water tank, bypassing the desuperheater. There are shutoff valves everywhere so the labor to swap equipment is reduced when the time comes.

The primary cold water line is running down to the incoming water main, but it's not yet connected. There's a hose attached to the temporary spigot that runs outside, but I'm not sure what it's there for. This last connection is all that's needed before we have water running in the house but I don't know if they wait to install it until after all the finished plumbing is in place or if they prefer to have water running in the house to test the faucets as they go in. In any case, water is on the cusp of being finished.

Another piece of the puzzle that fell into place this week is the installation of our hot water circulation pump. I was under the impression that the hot water circulation pump would be something that you switch on so you can cycle the water on demand, but this is the pump that was installed, and it's pretty fancy. Rather than flipping a switch in the bathroom or setting a timer at the pump, this unit has a temperature sensor that's placed on the hot water supply pipe leading to the rest of the house. It measures the drop in temperature when hot water is being used and automatically records the time, learning when the peak hot water usage times are and creating a circulation program based on that information. I'll have to read the manual more to determine if it's possible to turn it on, on demand for those odd times someone needs quick hot water out of the normal schedule, but this should conserve water for us 90% of the time.
That's about it for this week. We have a meeting later in the week for a walk-through with Margaret to determine towel bar placement around the house. I'm expecting painting to wrap up this week so we might see some wood floor soon. Progress should continue on the gazebo and steps. Mike said final electrical is scheduled for the 17th and Great Oaks is starting prep on the driveway, so we need the Sound Vision to coordinate with both of them for their final installations. First week down in our last month with three weeks to go! It seems like it will be a tight finish.