Showing posts with label Cobblestone Cabinets. Show all posts

Sunday, May 1, 2016

Raising the (porch) roof and talking about elevators.

   I had a meeting with the elevator installer on Friday, so this post is a few days short of my normal spacing.  The crew generally doesn't work on the weekend though, so there wouldn't have been any progress after I left.  The forecast called for some rain, but I was lucky enough to be at the site during some sun, but the temperatures continue to hover around the 60s.  Looks like we're having a real spring this year.

   Here's the progress on the front porch.  They've finished installing all the deck joists at 12" spacing in anticipation of the Azek that we'll use.  The front of the house still needs some joists, but it should be finished within a few days of next week.  They remove a section of the ICF to install the ledger board, and use joist hangers against the house.  The joists are currently sitting on a 2x8 spacer on top of the beam, which is bolted to the beam itself, and joist hangers will be used to nail the two together.  Pretty standard deck construction.  They're holding off construction of the porch roof on this side of the house for some reason.  It might have something to do with roofing shingles for the top of the house and ease of access.

   The roof on the back side is simultaneously going up and here's what has been completed.  Since the roof doesn't have to be as structurally strong as the deck, they don't have to remove any ICF from the wall to attach the ledger board for the roof trusses.  Posts hold up a sistered beam, which holds up the porch trusses that are constructed on site.  Much of the roof decking is already installed here too.

   Here's what the underside of the back porch looks like.  When it's completed, the structure will be covered with a bead-board material in a natural stain color.  We're not sure if we'll use an Azek or wood for that.  The vertical pieces are temporary supports.  The porch roof around the corner will contain the remote blower for the kitchen stove so there should be enough space up there to house it.

   Here's the beginning of the gazebo roof.  The beam that separates the gazebo and porch will be raised a bit higher since it's coming down below the 8 ft height of the porch, but it won't be as high as the beams for the gazebo.  The underside of the gazebo will have a cathedral ceiling so the center will probably top off around 12 feet or so.  The idea right now is that install a stone bench around the exterior of the gazebo that will have a short rail on top that also acts as a back rest, but I'll have to check to see if that meets code.  The side of the gazebo that I'm standing on will have an outdoor wood burning fireplace.  We tried to seize the gazebo to be able to contain both seating around the fireplace and at least an 8 person table.

   Here's a shot of the back of the house now that the porch roofs and gazebo are going up.  I can't wait to sit out here on rainy days enjoy a cup of something warm.  I'd be tempted to poke up a fire and sit out here in the middle of winter.

   Here's how the back porch roof meets the garage roof.  It's not ideal and gives me some cause for concern since it's never nice when two roof planes create a valley against the house.  The should be enough slope to shed water, but I can see this area becoming an issue for debris during the fall.  Ideally, the fascias of the two roof sections would have been at the same elevation and the back porch could have terminated into the garage roof, but you can see there's a few inches of discrepancy between the two.  The height of the porch roof is limited by the master balcony around the corner so we can't raise it up.  This is probably the best way to do it and at least it's outside the envelope of the house.

   Here's that valley from above, taken from the master bedroom window.  At least I'll be able to see when there's crud up there and climb out with a leaf blower to clean it up.  There looks to be enough pitch to shed water, but I can just hear that pine in the back ground saying "Have fun cleaning up my droppings!"

   So the reason I was out there was to meet with the elevator installer and get info and quotes for that beast.  We weren't sure if we wanted it installed for move in so it wasn't included in the price of the mortgage.  It will be installed and maintained by A4 Access and is a hydraulic lift type, as opposed to a chain lift.  For our install, it comes in at a fairly reasonable 28k so we'll have to see if we have room in the war chest to installed right away.  If not, we can prep the elevator shaft for the day when we do want and need it.

   We have a meeting on Monday to finalize the Omega cabinets for the kitchen so we can squeeze the order in before the price hike.  Most of the other cabinets around the house will be either a slightly more cost efficient Omega Dynasty, or a much more cost efficient Homecrest.  Future decisions are really starting to be set in stone and we're almost at the half way point!  We're thinking that in two months, we'll see all mechanicals installed and drywall nearing completion.  Here's hoping.

Monday, March 28, 2016

Roof, walls, and turret

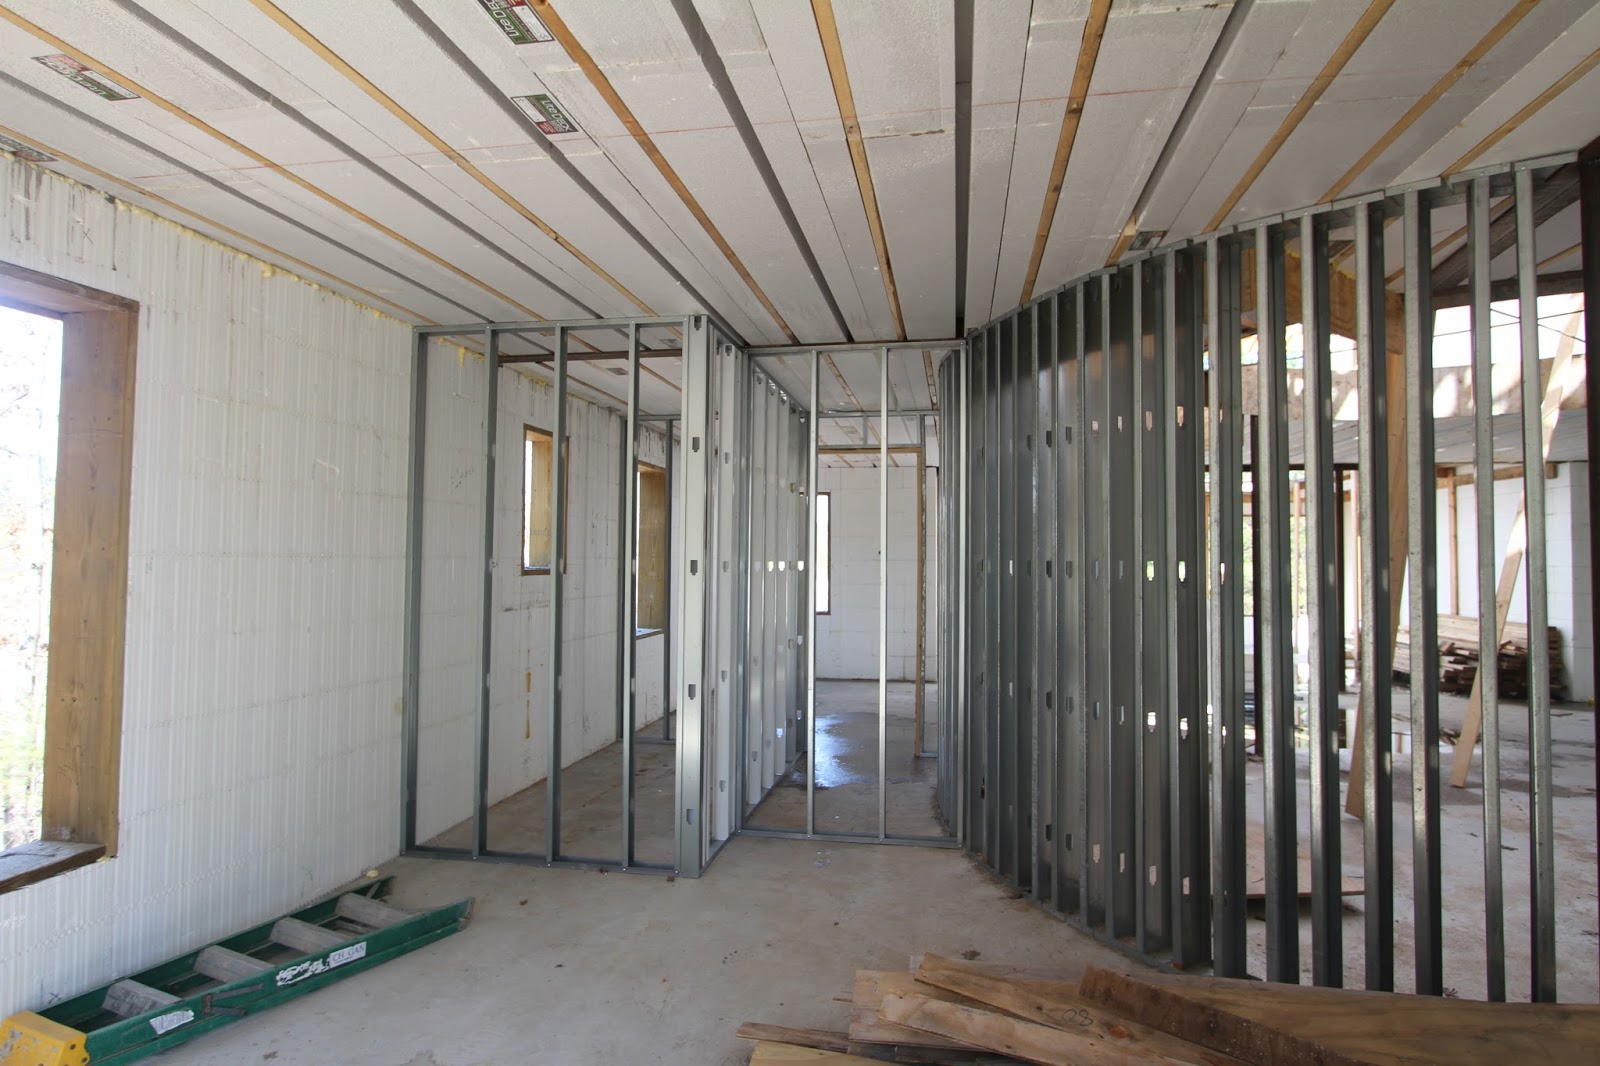
   I got a chance to visit the site on a sunny Easter day and was greeted with more steady progress and some surprises. The entire garage roof is now sheeted in and the structure for the fascia is in place so we can see where the front porch roofline will meet up.  More decking was installed on the second floor in the front of the house, but the connector trusses have yet to be created.  The interior kitchen wall stud was erected so we could get the cabinet designer out to measure the space for final ordering.  The surprise is that they also erected the stud walls on the first floor between the study and guest room.  

   Here’s the state of the house from the front.  You can see that the garage is sheeted up to the house, the roof on the front of the house is almost completely sheeted, and the windows on the turret have been corrected.  It’s a huge difference for the turret, as the windows are lower to the floor, down from about two and a half feet to two feet, and the top is corrected so the entire height of the opening is seven feet.  

   The windows of the turret take up seven of the ten feet in height, giving two feet under the window as per code, and one foot above.  You can see the exterior is covered in plywood, which was slotted from behind to allow it to curve.  The height of the turret is visibly above the height of the ICF wall next to it.  The truss interface between the turret and house plane will be interesting to see.  We’re hunting for a nice finial (thingy that goes at the peak of the turret) so if you have any good ideas, leave a comment!   

   The garage roof is now connected to the master closet since the entire garage roof decking is completed.  The truss structure that was above the double garage door is now obscured, and you wouldn’t know that special engineering was required to create that plane.  The little space around the master closet is enclosed and it’s a pretty awesome space.  More pictures on that later.  The very peak of the roof decking doesn't meet since there will probably be a ridge vent up there.

   Here’s the awesome space that’s created from the Lite Deck that supports the master closet, and the space under the garage trusses.  I don’t think any other structure will be put in here, but I could see the possibility of more supporting 2x4 being installed.  Maybe the roof pitch and proximity to the structural master closet wall is enough to support the static weight of the roof and any snow that might accumulate on it.  The space is pretty large and the roof is high enough to stand under for most of the space.  There’s a little bit on the other side of the master closet corner.  As I mentioned before, I’m not sure about the safety of creating access from the master closet but we’ll at least be able to have access from a hatch in the garage ceiling.  Good place to hide presents.

   Here’s what the kitchen looks like with the side wall installed.  I verified the wall length measurements just in case so it looks like we’re ready to order cabinets.  The right corner of the kitchen from the door towards the back will be for the double wall oven and some cabinets.  From the door forward, we’ll have the fridge and freezer columns.  There’s just over five feet on that wall so we might be able to squeeze a 36” fridge and 24” freezer, or a 30” fridge and 30” freezer in there.  We also have to account for the space that door molding and side panels will take up on that wall.  The opening between the wall and elevator is the doorway for the butlers pantry.   With the fridge/freezer being on the left of the door to the mudroom  and the double oven being housed in a cabinet to the right of the door, we weren’t sure where a light switch could go.  Turns out, with structured wiring lighting control, you can get away with a ¾”-1” depth box, so it can be mounted in the oven cabinet.

   Here’s what the turret looks like now.  Huge difference between the first iteration.  Small piece of advice to everyone out there building a house: Always double check the work!  The windows are ordered so while correction wouldn’t have been too bad since it’s all just wood construction, it’s still money lost from wasted materials and time.  The windows themselves will be a 2’x5’ casement topped by a 2’x2’ static window.  My only worry is how cold this area will be during the winter.  Hopefully, between the high efficiency, low air infiltration windows we bought and proper insulation/air sealing of the studs, it won’t be too cold.

   Here's the panorama of the turret view with the new window openings.  The windows are so tall, I couldn't capture the entire height.

   Here’s the progress of the roof decking on the second floor.  Most of the front of the house is covered with roof plane interfaces needing attention.  The back half of the house will needs the truss interface between the main part and the greatroom, so that will need to be constructed before the decking can go on.  Also, the turret and turret trusses needs to be completed since it will probably intersect the main house plane. 

   This one was a pleasant surprise.  This is the doorway from the guest room into the guest room bathroom.  It’s only five feet wide, but it will be enough for a bathroom with a shower.  We’re planning on also having a no threshold shower in this bathroom since our guests won’t need a tub.  Just on the other side of this wall is the study.  The window in this room is a static oval window.  The plan right now is to have the toilet below the window and the vanity next to the door with the shower on the far wall.

   Here’s the guest room doorway to the walk in closet.  I know there’s really no reason to have a walk in closet for the guest room, but there wasn’t a great way to expand the bathroom into this space so we left it like this.  I think the wall will stay curved inside this space so it will have a neat look to it.  It’s only just over 4 feet wide and part of the depth is taken up by an alcove from the study.  

   Here’s the wall from the study side.  You can see the alcove that will house some kind of countertop built-in for charging devices or holding shared printers.  We currently both have our own desk spaces and computers so we’ll want to have something functional in here.  We’re having some difficulty figuring out how we’ll configure this space for our work spaces since the large windows are only two feet off the floor and it might look ugly having a desk in front of the window.  I think the best use of space would be having two corner desks with a low bench connecting the two that runs under the window.  The downside is that we'll be facing away from each other into the corners.  We have Margaret thinking up some good ideas.

   One last parting shot of the house from standing on top of the concrete retaining wall.  Eventually the front porch roof will intersect with the garage roof where the long fascia support is.  It's getting really exciting to see so much progress each week.

   This week, our kitchen designer, Eric Johnson from Cobblestone Cabinets will be visiting the build to take measurements for cabinet ordering.  We're hoping that we can get the order in before the expected price increase later this month.  Being one of the most expensive items in the house, it would be great to save a few thousand dollars on cabinets.