Eli originally scheduled for the utilities and water lines to be trenched on the first day back after the labor day weekend, but instead had the crew start installing the paver patio stones. The pavers have been onsite for a couple weeks now alongside the base sand pile and there's no reason why they couldn't start it. Sprinkler lines and low voltage wiring have already been installed to the center planting bed and the bonding inspection has passed so everything that needs to be buried is already in the ground. The paver install will be a pretty laborious project. After leveling the base sand, the majority of the paver stones can be laid without much work, but all the edges will need to be cut to shape. It's especially labor intensive on this pool since both the inside and outside edges of the patio are curved. On top of that, the outside edge will have two curves; the curve made by the main stones, and the curve made by the soldier course. Despite all the work involved, Eli is predicting the pavers will be completed by the end of the week.

The majority of the work completed on the first day was in the deep end and front of the pool. None of the outer edge was cut to shape, but some of the edges along the pool coping was fitted completely. At this stage, it's possible to carefully step on the stones, but since they're not secured with the polymeric sand, you don't want to put too much lateral pressure and movement on the stones or they could slip.

The crew roughed out nearly to the large sunning area of the deck and used a few of the pallets of pavers. The edges of the center planting and grass will still need to be finished, but the majority is in place. After having the back yard torn up for most of the summer, it's nice to have a finished surface to walk on.

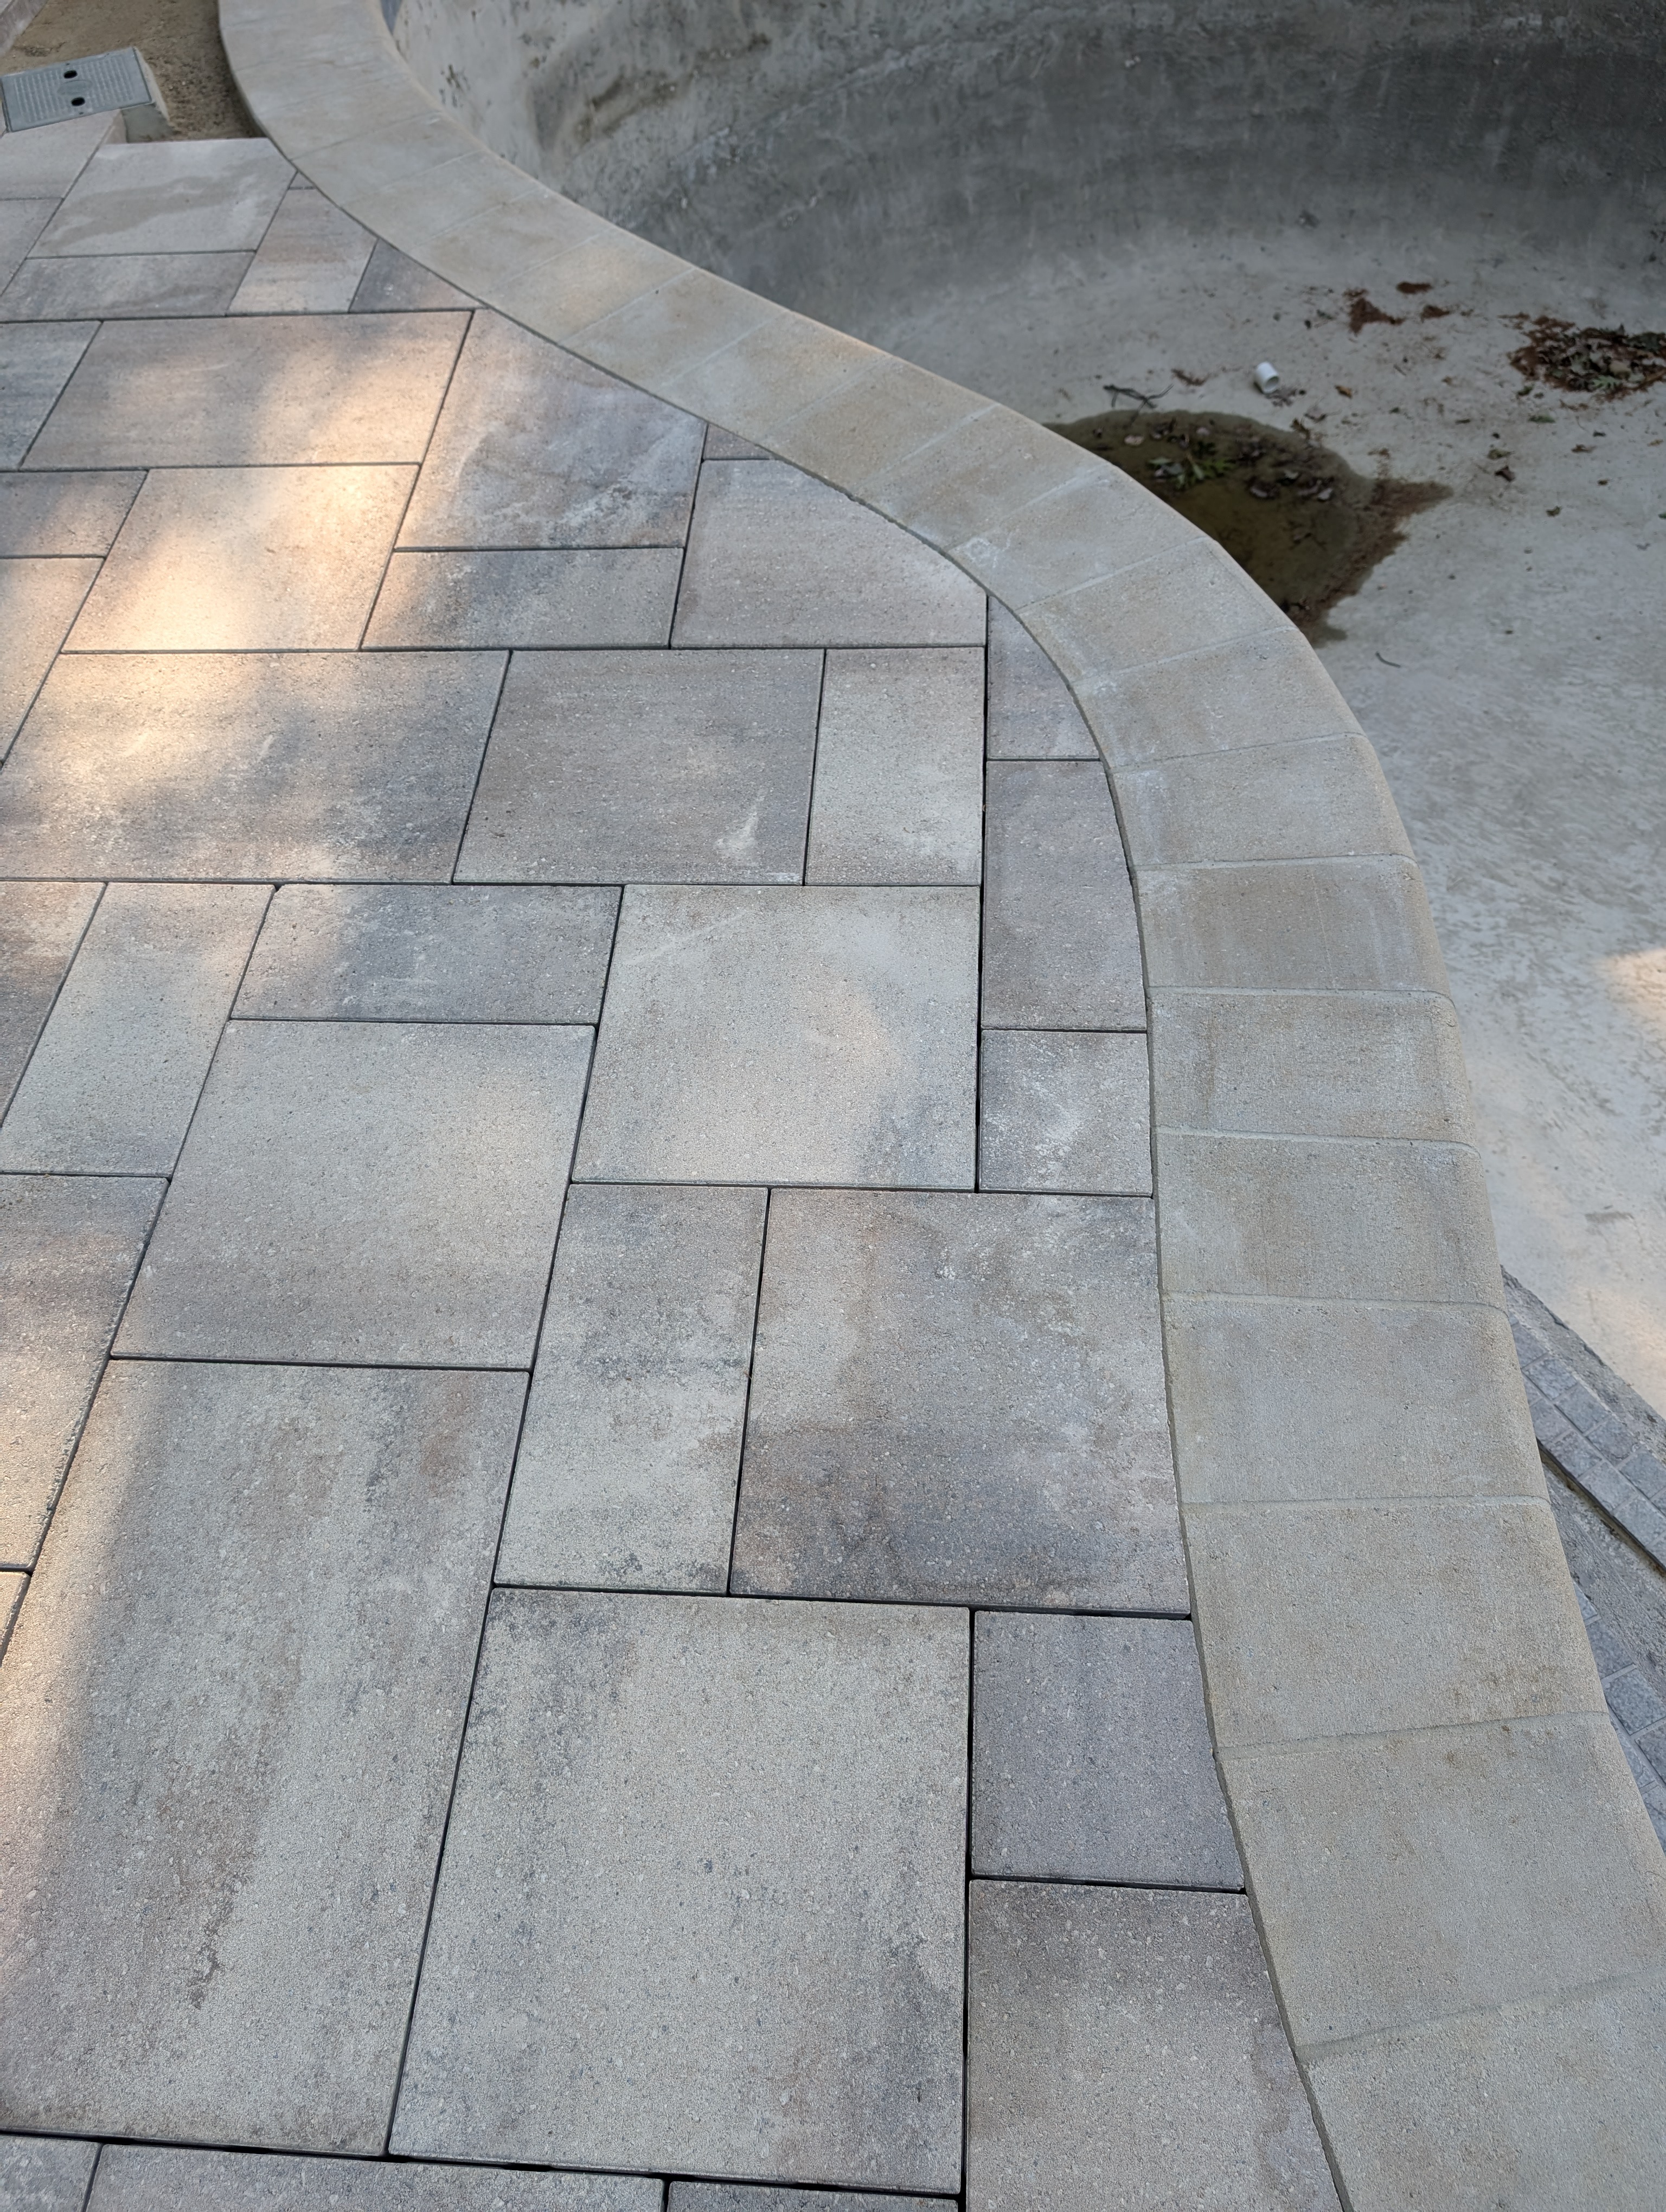
Some of the small pieces were cut up against the coping stones, which lend a glimpse into the final product. The paver stones are flush with the top of the coping stones and should have a slight slope away from the pool so water drains to the grass, and not into the pool. All that's left when the paver stones are completely laid is to sweep polymeric sand into the cracks, which will lock in the stones, and hopefully prevent weeds from growing in the cracks. The stones are slightly dusty so the color is a little washed out and homogeneous. You can see a little of the darker veining in the concrete stones, but it will mostly be a natural color pallet. We've used concrete block coatings in the past on other projects. It's basically an epoxy like coating that lends some protection to the blocks and darkens the color for a wet look. I don't believe we'll be using that type of product on these pavers. Concrete pavers are salt water resistant so I don't think we'll have to worry about durability with respect to our salt water pool system.

One of the skimmer clean out boxes is in the paver section with the other being in the rear planting bed. The pavers are nicely cut around the clean out box and sit flush with the top. You can see that the bonding beam is covered with a layer of leveling sand.
This section of pavers is near the swim out steps and is nearly completed. There will be a 3-4 foot paver path leading to these steps and will be bordered by the planting bed sandwiched between the pavers and the boulder wall.

No comments:
Post a Comment