Winter is decidedly here now that snow is falling and accumulating on the ground. We're expected to get a couple more inches of accumulation this coming week so there's no shaking it. Finishing touches are progressing well at the house and this next week should see larger progressions as well. The railing for the porches were installed with only a single small mishap. The tilers are progressing well in the kitchen, but no definitive completion date has been mentioned. Drawer hardware is being installed around the house and door handles are starting to make their appearance. We haven't seen sign of progress from the electricians or plumbers in a week but I think they're due to make an appearance this coming week. Lots of little things and a few big things to accomplish still before we can even think about the final round of inspections.

We visited the house later in the day since Tanja had a weekend shift. That gave me the opportunity to take the girls sledding on the driveway for the first time. There's enough slope on the driveway near the house to give them a gentle 50 foot run without colliding into any trees. It's easy to fall into "what if" scenarios when it's late at night and the snow makes everything serene. With the installation of the porch railings, the exterior of the house if almost complete. We're still waiting on the hanging light in the barrel vault and of course landscaping will have to wait until next year but this is very, very close to the final look. The porch lights provide a good amount of light in the darkness and offer a very homely glow to the house. Interior lights make the house look occupied. All that's missing for this season is the soft glow of holiday lighting.

The railings came out just as we wanted. We opted for a dark railing so it wouldn't draw attention away from the rest of the house or the white columns. We didn't want a white picket fence look and thought a white railing would make the space feel more enclosed. The railing is made from powder coated aluminum so I'm expecting longevity. They're solidly installed with little to no wiggle. The straight sections of railing are attached to the blocks on the columns while the curved section has stand-alone posts.
Even though the railings on the curved sections aren't supported by the posts, they're fairly solid with a slight wiggle. They're secured down into the deck with additional blocking underneath. I suspect if someone went for a full run tackle into the railing, it might have the chance to break free, but it would have to be a fairly large person with a good amount of speed and all disregard for personal injury.
The railings are at a comfortable height and the gaps between the balusters are at code. The girls did climb up onto the lower railing and at their age, have no way of climbing up over the railing. It's nice to be able to have them running around without fearing they'll run right off to a 10 foot drop. You can see there's a small amount of snow on the deck, but not very much. I'll easily be able to handle this with a plastic shovel. This space will be nice to be able to walk on in the deep cold of winter as it remains dry and clear of snow.

The same railing was also installed on the back porch. This very important section protects against the long drop down to the storage door and it's a relief to finally be in. Although this section has it's own post on one side, it's attached to the porch post on the other, making for a very sturdy installation. We're considering installing a bar height counter top in this area that would sit above the railing and slightly above the barbecue counter. This space could fit at least 4 bar stools and would be a nice place for entertaining.

The railing continues around the gazebo, using a shorter railing on the built in seating so that the top of the railing remains at a consistent height. The railing is installed to line up with the center of the gazebo posts and offers a good depth to the seat. It's still possible to lie down on the benches and the height of the railing offers a nice backrest when sitting. The depth of the seat is enough where the back of your knees is still supported but you don't have to recline to rest your back on the railing. There's a surprising amount of snow in the gazebo so it looks like I'll have to clear this area more than the rest of the porch. It could be that the snow was coming up from the south and there was enough wind to blow it in. Shoveling it shouldn't be an issue since we have stone back here. I don't think the fireplace would get hot enough to melt the snow away.

The small gap between the gazebo post and fireplace was filled with a short section of railing. The railing height on the seat is low enough where we had to warn the girls to be careful around. If they were standing on the seat, they could pretty easily flip over the railing, so supervision will be necessary.

Since were at four risers on the back steps, a railing was required. The original plans called for three risers to try to avoid this, but something changed in the implementation and we couldn't get the grade up that high. The implementation is a little unfortunate because the railing takes up so much of the stone landing at the bottom. I'm okay with the far railing remaining in place since past that will just be a garden, but I think we might remove the closer railing after inspection. When coming from the rear garage walk out, the railing creates an inconvenient barrier that you have to walk around to get up the steps. Combined with the shortness of the landing, you almost have to walk onto the grass to access the steps. Removal will be easy, just fill the wood and replace one stone tile on the landing. It will probably be required for COO inspection, so here it currently stays.

Cabinet hardware has begun all around the house. There's still a shipment required to receive most of the hardware and some won't arrive until the end of the month, but what's here is already starting to get installed. Here's the slightly industrial hardware for the built-ins in the study. If you'll recall from the last update, they're the same design as the dining room built-in, but in a different colorway. I couldn't take a good picture of the dining room installation since the lights in there aren't functioning yet, but they're installed horizontally for a lower profile look.
The entryway closet is housing a box full of interior doorknobs but some of them have been distributed to the second floor with a few already installed. I think all the knobs have been delivered so the completion of installation should happen pretty quickly.
With the completion of the staining and coating of the basement railing, if could now be installed. It feels very solid with no wiggle and it's as smooth as the railing to the second floor. The hardware matches the rest of the finishes perfectly so we're really happy with how this turned out. I replaced the previously installed LED candelabra bulbs with frosted and higher equivalent bulbs, so tihs stairway is much better illuminated. All that's left for this space is to have the treads stained and coated.

Since I didn't get a picture of it last time, here are the little crystal and metal leaves that will be hanging on the Comet 21 in the rotunda. As far as I can tell, the electricians haven't been back to the house since the initial height settings so all the leaves remain in their bags near the fireplace. If you look closely, you can see a little "U" shaped clip. I think that's where it clips onto the skeleton of the chandelier. Hopefully this is easy to do so maybe once every few years we can remove them all for a good soak to remove any dust that accumulates.

Castro and the tile installers got pretty far with the backsplash tile installation in the kitchen. There was a lot of discussion on whether the tile should be oriented horizontally, as shown, or vertically, with the chevrons pointing upwards. I think the tile was designed to be installed vertically but we've always envisioned the kitchen with it installed horizontally. Now that most of the tile is installed, we're very happy with our decision.
The white grout will tone down the tile a bit since you're seeing a lot of the spaces between the mosaics, but the darker marble tile will always be there. The seams between the sheets should disappear too and be near invisible when done.
The tile is completed all the way to the oven, so there's really just the cooktop area to the ceiling and the floating termination point to finish, then on to grout. From this distance, the lack of grout is less apparent and you can kind of get the idea of what the final look will be like. The under cabinet lights illuminate the backsplash well, but there's not much gloss or sparkle to the natural stones so the tile is much more subdued.
Here's the progress on the entire kitchen. They should be able to wrap up the tile installation this week so the next update will hopefully have a completed tile backsplash and maybe even an installed kitchen hood. We're still waiting for the fridge, freezer, and dishwasher to be installed and none of the appliances have power but hopefully that will happen soon. We're trying to get the house into a state where all the dusty work is completed so they can wash and put a final coat of oil on the floor.
Since the kitchen backsplash tile doesn't terminate into something near the sliding door, a small border is needed to finish the edge. There was a box of this thing pencil edge tile located in the kitchen that will be used for that purpose. It's also a natural stone of some kind that looks like small aggregate and has some sparkle to it. I'm thinking it's a white quartz or something. There was more in the box than needed for the kitchen, so I'm not sure why there so much extra.
The double swing pantry doors were adjusted to meet perfectly. The right door that used to have swing issues, swings perfectly well and locks in both directions. Some force is needed to overcome the spring force of the doors, but it's not exorbitant. No hardware will be needed here, but I might consider installing metal wear plates if the paint becomes too worn.
The cover plates that hide the spring mechanisms were installed, completing these doors. I love the look these hinges provide, and really add to that modern Victorian look we're going for. I'll also love it that these doors auto close unless forced to 90 degrees, so I don't have to always close the pantry doors, which always seem to mysteriously open themselves.

Another smaller box of interior door handles was found upstairs near the fireplace. The door handle installation started up here first and many of the rooms have boxes of doorknobs distributed near the door they'll be inhabiting forever so these just need to be distributed. For some reason, the protective cardboard on the fireplace up here was removed but it doesn't look like anything else was done to it. The finishing bezel wasn't installed and I didn't see any change to the logs on the inside. The fireplace installers will make one more visit to clean up the log arrangement and ensure the functionality of the fireplace. We'll need to resolve the gaps between the metal surround and fireplace box on the first floor first.

The railing on the master balcony is a little different than the railing on the rest of the house. The top, bottom, and railing posts are the same, but here we opted for glass rather than balusters so we could have a less impeded view of the forest. The glass is a quarter inch thick, tempered, and feels solid. There's supposed to be another piece of glass and railing installed on the sloped side, but someone cut the glass too long. Since it's tempered, you can't cut it on site, so we'll need to wait a bit more to have that piece installed.

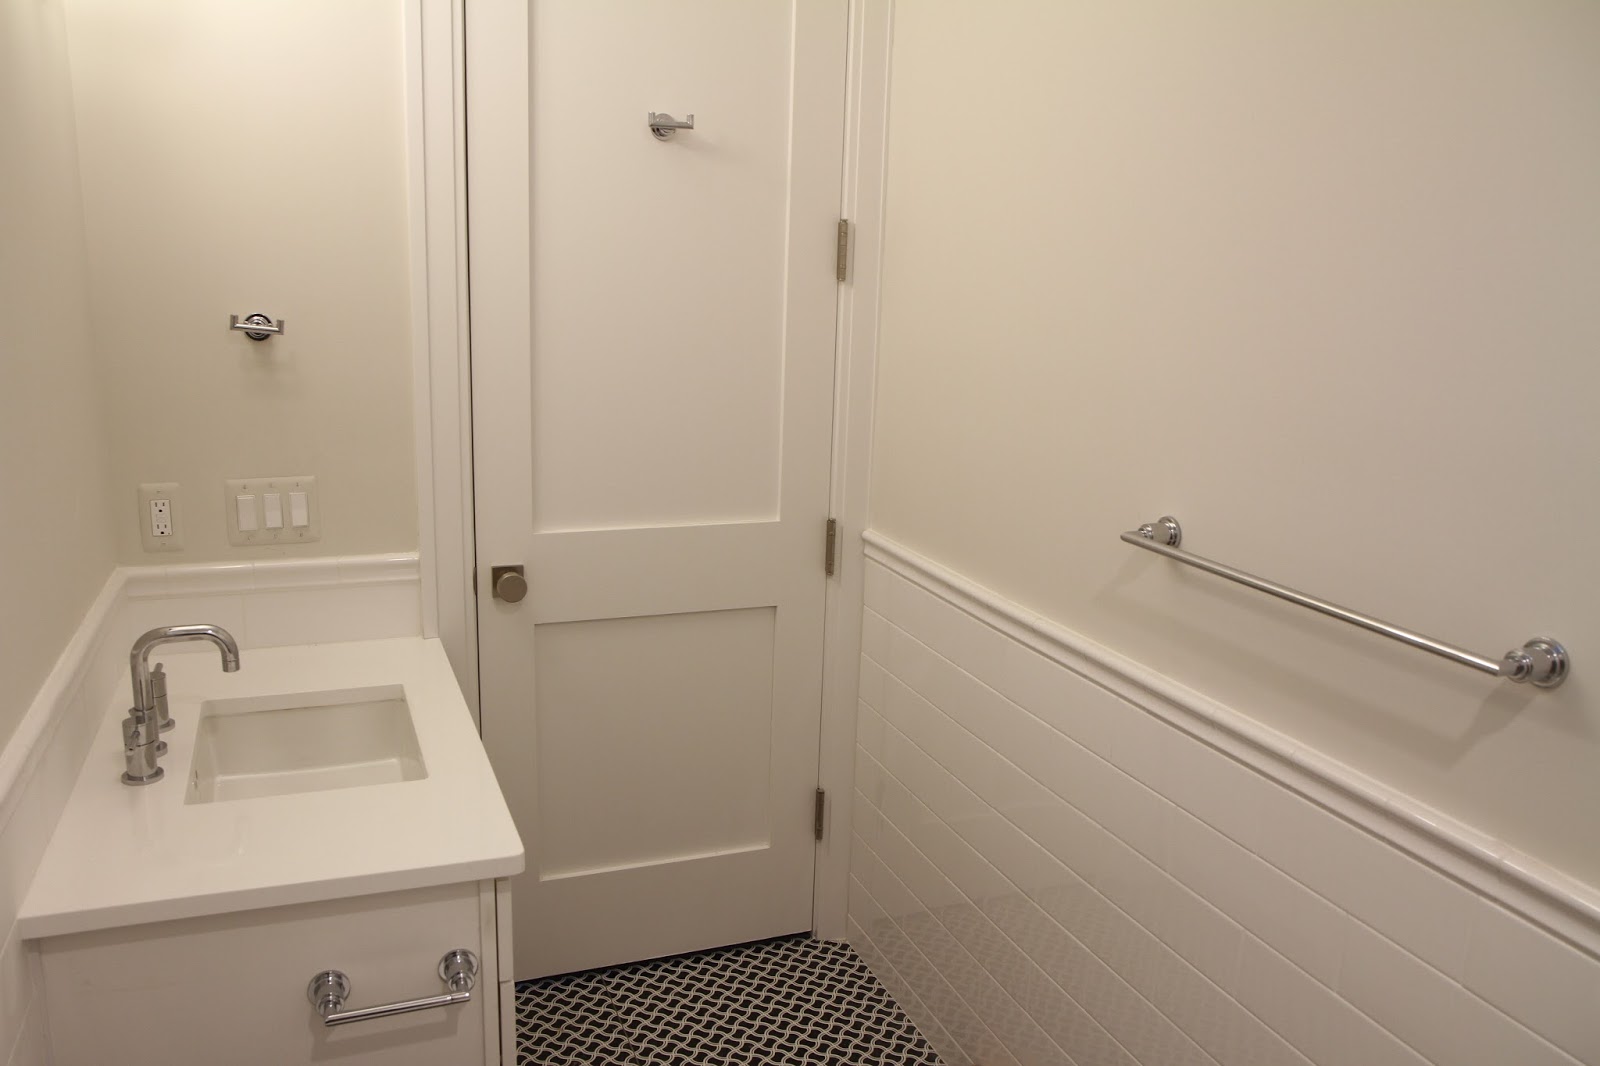
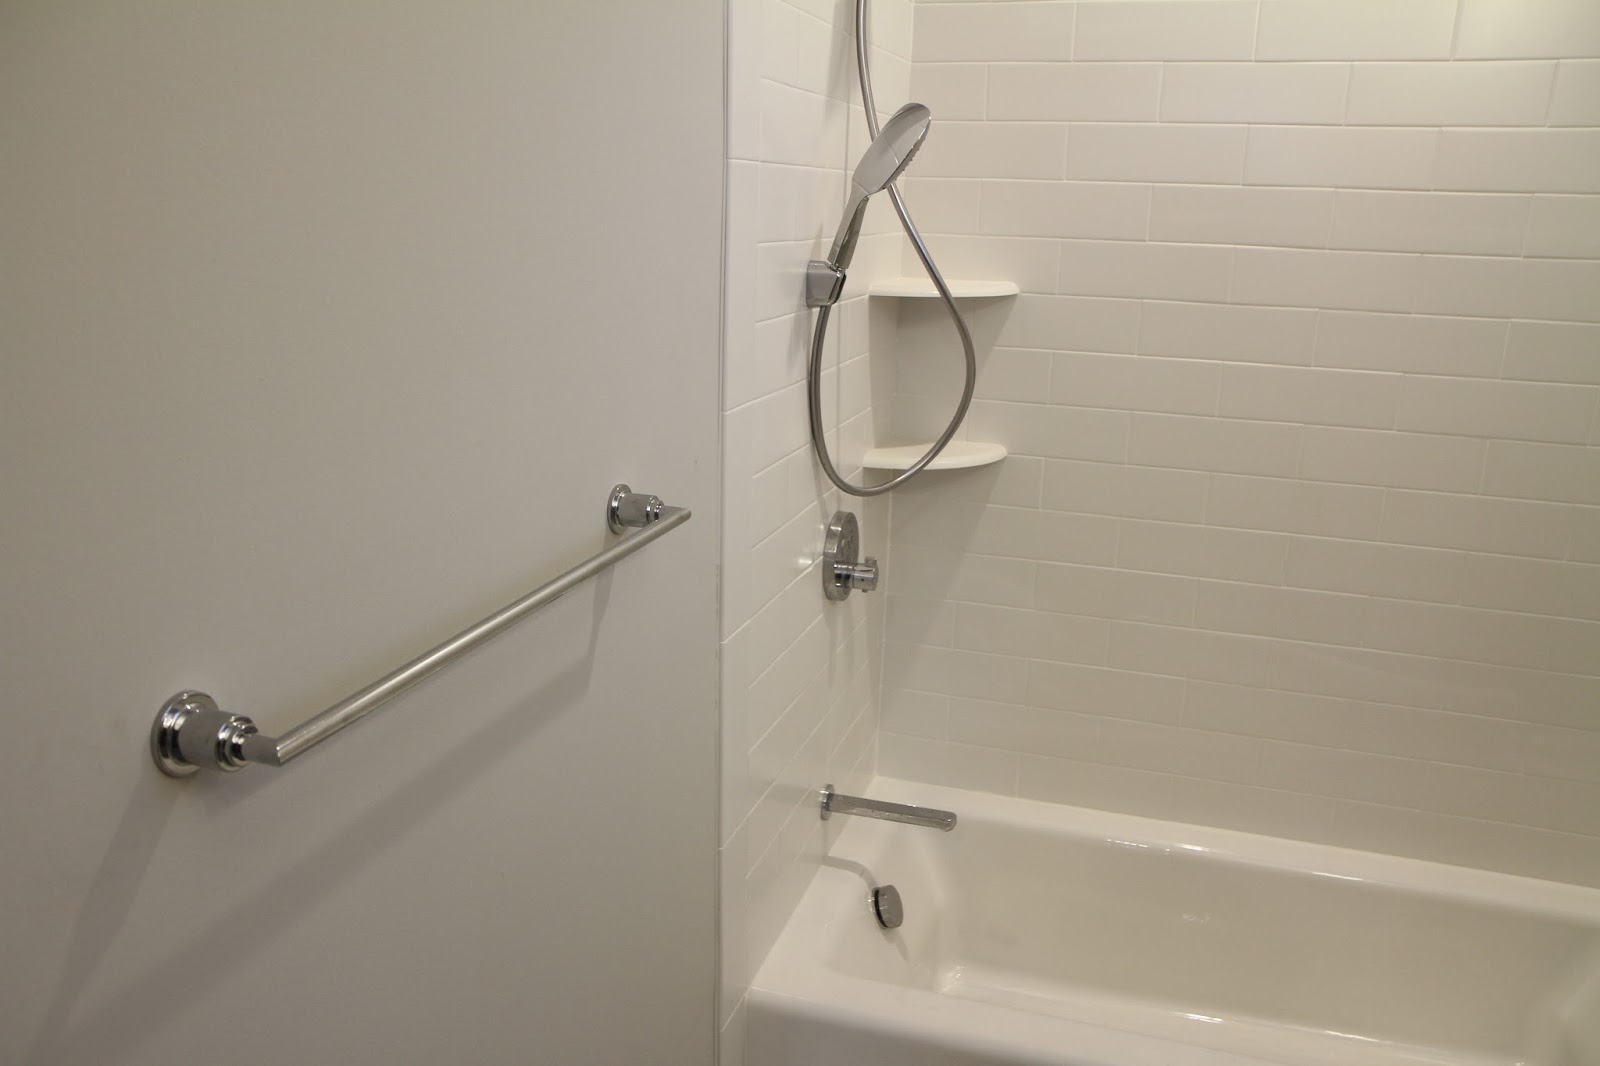
Towel racks, towel hooks, and toilet paper rolls have made it to the house and are ready for installation. We already did a complete walk through with Margaret to determine where we wanted these things installed. Except for the master bath, all rooms have the same style accessories. These will probably be installed this week. Before the walls were closed up, we had blocking installed in every perceivable location for grab bars and accessories, so now we finally get to use the fruits of our planning. I hope our planning was comprehensive enough.
Most of the master bathroom hardware has arrived, but there are some smaller handles that we're still waiting on. This style handle will be installed on the master vanity. They offer a clean look to match our more modern floating vanity and feel great in the hand. We opted for hardware from California Closets in the master closet, but they pretty closely match this hardware in the adjoining bathroom.
The wall mounted faucets in the master bathroom are still in the box, but staged for installation when the plumbers get to make their way back into the house. I'm, anxious to see how these will look and more importantly how the water will fall into the sink.
The tile installers finished the tile baseboard around the bathroom. All the plumbing of the bath tub will remain as is for move in so we can wait for the special tile that will be installed on the curved wall. That tile will come right down onto the tile baseboard and onto the flats of the wet wall. After it's installed, we can finally get the bath tub installed.
The tile guys also installed the shelves in the master shower nooks. They're made of the same material as the counter top on the vanity so there's no worries about staining or sealing. These pieces were cut down by PMP stone to fit and our tile installers performed the installation.
I was wondering if they would need to cut and remove some of the penny round tiles on the back but it looks like they're relying on the shelf being embedded in the side tiles to support the shelf. It seems like it will be a sturdy installation since a large portion of the back bench is supported in a similar manner. There won't be nearly as much weight on the shelf as there is on the bench too. The notched the shelf to fit around the marble profile tile to provide a more finished appearance. The side tiles still need to be grouted once the back mud dries.

There are also a few other pieces of counter top material waiting to be installed. We were wondering how they'll finish off the thresholds to the shower and it looks like we have the answer right here. The piece on the left looks like it perfectly fits the threshold to the shower. We were trying to go as low profile to the threshold as possible, but couldn't achieve a zero threshold. If they install this piece, it will definitely raise the height of the threshold, but it will look fantastic. I guess we'll just have to wait and see how high it makes it. The three other pieces are the counter top material cut to use as the supports for the bench in the shower. They'll be installed with the narrow part on the bottom so there's less touching the shower floor and not as much space to get nasty.

The Emtek door handles have been installed in the turret bedroom and laundry room, a total of 5 so far with many more to install. The round, flat knob is the same style as the ones we had installed on the other exterior doors, but we got the square base to match the panel style of the interior doors. They're very solid feeling with no wiggle in the handle before the throw is actuated. They feel very high quality and should last a life time. As we age, we might change them out to a lever since those are easier for older hands to operate. For now, we'll go with form over function while we're "young".

The door hardware in the laundry room was also installed. Once the washer, dryer, and backsplash tile is installed, this room will be done. We went with some more simple handles in this room, but I can't remember who manufactured them. Thin and clean with some sparkle, they'll complement one of the nicest laundry rooms I've ever been in.
I forgot to take a picture of the awesome spray pattern of our laundry room faucet. We totally didn't expect this, but the faucet, with a pull down handle, sprays in a broad fan pattern. While useful for washing dishes, this is also perfect for use on clothes. The tub basin is deep enough for hand washing clothes and the fan pattern of the sprayer will be great for washing out soap.
Here's the brushed stainless tile that will be installed in the laundry room. It's going to be used on the backsplash behind the faucet, as well as all the way across the wall, over the laundry machine counter and other side counter. Tanja has been eyeing a space for this tile ever since she saw it online and this is the perfect place for it. It compliments the gray cabinets well and will be absolutely radiant with all the natural light this room gets. I'm really excited to see this tile go in.
That's about it for this week. Castro and his tile installers will hopefully finish up the kitchen backsplash so they can move on to installing the back splashes in the mudroom, laundry room, and other two upstairs bedrooms. We're expecting the wood floor installers to come back and complete the installation on the second floor so that Distinctive designs can return to install all the remanding baseboard shoe molding. Lots of electrical and light programming setup to complete, as well as final appliance installs. Hopefully next weeks update will have all the nice near finished pictures everyone loves to see.