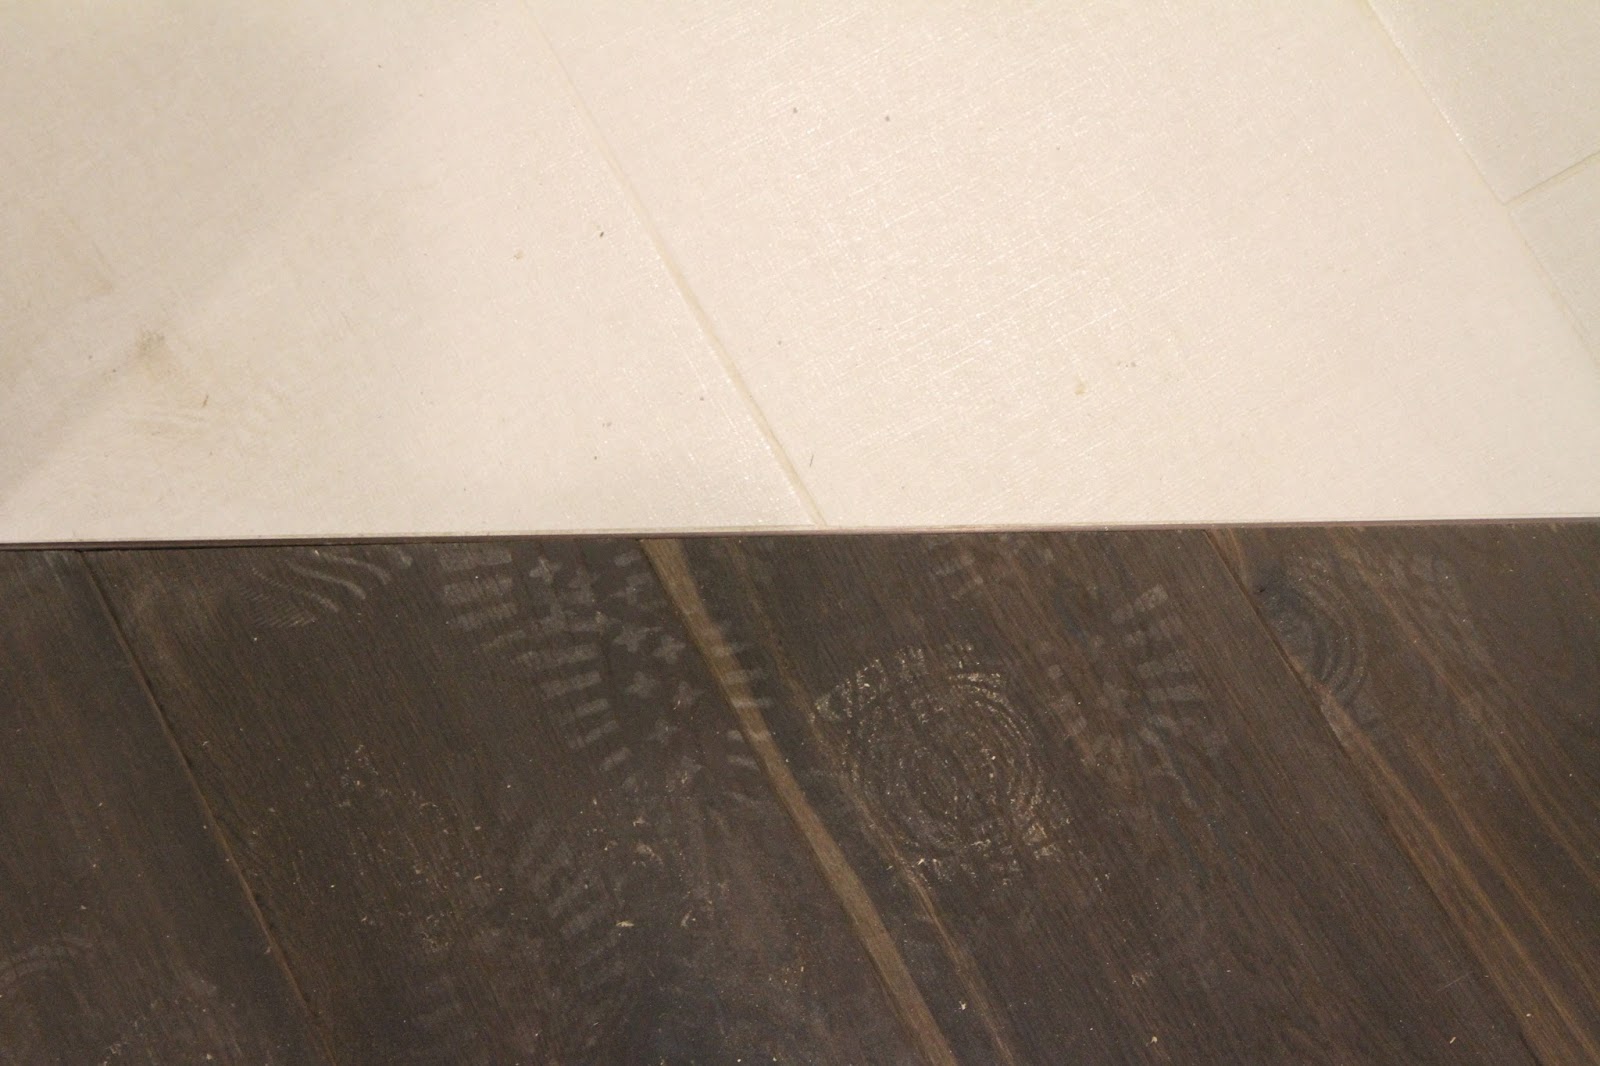
We're in single digit temperatures this week with a surprise Christmas snow dumping of 6 inches. While it's not as much as other places around the country, it's enough to appreciate the installers drudging through the un-cleared driveway to push for the final installations. This week saw progress with the tile installations, wood floors, and lighting/Control 4 installations. All the rooms are now individually controllable by the light switches, but it will still take a final tweaking to get everything fully functioning. All the final plumbing is now installed and functioning, but we're swapping out the shower heads in the second floor shower. They just don't spray as well as we wanted and seem to be more of a rain shower than sprayer. There aren't a lot of tasks left, but there's a good amount of man-hours ahead of us before we can call it our own.

I lugged my little single stage snow blower out to the house this visit to try to remove as much snow as I could. Mike is trying to find a local to clear the snow from the driveway, which is good since there's some compacted snow and ice I can't chew through with my blower. I did clear the snow from the motor coach. It didn't take a ton of time and it was fun blowing the snow off the wall into the woods. I'll probably need a better solution when we move in, so I see a large two stage in my future. Distinctive designs was on site installing shoe molding on the first floor and the wood floor installers were working on the second floor.
The holes left by relocated sconces were patched and painted so it's like they were always in the right place. Unfortunately, one of the painters broke the glass shades, so we had to order another one before these can finally be installed. One step forwards, half step back.
The electricians and The Sound Vision coordinated to get nearly all the lights functioning and programmed. The individual switches for each room control the rooms lights, dimming them on and off. The dimming can be interrupted with a second button press so we have lighting control from the plates. All the other buttons on the plates aren't programmed yet and will be functional after we decide what we want to do with them. They can be used to control other lights in the house, set lighting scenes, or control music volume.
Winter is here, or at least it's now lit. Lighting was finally connected to the dining room so the recessed and
Hubbardton Forge Winter is now functioning. The frame of the light illuminates with LEDs to make the geometric shapes look like they're falling out of some kind of dimensional portal. The light hangs at about eye level and even while sitting, the lights don't glare too much in your eyes. The light is mostly for ambiance lighting, but it does shine down to where the future table will be.
Here's a close up of the geometric shapes. They have a sand blasted finish, so they don't reflect much light, but surface does illuminate a bit against the LED lights. We didn't get to see what this looks like without any natural light in the room, so we don't know how much it illuminates the room on its own. I don't expect much light from it, but it will make a good mood light.
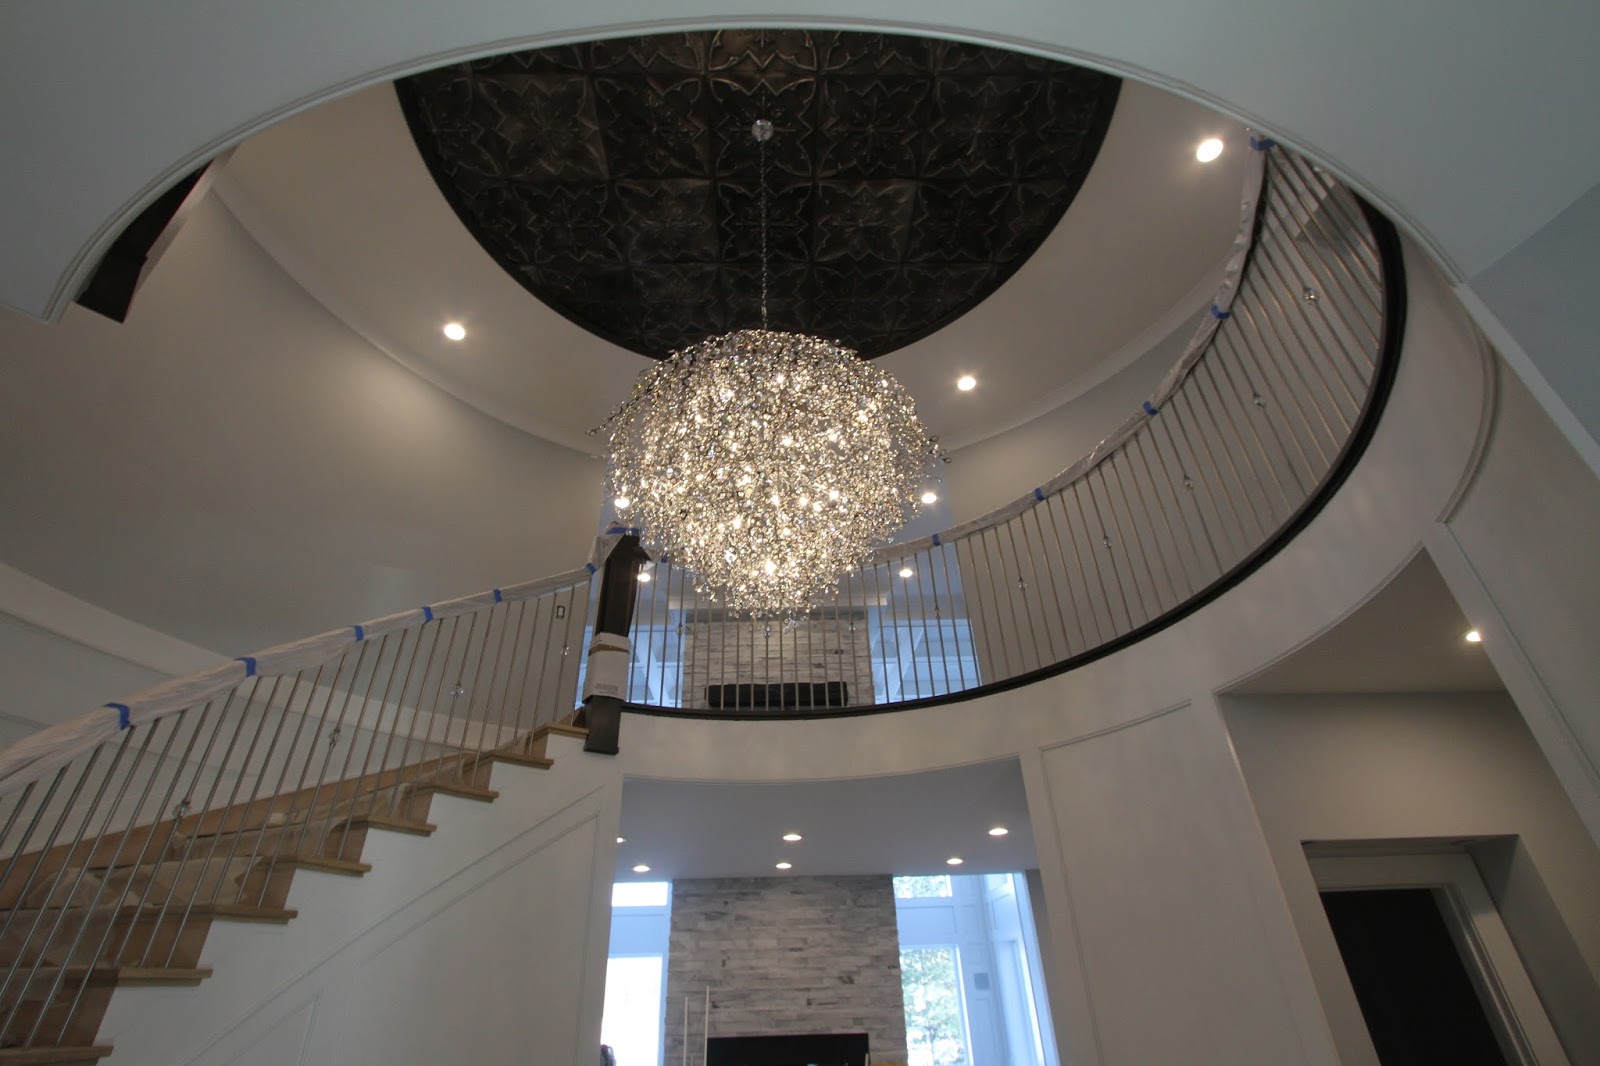
The Comet 21 installation was also completed this week with the hanging of the metal/crystal leaves. All the LED lights were installed and all but one of the LEDs were functioning. I'm not sure if it wasn't installed properly or if the bulb itself was faulty. We're really happy with how the light looks and it's installed at the perfect height. From the entry way, we can still see the second floor fireplace and the bottom of the light.
We had the light hang within the boundaries of the rotunda railing and second floor. I was a little concerned with the width of the light and how much of the rotunda space it would fill, but there's still plenty of air space around the light fixture so it doesn't feel closed off. The
Comet 21 is the perfect light for the space. When we first saw it, I pointed it out on a lark since it seemed so outrageous and over the top, but I'm glad we selected it.
You get a better view of the light as you climb the stairs, getting to eye level about halfway up the stairs. You can still see the skeleton a bit, but the leaves mask the shape a bit. It's kind roughly diamond shaped. and provides a good amount of light. We illuminated it alone right before we left. It provides enough light to see where you're going, but isn't excessively bright. The leaves cast reflections and diffraction around the rotunda which was an unexpected effect.
A last look from below. I'm not sure if you can spot the light that is out but it's in there somewhere. There are a few leaves that stick out more than others and Tanja will want them normalized, but I like the slightly unorganized look. I didn't center myself but the light is centered in the tin ceiling.

The hood, fridge/freezer, and dishwasher was installed this week. The remaining tile above the hood was installed, so the lower hood could be installed, but we're still waiting for the chimney to be installed to hide the vent pipe. The halogen lights in the hood are functioning as well as the blower. I turned both on. The blower didn't seem excessively loud and it didn't seem overpowering, for all the effort we went through with the make up air. The built in lights are bright but I might swap them out with LEDs some day. We discovered that the fridge panel wasn't delivered with the initial shipment so we need to swing by the store to pick it up before we can finalize the fridge and freezer. The cabinet panel supplied by Omega isn't fitting the Miele dishwasher well so Mike contacted Cobblestone Cabinets for a solution. The mounting points on the Miele didn't line up well with the wood of the cabinet face so it wouldn't attach well.

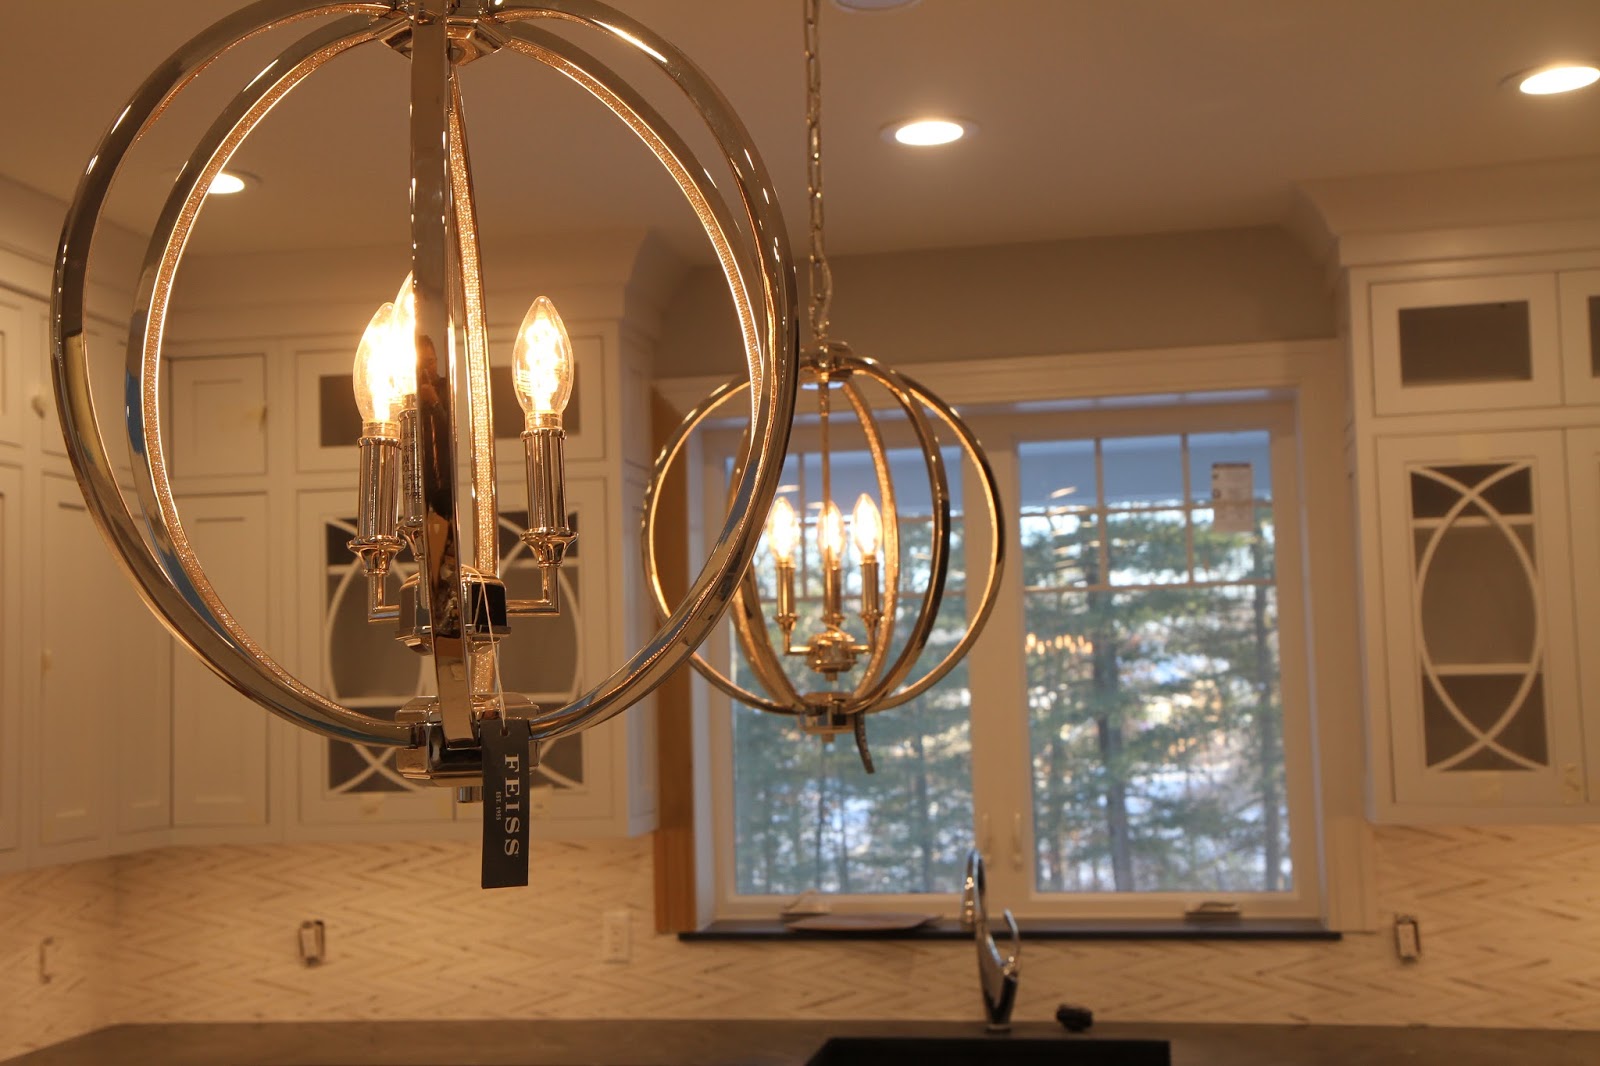
Both of the island pendants were brought to the final height. I might switch out these LED bulbs with something a bit brighter, but the lights are otherwise functioning well. We're having some issue with the loss of adhesion on the crystal strips that line the inside of the sphere. I don't know if it's a fault of the fixture itself or if there was some issue with the installation. Every time we visit the house, we need to press the adhesive strip back into place. We could probably add a bit of glue to fix the problem, but we'll only do that after we've exhausted all our other options.

The faucet was replaced since the previously installed one had a slight tilt to it. We were skeptical that replacing the faucet would fix the tilt, but it appears to have been corrected. The faucet was also hooked up to water and power. It uses power since it has touch control capabilities. You turn the faucet on to the volume and temperature you want then touch anywhere on the fixture to turn it on and off. There's a small LED at the base of the fixture that turns on when they touch function is operational and the water is running. It changes from blue to purple to red depending on the temperature of the water. It works really well and should be helpful on a daily basis. The faucet has a pull down hose and sprayer that covers the entire sink. I didn't take a picture of the drain, but it's a little different that what I was expecting. You can see the strainer/stopper in the picture. The drain and garbage disposal doesn't have the normal rubber baffle installed, although it came with the garbage disposal. I think you're supposed to used the strainer/stopper during normal sink operation and lift it out when you want to put larger items down the disposal. As far as I can tell it's not a batch disposal so I'm not sure why it's installed this way.

Here's a look at the fridge and freezer installed. As mentioned, we still need to install the stainless steel panels. Other options were to have cabinet panels made to cover the front exterior, but we like the look of the stainless steel panels more. The freezer on the left is a 24" unit and the fridge on the right is a 32" unit. They each have their own compressor and water filter.

Here they are opened up. The door hinges allow for about 95 degree opening. They don't slow close, but they air sealing doesn't really allow for the doors to slam shut either. The upper door shelves on the fridge and all the door shelves in the freezer are adjustable. The door shelves aren't deep enough to fit a gallon of milk, but they can fit a half gallon. The lower door shelves on the fridge door aren't moveable and only really fit a can or condiment bottles. They're not full depth units and are fairly shallow compared to even other counter depth units. I'm not sure what's in the back that takes up so much space, but the full columns should make up for the lack of depth. There's a handy pull out card that shows which foods to place in which drawers. There's supposed to be an air filtering system that removes the ethylene gas produced by ripening foods so that the other foods will last longer. The shelves are adjustable but don't have a fancy adjustment system found on other fridges. We do have refrigerated water but the dispenser is inside the fridge unit on the inside left. There's also an ice maker and storage bin in the freezer. The energy start sticker in the units adds up to just over $100 of annual operating cost, so they're definitely efficient. It seems like Subzero eschews fancy features in place for reliability. I hope their philosophy holds true.

The Miele dishwasher was installed and powered on, but waiting for the front panel to be installed. All the control are on the top edge of the door so there's nothing visible from the exterior. I did play around with a neat feature on this model, knock to open. While we'll have hardware on the cabinet face, you can knock on the front of this unit and an arm will push open the door for you to further open. This arm also pops open the door after a wash cycle to vent the steam and facilitate in drying. The door is a little stiff and the springs will need to be adjusted.

There are three levels of racks in this dishwasher. The top rack is used for flat cutlery washing. The center of the top rack can be lowered a bit to accommodate larger knives and cooking implements. This rack removes the need for a cutlery basket, allowing for more space for dishes and glasses. The second level is slightly height adjustable and should be used for medium sized plates and cups. The lower rack is sized for large plates and pots. Multiple internal LED lights slowly illuminate as you open the door providing good light to the interior. We didn't run it yet, so I'm not sure what the noise level is like, but I'm expecting it to be as quiet as our current Bosch.
A box of cabinet hardware is waiting on the kitchen island, waiting to be installed. These will probably go on this week as the hardware in the rest of the house is already installed. We're just waiting for the kitchen, master bathroom, and guest room for final hardware installation.
The remaining tile was installed at the top of the hood location and the lower part of the hood itself was installed. We still need to install the chimney section of the hood before we can call it complete, but it's a big step to have all the backsplash tile installed and mortared. The cooktop still doesn't turn on yet but since there's no gas smell nor any lighter clicking, I think both need to be turned on before it's operational.
The pot filler was also installed but I didn't have the guts to try it out since I didn't have anything to catch the water in. I think the pot filler will occasionally be nice to have around for when we sous vide or cook a big pot of corn, but don't see using it for normal pot filling.
Here's a shot of something I didn't get last time. The kitchen backsplash tile doesn't have anything to terminate against on this side of the kitchen so a pencil tile was needed as a termination. We couldn't go straight down from the edge of the cabinet because it would have placed the tile through the switch. Luckily we had the option to install the pencil molding tile at the edge of the counter top, which should provide enough space for the switch plate.

The backsplash tile in the mudroom bathroom has been installed but still needs grout. The tile is a clear glass mosaic topped by a thin clear glass tile. It matches the colors of the rest of the mudroom and provides a clean appearance. We're also replacing the faucet in this room. We love the faucet itself, but when combined with this sink, a longer neck is needed since the distance from the mounting hole to the sink is more than that of the other rooms. This faucet would need a longer neck or stronger spray, but it has a standard neck and laminar spray pattern. The water falls too close to the back of the sink, so we're replacing it with something that has a longer neck.

Lights have been installed in the garage. The garage doors came with lights that can be tied to the operation of the doors, but we opted for these LED worklights. They provide a ton of light for the entire garage and will do well to serve us, even in the cold. Normal fluorescent tubes have trouble lighting in the cold, but since these are basically strip LEDs in a tube form factor, we don't really have to worry about temperature. Since these are in the garage, we had the code requirement for no ceiling penetrations, which lead to surface mount only. Recent advances in LED technologies make these a great alternative to the old shop lights.
A little progress on the installation of the Tesla Wall Charger, but it's not hooked up yet. The electrician needs to get a security torx bit to open the unit to hook up all the wires. There's also a breaker box around the corner but no NEMA 14-50 installed yet. After these are installed, we can call DTE to install the EV charging meter.
The correct parts for the Hubbardton Forge Theta were finally delivered and installed so the light could be lowered to it's proper location. They sent us some extension parts, but in the wrong color so we needed to return them and wait for the correct parts to come in. After we finally got them, the electricians got to work installing the pieces. The Theta sits about level with the Comet 21, sitting in between the railing and the floor. It's still high enough to not impinge upon where the TV will be mounted so everything will be lined up perfectly.
The recessed sconce that wasn't working last time is now functional so all the lights in the greatroom are now hooked up and working. We didn't stick around until dark to see how well everything is illuminated, so we've done it in the past. The overhead lights provide a good amount of light and we plan on having table lamps for more directed lights near seating areas.
The shoe molding is going in quickly, already finished in the great room. The nail holes will need to be filled and maybe some touch up paint applied. The pieces are being painted in the basement and have been prepped for the past week. There are still a good number of pieces left in the basement, ready to be installed on the second floor when all the wood floor is finally installed up there.
All the floor has been installed in the second bedroom upstairs and the installers were finishing off the closet. This is the first room on the second floor to have completed wood floors, with the master bedroom probably being second. From there, they'll move onto the rotunda and finally the turret bedroom.
The backsplash tile in the second bedroom is also installed. It's similar to the mudroom bathroom tiles, but they're not transparent glass and the molding tile is black instead of clear. Like the other rooms, it still needs to be grouted, but after that, this bathroom will be completed.
The hardware for the second bedroom bathroom was delivered and installed before we could even see them off the doors. We only needed three knobs in this room since there was only two drawers and one door.
They're a stainless steel metal with a silver carbon fiber inlay. We planned a little more of a masculine look for this bathroom as opposed to the more feminine appearance of the turret bedroom. If plans work out for us, we'll have an occupant for this room that will fit the appearance.
The metal backsplash tile in the laundry room that was installed last week has now been mortared. Once we get the machines set, this room will be completed. This room was the first to have the floor installed and will probably be the first completed. We're planning on installing a craft table in here, so in a sense, it won't be completed for move in, but it will be the first finalized within the scope of the build.
The grout is a gray color that compliments the steel tile well. All the grout is a sanded grout, which adds strength and durability to the compound. I guess there's not much to say about this besides that I like how this turned out. This tile selection was always a favorites of Tanja's and it's nice that we got to incorporate it into the house.
The panel to the upstairs Control4 switches was attached so they must be done with the physical installation of the system. There's still a little more programming needed to get all the lighting circuits on line, but most of the house if functional. After we move in, I might paint this panel white to match the walls, so it's not so obvious. There's also one space that's not occupied by a controller, so I'm hoping there's a blank we can insert into the panel. I'm planning on installing some rigid hanging bars in front of this for drying clothes. As long as the clothes aren't dripping wet, I'm not worried about water infiltration.
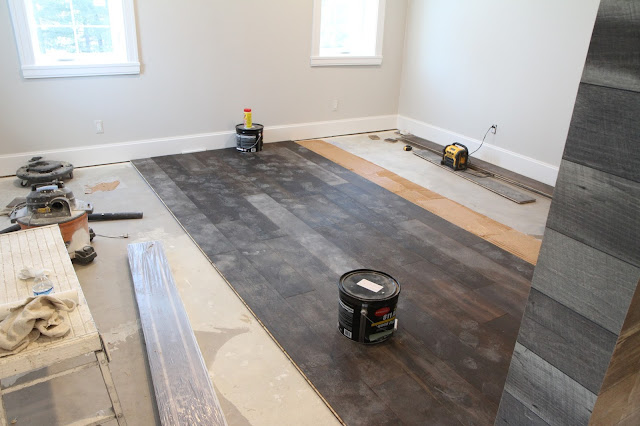
Here's the progress on the wood floor in the master bedroom. They took the section that came from outside the room and expanded it to go around the dividing wall, then filled in the portion on the bed side of the wall, seen here. You can see the light brown glue they trowel onto the floor before setting each piece of flooring. They'll work towards the wall in both directions until this room is completed.
The in-wall faucets were installed in the master bathroom and are fully functional. All we need for this room is the hardware and medicine cabinets. The under cabinet light is still having some issues that The Sound Vision needs to work out so their operation is a little spotty right now. I haven't seen or felt the in floor heating yet and the panel that controls them, located in the water closet, doesn't seem to be powered so I'm not sure what the status of that system is.
Here's a closer look at the Dornbracht faucet. It flows well into the sink and the controls are easy to use; left and right for hot and cold respectively and tilt forward for volume control. I think Tanja is going to make me re-index the temperature control to the 12 o'clock position every time I'm done using so it looks nice and pristine every time.
The thresholds for the master shower were also installed. It's the same material as the counter top, window sill, and shower bench. We did notice something odd about the installation that I've already made Mike aware of. The outside of the sill has returns on both sides, but the inside here doesn't have one, being replaced with a blob of thinset. I think something wrong happened with the installation and it's all on the tile installers. The thresholds came to us as a single piece and I think the tile installers needed to cut some out to fit the wall and form the returns.
Here's the other entry into the shower with the return intact. Either they accidentally cut the one side off and couldn't epoxy it back into place or it broke off and they didn't think we would notice the discrepancy. As I said, Mike is aware of the issue and will bring it up with the tile installers.
The bench supports were also installed in the master shower and all the grout in the bottle nooks have been applied. Other than swapping out the anemic shower heads, this shower is completed. We're happy with how the bench turned out and the angled supports should make cleaning the tile a bit easier. We entertained the idea of a trough shower drain, but decided it added too much cleaning complexity for very little aesthetic payoff.
Not much change in the basement since the EV charger is still being installed. The panel for the first floor Control4 lighting system has been installed so I think they're finished with the physical install for the first floor systems. All the programming can be performed remotely so even when we want functionality expansion, we don't need to be home to do it.
That's about it for this week. I'll get one more visit before the new year, but the update will probably be finished in the new year. We're expecting more flooring and tile completion, as well as more shoe molding installed. There's really not much else to complete so the updates will be pretty repetitive from now on. We're still hoping for a COO in a couple of weeks and maybe starting the moving process at the end of the month. Tanja is predicting at least February for moving and I'm starting to trust her timing judgement. Hopefully she'll be right this time too.