Showing posts with label Rough Carpentry. Show all posts

Friday, December 30, 2016

The calm before the storm

   With the hectic holiday season almost done, our minds can turn back to the business of working on the house.  Even though it's the time between Christmas and the New Years, progress still continues on the house in ways that make visiting exciting.  We're surprised to see progress during this time considering last year this time, we had just gotten the second floor walls poured and work came to a halt because of the concrete curing and deep snow.  Now we're full steam ahead.
   While the business with extending the mortgage works it's way through the underwriting process, the bank has already authorized Mike to request draws, which is good because the current trades are knocking down tasks and spending money to get there.  One of the biggest differences with Mike is that he's not afraid to extend his own reputation and money out there, knowing that the draws will complete and he'll get paid back. It's refreshing and much less stressful not having to advance draws out of pocket, only to get the repayment swallowed up by constant budget overruns.
   We got a chance to visit a couple of stone suppliers to get eyes on some black onyx for the powder room vanity.  The plan is to either have an open metal cabinet design with a back lit onyx counter top, or a floating onyx apron front counter, both using a basin sink.  We really like the three dimensional look of the black cloud onyx and found a good distributor/fabricator so we only have to buy what we use.
   The snows of the previous weeks have melted away with an unexpected thaw and we visited the site on a sunny, but 37 F day.  We happened to get there just as Mike was pulling up, and one of his carpenters was already on site mocking up the design for the bracket mounts that will flank the garages.  Although we didn't get to visit the site on the holiday weekend, we still found some progress in key areas.
    Even with the melted snow, the gravel Mike got down in the driveway is holding fast and the way up is solid all the way to the house.  Tarp was placed on both the front and rear door of the single bay garage door to help shield the materials from wind and snow.  They'll probably tarp up the double bay too to provide a sheltered work space once the weather gets cold again.  A small platform was erected to the left of the garage doors, off the deck, to provide easy access to the garage bracket area.  I didn't get a picture of the mock up, but  it allows the bracket to sit proud of the cedar siding, while also providing a mounting location for the sconces that will flank each door.

    These twins are currently sitting in the garage, ready to be hauled up to the second floor.  They're the Kohler Bellwether apron front cast iron tubs that will be installed in the two kids bedrooms on the second floor.  Specs say they're 327 lbs each but the only stairs to the second floor are temporary in design so I'm not sure if they can handle the three to four guys plus tub weight.  Nevertheless, they'll be making their way up to the second floor some time next week so they can be set and inspected once all the plumbing roughs have been completed.
   The insides of the tub are a little dirty right now, but it's probably normal.  Like most cast iron tubs, they're ceramic coated for a durable finish.  These tubs are a little troublesome for installation and trim fitting since the overflow drain side of the tub has a good amount of slope to it.  You need to match up a tub filler spout that's at least 7 inches long, which limits the selection a little.  I think there's also a little rough plumbing magic that needs to happen to get everything to fit.  Despite the weight of the tubs, it's good we're on concrete floors and the orientation of the tubs are perpendicular to the concrete beams so there's no issue of floor support.  They have little cast iron feet, so I'm not sure if a concrete bed is still poured under the tub, as is done with acrylic and fiberglass tubs.

   Some carpentry work continued in places where the plumbing had to run under the first floor ceiling.  Here's the foyer where the turret bedroom bathroom drain plumbing needed to run across the concrete beams and down the right side wall.  We couldn't run the pipes parallel to the beams because this room opens into the rotunda with no wall to drop inside of to the basement.  The front door will be an eight foot arch top door with two partial arch top sidelights so the arch you see in the door rough is the door frame itself.  The trim carpenters will have a fun time trying to fit the door molding in where the pipe soffit is, but I'm sure they'll figure out a way.  We might look into arching the soffit above the door to follow the shape of the door, but I'm not sure if we'll keep that arch near the side walls.  It's just one of those things that we'll figure out before drywall goes on.

   Roxsul insulation is being installed in all the drain stack and pipe soffit locations to dampen the sounds of rushing water in these spaces. Since these spaces are on the inside of the house envelope, we're not so concerned about temperature insulation, but the Roxsul adds a level of sound insulation.  It's especially important in the pipe chases, because without it, the enclosed empty spaces would act as a resonating chamber for water running through these pipes.
   The ceiling in the powder room was dropped down about six inches to allow for the bathroom vent to sit flush in the ceiling.  This was another area where we couldn't run a chase parallel with the floor beams so it cuts across the beams, under the level of the ceiling, and into the adjoining pantry, where it can then go up into the ceiling chase and out of the house.  Both the powder room and pantry have the ceilings dropped a bit, but since we're using nine foot ceilings, loosing half a foot in a small room isn't very perceivable.

   One more piece of the puzzle falls into place.  A door frame was added for the basement access door.  There still might be some figuring out to do around the support post on the left.  The posts are usually integrated into the wall, with studs surrounding it for drywall attachment.  We'll have to see how this lines up with the stairs and the curved inner rotunda wall.  These little additions means that all the big things have been completed.

   Another place where we had to drop down the ceiling due to second floor plumbing was in the first floor guest room bathroom.  Although the layout of this bathroom and the one above are nearly identical, a steel structural beam complicated the second floor drain routes since they needed to duck under the beam.  This means that we had to install a soffit in this area, but rather than just make a box, we took it across the width of the room. This area drops right where the walk in shower is so there's really no issue since it will actually define the shower space a bit better.  Again, having nine foot ceilings helps here since we needed to drop it about eight inches.  If we had standard height ceilings, this shower could start to feel a bit claustrophobic.  The plumbing and entrance for this shower will be on the left since the toilet sits on the exterior wall on the right.  The plan is to have a floor to ceiling glass shower wall.

  Two places that have inconsequential plumbing soffits is in the garage storage place.  Much of the master bath plumbing and all of the laundry room plumbing runs through this area on it's way down to the basement.  I say it's inconsequential because it's not in the primary living space but it's good that it will still be concealed behind drywall. Even though this space doesn't have any ducts supplying it, I'm not too concerned about freezing temperatures.  For one, it's inside the main envelope of the house, so enough heat will permeate it's way into the space.  Second, it's connected to the garage, which is also ICF, so there's an added layer of frost protection.  Third, the soffit will be insulated with Roxsul so any heat that does make into the space will be kept there.
   Here's another look at the plumbing soffit in the storage space.  The electricians haven't started up on the interior of the house, but they'll have plenty of spaces to run wires through once they do.  The main trunk of electrical routing to the second floor can be done through the HVAC chase to the attic, then drop down the walls.  The first floor can be supplied through the floor from the basement, so we shouldn't have any issues with running wires.

   The second inconsequential plumbing soffit is in the mudroom closet.  These are the drains for the master shower above and it doesn't matter that this small space has less ceiling height.  We should be okay with the routing for the master tub since we can run that pipe parallel with the concrete beams and drop down the mud room's bathroom wall to the basement.  It's really fortunate that all these things are working themselves out as we go along since we weren't supplied a detailed plumbing and electrical layout in the blueprints.

   Lots of goodies in the safety of the basement!  Sorry for the quality of the picture as it was taken in very low light conditions.  All the plumbing roughs for in-wall installations are on site and ready to be installed.  We have boxes from hans grohe, dorn bracht, and kohler here.  It will be exciting to see these installed in the wall because that means we're one step closer to getting the drywall up.

   Here's the box for the Dorn Bracht wall mounted faucets we'll have in the master bathroom.  Super excited about seeing these guys installed and running.

   So that's about it for this week.  Mike's carpenters are on site every day completing tasks here and there.  The plumbers, electricians, and HVAC installers will be back in the new year to wrap things up.  Jonathon of the Sound Vision is officially on the payroll and will have his installers come in after the new year to coordinate with the rough electrical installers.  The stone masons will be on site soon to prep the exterior walls for the granite cobble install.  I think they have to install a wire lath on all the stone surfaces before installation.  They requested the drip edge that sits under the stone ledge to be installed so they have a delineation between the stone and cedar shingle.  Speaking of which, the cedar shingle installers will be on site in the next couple of weeks to get started on that, which means the bead board on the porches needs to be finished so they can complete the trim under the porches so the shingle can be installed.  The roofers are coming to finally install the rest of the roofing shingle near the turret, and waterproof the chimney box a bit more so water can't make it's way in.  The bank sent an inspector to check out the state of the build and was surprised to see people working on site.  He told Mike that this is the first time he's inspected the site while workers were present.  Considering the other times he inspected, I'm not surprised now that Mike is on the job.  Things are rolling ahead full steam for the new year!


Monday, October 24, 2016

More rough carpentry work. The skeleton is almost complete

   After a couple months at the mothership, I've finally gotten my Canon 7D back with a replaced shutter so I can start taking wide angle shots again.  I think I need to re-calibrate the auto focus because lots of this weeks pictures are a little out of focus.
  Even though we were just at the house a couple of days prior to this visit, there were still a enough changes to add 22 pictures to this post, and that's not even all the pictures I took for personal record.  If you're building or thinking about building, here's a tip: take pictures of everything you can before the drywall goes up so you have a record of where every wire, pipe, and stud is.  You never know when you're going to need it in the future.
   The all the new work is important, but it's getting down to finer and finer rough carpentry details so I'm having to really examine everything to catch all the changes.  Many aren't as apparent at first glance, but are definitely required to make a great final product.  Seeing all the work makes we realize how far off we were from any real finishing work, before Mike took over the project.  Now I think we're probably 95% of the way to be completed with all the rough carpentry work.

   Today was one of those crisp Autumn days where the air is a cool 65 F and the sun made all the leaves come alive with color.  It's was a great day, but also a reminder that the colder days of winter will soon be upon us so we have limited exterior building days.  Thankfully, almost all of the trim work is completed outside and we just need a few more doors to seal up the exterior of the house.  Maybe if we're lucky, we can get the siding and stonework on before the frost hits, but time really is running down.  At least we can work inside when it's cold out, so we don't have to go another winter without progress.

   My wife says I missed this detail on Thursday, but they installed the detail around the round window in the front.  Because it was so high on the trim, I didn't think it would be possible and kind of resigned to missing out on it, but it's there and it looks good.  Makes me wonder if they'll do the thick top trim on the laundry window to the left of it.


   The trim board on the front of the porch has been installed since it will be needed for the porch pour; the very last of the concrete work needed.  This area was troubling Mike since the cement in this location isn't part of the final deck surface.  Since we'll be using Azek decking on the front porch, this slab needed to be thin enough to fit under the Azek boards, plus sleepers for the decking to attach to.  I guess he figured it out since all the boards necessary to pour the slab are in.  Since it's not structural I'm not sure if it will be reinforced with a light metal mesh but it will be nice to finally have this part poured, and end the saga of the cement.


  The front porch was one of the harder things for them to work out and correct.  They're completing all the corrective work and working on the rough finishing work, like boxing in all the steel posts in preparation for the post sleeves.  This is one of the details that I would miss if I wasn't examining everything.  It's a simple thing with huge ramifications.  It means that it's one more step towards finishing materials.


   Another troubling issue was trying to figure out how to hide the laminated beams.  Now that they've been properly supported with welded angle iron, we have to figure out a way to box them in so they look good.  Unfortunately, the distance from the curved fascia to the laminated beam is different in different parts of the curve, so we need to try to figure out how to normalize that difference.  They're working something out, as evident by the lumber on the right side of the lam-beam, but I can't figure out what it will look like yet.


   One corrective construction is how the deck meets up with the house and how that works with the cobblestone exterior.  When the deck was originally built, the ICF was removed and the ledger board that attaches to the house was bolted directly into the concrete.  This means that the 2x wood material was sitting into the ICF foam so if the cobble was attached to the foam itself the ledger board would be behind the cobble.  This means that should water get here and run down the ledger board, it would have a chance to get behind the cobble substrate and crumble out the mortar from behind.  The stacked 2x material you see here is the solution to that problem.  Now the wood sits about flush with the cobble stone exterior, and flashing can be installed down the wall above the deck and over the wood so water doesn't have a chance to get behind the the cobble.  Ideally the spacers would have been installed first and the ledger would be farthest out but this will have to do, unless we were to tear down the entire deck.


  Here's another correction.  The laminated beam between these two posts was cut because Matt thought we wanted the barrel vault arch to carry into the fascia of the porch.  This was never corrected until now, when Mikes crew reconnected tied the beam back together.

   Here's the back garage door arch completed, but still needs to have the corners boxed in.  The straight shot through the bay looks nice.  Even though the rear garage door is just for access, it's nice knowing we could drive a car into the back yard if we wanted to really mess up the lawn.  It will mostly just be used to get the lawn mower to the back yard since the back of the house will have steps to get to the back.

    The gazebo is almost completely trimmed out around the rim and all the beams are boxed in.  Although we're using arches to box in the beams around the rest of the front and back porch, in the gazebo, it will be straight.  I think some of this trim work will need to be removed when the fireplace is installed.  We're still working out how the ceiling will work in here.

   The side porch roof structure is also starting to be boxed but these will be arches from post to post.  They work fast enough that they got some of the beam fascia installed before I got a change to fill them in on the arch detail.  You can see the strong-ties they installed to the roof joists to increase the structural integrity.

    Moving inside, basically everything we asked for on Thursday was implemented in one day, which is amazing.  The ceiling of the pantry was brought down to conceal the vent duct for the powder room.  The powder room ceiling might need to drop down too unless we have the vent fan in the wall.  Unfortunately, this is the powder room vanity wall and I think we're planning a special wall treatment here so a vent fan right in the middle of it might not go over well.

The niche in the upstairs rotunda was installed.  We asked Matt to finish this off a while back, but they never got around to it.  It's just as we asked for and plan to put a small feature light in the top of the box.  I'm not sure what we're putting in there yet but the box isn't super deep.  Maybe just some picture frames or something. 

   The curve of the turret was completed on the side that connects to the bedroom.  Now you can see that the turret has a ten foot ceiling while the room is like the rest of the house at nine feet.  We have so many plans for this space that we'll have to implement after we move in or at least after the drywall is up.  The sized of the turret makes it a perfect play room so hopefully we won't have to have toys scattered all around the house.

    I finally get a wide angle shot of the turret with the windows installed, without stitching together a panorama.  We're not having a bench installed around the perimeter, but keeping it open and maybe getting some comfortable chairs suitable to the twins ages.  This is the one area in the house that gets direct light all day long so it will be a great space for kids.

    Another example of small changes that are required for the final finishing of the house is the header install across the top of the upstairs elevator door opening.  The rotunda walls were already in place, but the header that connects them wasn't there yet, but is necessary for proper drywall installation.  Lots of these little details were missing before Mike and his crew came on board so it's nice to see them get completed.  These are things that are easily overlooked unless you're really looking for the finishing rough carpentry work. 

    It's nice to get a wide angle of the great room.  It will be even nicer when the catwalk is finally removed.  It has been there since the erection of the second floor ICF, so we've never know  the great room without it.  Having it there makes it difficult to get a feel for the scale of the room and I'm not sure when we'll be rid of it since it's so useful during the construction process.  I don't think it's necessary for the electrical install since it doesn't reach the ceiling.  They'll probably bring in a scaffolding they can wheel around.  I think it would be helpful for the drywall installation on the upper parts, but it will obviously need to be removed for the complete drywall installation.

   Here's one of the niches as you enter the front door.  They sit to the left and right of the rotunda entrance from the foyer, with one next to the study and one next to the dining room, picture here.  Again, they're not too deep, this one being as deep as the Nestle Quik container (holding screws), but it might be deep enough for an orchid or some art. 

   Here's the entryway to the dining room.  Since the study will have arch top glass panel doors, we wanted to mirror the shape on the dining room side by arching in the doorway.  This will stay an open doorway though.  The original plans called for columns rather than an opening, which you see a lot in houses, but didn't match the architecture of this house. 

   All the sleepers for the Azek on the master balcony have been installed.  They're shimmed level since the deck below is shimmed at a slope to shed water.  Any water that makes it through the deck boards will run down the waterproof liner and off the edge of the deck.  It's nice that the rough carpenters realized to space the sleepers the same width as the deck joists at 12" on center so the Azek will feel more solid underfoot.  It's probably standard procedure for them to put the sleepers right over the joists below, but it's still nice to see it carried through.  A more careless crew wouldn't have thought twice about it.

   So after going back and forth about the master bathroom door, and trying to figure out how we could make the double door work, we just decided to reduce it down to a single door width and call it a day.  We just couldn't figure out a good way to make the double door work.  It wasn't great opening into the bathroom since one of the doors would swing towards the vanity and not be flat to the wall when open, taking up the standing room in front of one of the sinks.  Also with both the left and right side of the wall taken up by open door, we couldn't mount a light switch on either side, which would make turning on the lights awkward.  We could have had the doors open into the bedroom, which was my idea, but popular opinion was that the doors shouldn't be done that way.  Margaret's suggestion was to use a double sliding barn door, which we weren't opposed to stylistically but I was concerned about light and noise blocking.  Double pocket doors were out since you couldn't have switches on the same wall as the doors.  The only way around it that we could see was to reduce the double doors down to a single so here it is.  At least it's a clear shot to the master closet on the other side, even if the tub blocks a straight traffic path through the bathroom.

   Here's the final access door to the master closet storage space.  We couldn't get a full door in there since this wall is load bearing, but this will be good enough.  We'll have an actual door on there that will open into the space.  We'll probably just use the storage space for seasonal clothing and gift hiding.  It's going to be unconditioned and unfinished so nothing super nice.  We might install some tongue and groove cedar closet liner back there.  The door will most likely be hidden by hanging clothes, but it's not going to be otherwise concealed.

   Here's the temporary furnace in the basement.  I think Mike provided this one and we just need to get the gas hooked up to it before we have some construction heat in the house.  It won't be hooked up to the HVAC system because we don't want construction dust in the ducts before we move in.  It will just be open to the air and convection will hopefully warm the whole house.  Considering we're an ICF construction, it shouldn't be difficult to keep the house warm during the winter time, even if the furnace is in the basement.  The basement stairwell should be open enough to get the heat to the first floor, and the great room and rotunda should carry the heat up to the second floor.  If it's not enough, blower fans could force the hot air from the basement up.  Maybe we could open the elevator shaft, but it will have to be capped since it's open to the attic right now.

   Now that the house is sealed up, HVAC should be coming back in to finish off the duct work in the basement.  The rough carpenters should be finishing up with their tasks soon and maybe we can get the painters to come in and shoot the trim work so the siding can be installed.  I think plumbing is the next utility to be installed and we're looking at tapping the sewer and water in the next couple of weeks.  I'm not sure if I'll be able to get out there during the week so the next update might be a big one.


Friday, October 21, 2016

Mid-week update: Carpenters hard at work

   We had a meeting with Hardwood Door and Bevel to solidify the plans for the doors we have ordered so far, and put in a request to get two more doors ordered, the master bedroom balcony door and the garage exit door.  We still need to finalize the leaded glass in the front door sidelights, but have more solid plans on the great room and mudroom doors.  They'll be coming out today to measure for the other doors we added.  Since the store is so close to the property, we had a chance to take a look at some wood floor at a local supplier, and swing by the house for a mid-week update.  It seems like I'll have to do these mid week updates or my weekly posts will be way too long for all the progress that's being made.

   This is the floor we're looking into.  It's made by Artistry Hardwood Flooring and it's from the Smoked Oak color in the Windsor collection.  It's an eight inch wide, 3/4" thick white oak engineered floor with a 5.4 mm wear layer.  It's finished with a wax and oil finish rather than a polyurethane and the wood is not stained.  To achieve the color, it's smoke treated, so the wear layer doesn't mean much because you'll never sand and refinish the floor or else you'll lose the color.  The hard wax oil finish soaks into the wood and leaves a thin protective surface that needs to be refreshed every few years, depending on use.  The advantages are that it allows the wood to feel more natural, compared to a surface coated polyurethane, and that small scratches can easily be buffed out, so while the surface isn't as protected as polyurethane, you won't see the "skin" damage that you get with scratched poly.

   Since I obtained the garage door specs from the manufacturer, the rough carpenters have boxed in the garage door openings to the radius of the arched windows on the door and it's everything we wanted.  All the garage doors will be radiused like this since they'll all be the same style.  It's nice having walls that are thick since the garage doors will sit ten inches deep on the inside of the wall.  It creates more depth and dimension for a more pleasing appearance.

   Here's the single bay garage door opening all trimmed out.  The trim on the outside corner to the left is short because it still sits on the brick ledge, but both the brick ledge and granite cobble will stop at the garage door trim.  Just like the rest of the house, above the brick ledge will be shingle.  You can see by how high the garage door is, how much fill dirt we'll need.  Right now, there's almost a two foot drop to the current grade.

   So here's the end result of a brief discussion with Mike on how we can finish the vertical window dividers.  They managed to figure out a way to reduce the divider so it wasn't taking up the whole sill, while still allowing some insulation in between the outside and inside trim.  From the previous post, the divider was going to go all the way to the inside edge of the sill.  I think this is a great solution.

   The divider now only takes up one and a half inches plus what ever interior trim board thickness.  That gap will probably be filled with an EPS foam and will offer more than enough insulation.  I'm not worried about this being too cold since most window frames offer less insulation than what we have here.

   The great room fireplace has been roughed in to the correct height.  We wanted the two way fireplace to sit about a foot off the ground since we're not planning on having a hearth.  This will allow a better eye line sight from the front door to the rear windows.  Raising this will also probably mean raising the TV above it, but we could probably come up with some kind of a lowering TV mount solution for the months of the year when we're not using the fireplace.

   The carpenters are also hard at work making the gazebo right.  They've boxed out the drop down for the side of the gazebo against the rest of the porch and started to install trim to hide the beam structure.  We're still trying to figure out the ceiling.  We trying to go for bead board on the angled and flat ceiling, but need to work out the details of the installation.

   Here's another angle of the rim trim around the gazebo.  Since the height is so great, they had to use two boards to span the structure, then another trim board to span the seam.  I think it's a good look and will look great when it's all painted white.  It gives a nice shadow line detail going around the perimeter.

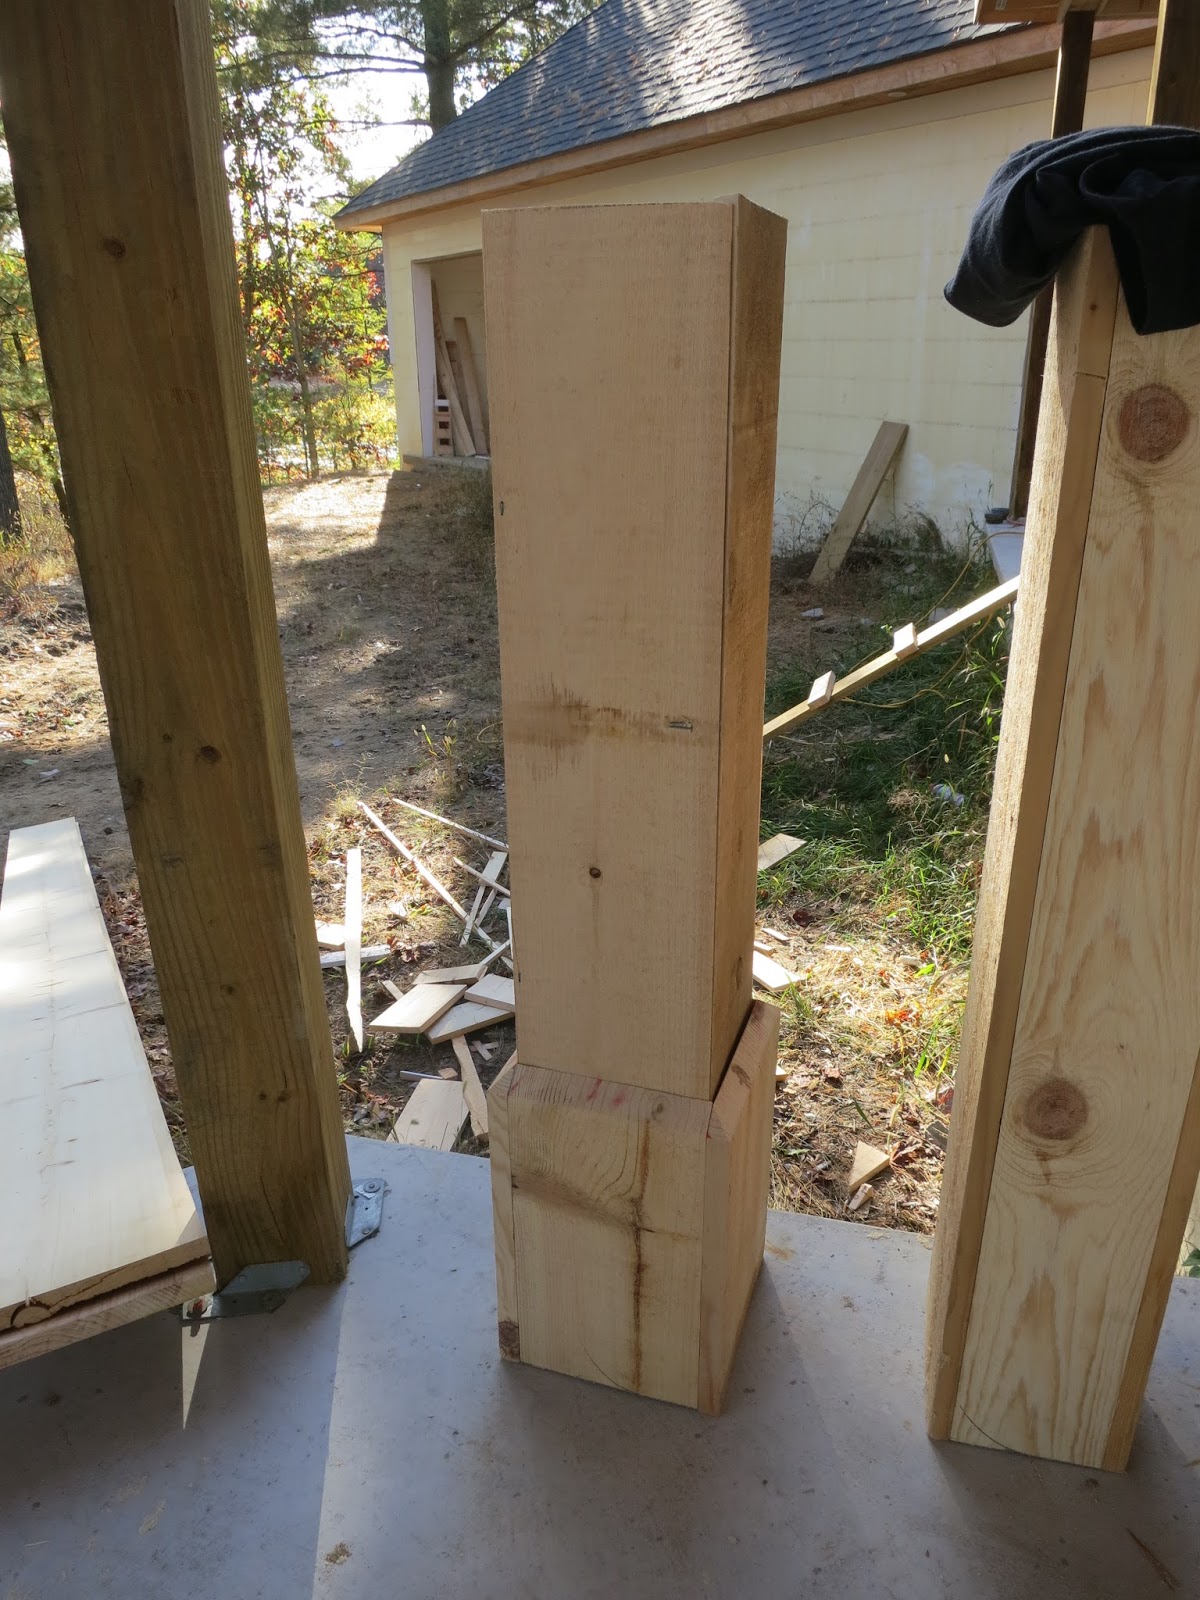
   Here's a rough mock up of the post coverings.  We'll probably get something prefabbed that clam shells onto the 6x6 posts, but they'll most likely be square.  The inspiration house had round columns, but unfortunately, there was some discrepancy with the elevations and the blueprints of the house.  The way the front porch is constructed, it would be very difficult to use round columns.  There just isn't enough space between the post and the edge of the deck for a round post and base, so we would have to really build out the fascia of the deck by three or four inches in order to make a round post work.  Rather than add that expense and head ache, we've decided to roll with it and find a good square column.  Some times you just have to compromise.

   The upstairs fireplace was also roughed in, but again, I'll have to get the final install spec to Mike so he can complete the opening rough.  This will also be elevated, but we're thinking about putting a mantle on this one.  Gotta have somewhere to hang Christmas stockings.

   They installed a weatherproofing membrane on the master balcony since it needs to be waterproof to the deck below.  There's some vent duct work in there that should be protected, and since there's bead board on the ceiling below, we can't allow water to get trapped in there.  Sleepers will be installed on top of this to which the Azek can be attached.  This is what you want to see with a water proof membrane.  Under the door sill, and up the sides in a continuous piece.  

   They added on this boxed out trim to act as a terminating post for the railing.  There's so much exterior finishing detail going up right now that we didn't expect, so even though we've planned almost everything in our heads, we're having to jump ahead to the finishing work mindset.  There are some fine details we thought we had time to figure out, but we're now finding that we need answers to.

   The balcony beams were also boxed in, but they'll have to be changed since we didn't get a change to tell them they need to be arched.  The carpenters were following the elevations, but the elevations had very little detail so I'm having to revisit them and figure out all the things that are missing.  We've had to make a few change orders but I think we've finally fit in everything we're looking for.

   So the saga of the free standing wall continues.  We suggested that maybe adding wings on the walls would stabilize the design, but when they attempted it, they discovered that the wall was still too unstable.  I think physics is against us on this one so we might just have to take the wall to the ceiling.  Margaret suggested that we get a piece of custom furniture or cabinet shelving to take the place of the wall and act as a room divider, but we intend to install a TV on this wall.  While we could probably find something that could work, we'll have to throw around the idea of having a non-permanent piece to act as a room divider.

   The curved shower dividing wall will also have to go to the ceiling and this is where it's a bummer.  We were hoping to have a free standing wall here so the light from the window would make it into the rest of the bathroom.  The walls are just too unstable to free stand, so we'll have to make do I guess.  There are a few techniques to attempt a tall free standing wall on concrete, but I think we'll just concede this design idea.

   The laundry room window looks m much better with the thick center divider removed.  Before, it looked like a pedestal in the middle of the window, but now it just looks like a flat window.  As with the other windows, there's still enough room for insulation.

   I think this divider takes up even less thickness than the other windows since it looks barely thicker than the window itself.  There will need to be a final trim piece that goes on, but that will add a nice dimension to the window depth.

   So we have another meeting at the site this week to talk to our neighbor to see if we can inconvenience them to take out some of their driveway so we can connect to the sewer.  Unfortunately, we can either tap into the sewer on the far side of their driveway, or we can dig up the curb and street to connect to the line as it goes the the main branch, which would be much more expensive.  We've met the neighbors a few times and found them to be very pleasant and reasonable people so I don't anticipate any issue.  I'll try to get to the site this weekend and give another update.  I'm sure there will be even more progress to report on.