Some movement in the basement. Looks like fill sand in the basement was scraped down and leveled a bit and the plumbers got a chance to lay out the basement plumbing for future expansion and main stacks to the upper floors.
The picture above shows the mechanical room in the background and a planned bathroom in the foreground. You can see the little pressure gauge they use to ensure the system is sealed. I didn't see an inspectors tag, so I guess that's coming the next week.
Here's the pipe that leads off to the future theater and fish tank room. I think the pipe stand on the right is for a floor drain.
This is where it goes under the foundation to the outside. There it will connect to a sump that contains a grinder pump. The pump will masticate the material and push it up a 1" pipe to the sewer at the street since we're at a lower elevation.
Here's where it goes under the foundation. I'm not sure what's at the end of the chain and yellow loop. I guessing there will be a clean-out here.
The pipe on the left is for the fish tank room sink. The pipe on the right is for the theater room sink, and I'm guessing the middle pipe in the background is for the stack going up to the kitchen and second floor.
Future bathroom rough ins. Left to right, floor drain, furnace drain in the mechanical room. Shower, toilet, and sink in the bathroom.
Here's how the sump pit connects to the form-a-drain. There were some areas of the form-a-drain that were damaged when they laid the fill sand. I was told that it will be repaired with a silt membrane before they place the pea stone. I would have rather had them dig it out and replace it, but I think it's tied together in the footing.
Just another shot of the fish room, theater, and stack.
Pretty sure this is a floor drain since there's a P-trap. One thing I didn't see is a back flow prevention device. I'll have to ask about that.
Monday, May 18, 2015
Wednesday, May 13, 2015
Meta
Blogger is telling me that I'm getting some traffic, which I'm amazed at because I don't really advertise this anywhere. I'm guessing you're looking at this from some random Google search or something, but if you're enjoying my posts, feel free to ask questions or leave comments. Here's a picture of my dog as tribute:
Sunday, May 3, 2015
Red beams, fallen trees, no basement
Even though the basement is at a standstill, there's still a little work being done at the house. The weather is starting to get progressively warmer with fewer cold nights. There have been a few days that have broken the 70's so I'm really hoping that building will start again. The framer said that the plan is to get the basement dry, call in plumbing to install basement rough in drains, sump pit, and sewer stubs. Once that's approved by the inspector, the basement slab will be finished to allow for a stable base for the temporary supports.
The beams have been painted a bright red. Matt the framer said that he bought it one day and just always likes to use it to try to get a rise out of our builder, Ken. I don't mind the color since it's going to be hidden by deck headers. The posts and interior steel will be painted as well.

This beam will support the rear deck, which will be covered with LiteDeck and stone tile. You can see they put a cinder block wall on the existing brick ledge so the LiteDeck has a ledge to sit on. The LiteDeck sections will run in the same direction as the house.
The beams have been painted a bright red. Matt the framer said that he bought it one day and just always likes to use it to try to get a rise out of our builder, Ken. I don't mind the color since it's going to be hidden by deck headers. The posts and interior steel will be painted as well.
The beams were fairly free of rust, but any that is on the surface needs to be cleaned with a wire brush before the paint is applied. Here you can see how the joint on the round part of the wrap around porch is connected. A plate is welded to the top of the post, and some connector plates are welded to the beams.
There must have been some high winds because one of the oak trees near where the ground transformer cabinet will be decided to fall down. There was some damage to the stacked LiteDeck, but it wasn't too bad considering the weight of the tree.
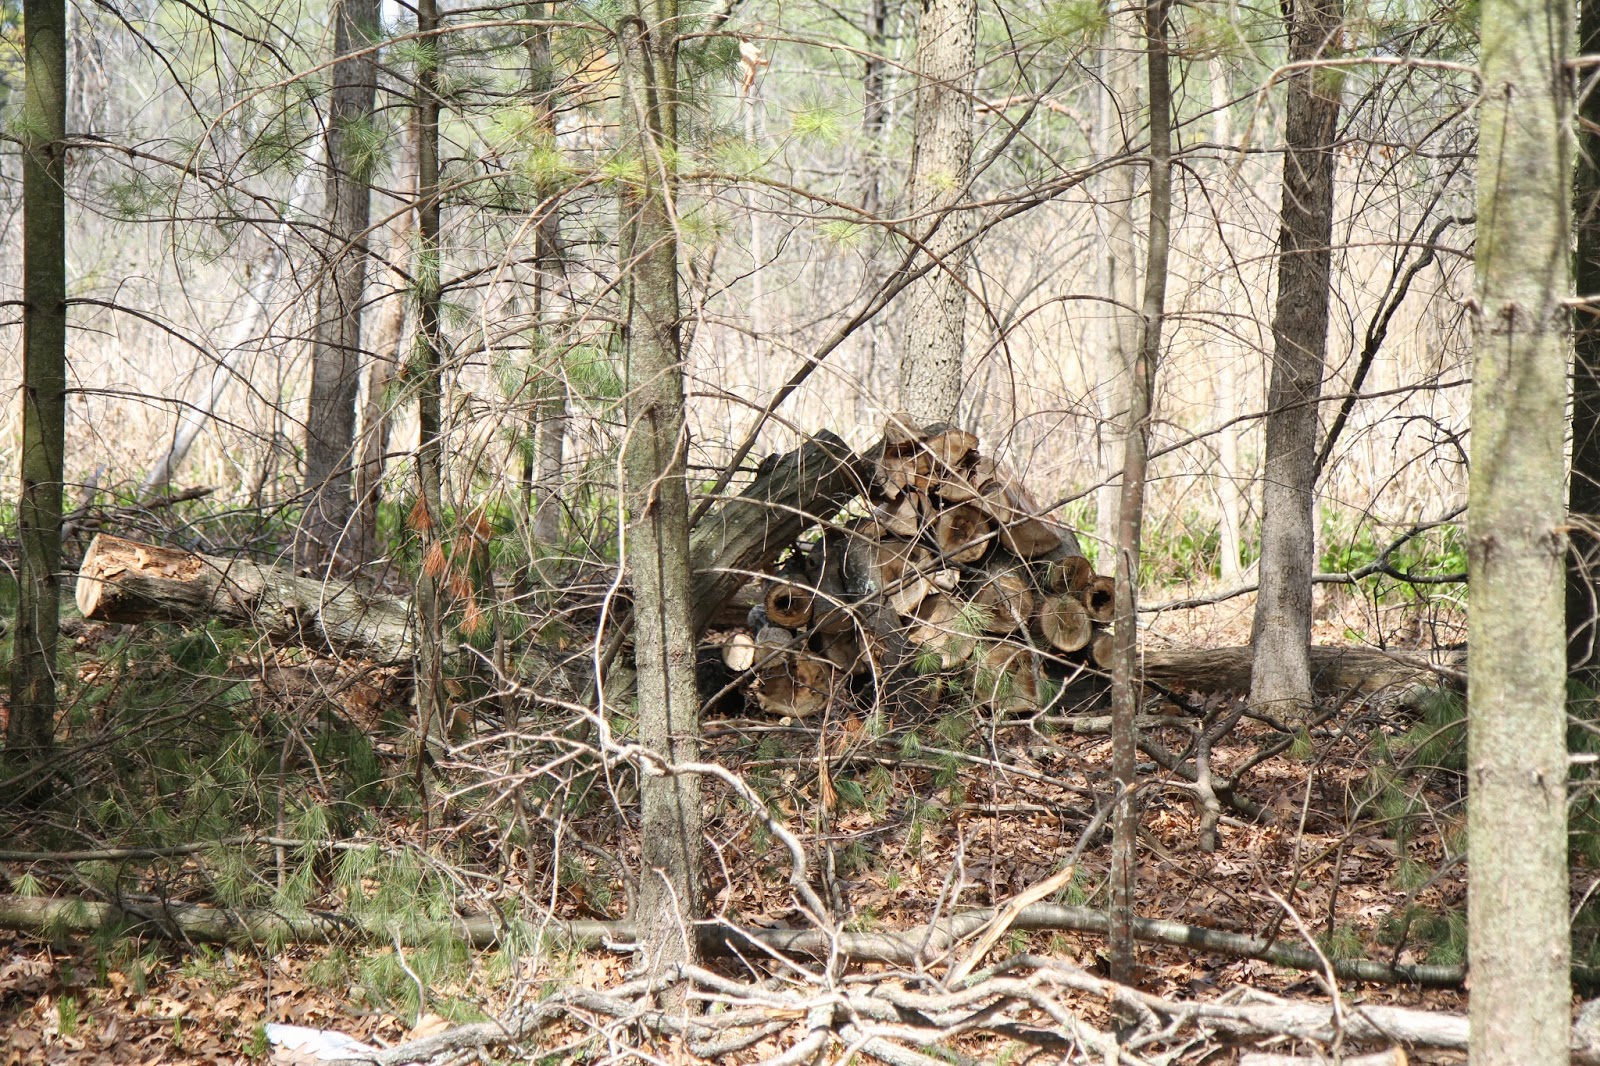
I enjoyed my time in my sunny woods cutting up the tree and stacking it in a temporary location until I can collect all the firewood, split and make a formal stack. Since it's oak, it will make some great firewood. Part of the tree was hollow from carpenter ants, which I suspect contributed to its demise.
When the fill sand was brought in with the mini-Cat, a good amount of the Form-a-drain was damaged and needs to be repaired before the basement goes in. I'm pretty sure they'll need to dig out these areas and replace the sections. If it's done incorrectly, the drain could fill with sand and gravel and the slab could be undermined from the material loss.
At least someone is enjoying my house even if I don't get to live in it yet.
Sunday, April 19, 2015
Muddy mess
Even though it's almost the middle of April, amazingly, there's still some frost in the ground in the basement. I think it's there because some snow fell in the basement before it was sealed up with the LiteDeck, then they put some fill sand in, covering the snow and ice. It's not really visible, but you can tell it's there because the fill sand is still like quicksand. Moisture isn't going down.
As you can see, test holes were dug in different parts of the basement to try to determine the state of the frost under the fill sand. It's not really visible, but if you could feel the sand, you could tell that it's hard and crunchy rather than... sandy.
You can almost make out the difference in water content/texture between the fill sand (smoother) and the base sand (lighter). In hind sight, putting in that fill sand so late in the season wasn't a great idea.
Not only is the non-compacted fill sand retaining water, it has settled a bit, allowing the once supportive temporary bracing to float above the grade. This obviously won't work out well even if the sand was stable enough to support the weight.
The beam has settled into the pocket, so at least there's some good news there. No need to cut the post and reweld. No need to heat the ground to try to get the frost out from under the footing. When the slab is completed, this heaving obviously won't be a problem because the heat of the ground will be trapped under the insulation layer beneath the slab. We're sitting a few feet above the highest recorded water table, so I don't suspect water will rise up from below, freeze, and heave the house.
More floating supports. The fill sand compressed a few inches. Despite this, they'll still need to scrape it level and compact before adding any other layers. I'm not sure about the order, but there needs to be gravel, visqueen that's tied into the form-a-drain for water and radon abatement, 3" foam for insulation, then a 3" concrete slab.
Meter boxes have been approved. Now to get a move on with planning and digging the trench from the box. The path of the trench will cross under the future driveway at one point, but it will be deep enough not to interfere with a good base. One issue that arose is that there's a culvert that passes under the proposed driveway that connects two DEQ designated wetlands. The DTE coordinator says that we might need to bore across that area since the culvert is technically part of the wetlands. I'm not sure what this means for the future driveway either.
A closer look at the temporary construction circuits. Two 20 amp fuses.
Connected to two double gang sockets. It will be nice to finally have power on at the build site. So far the build crew has been using a generator, which costs a good amount of money to run.
Here's the temporary box connected to the main meter box. Again, I'm not sure why there are two. You can see the copper ground in the foreground of the picture. This is just connected to the two meter boxes and terminates in a spike in the ground.
As you can see, test holes were dug in different parts of the basement to try to determine the state of the frost under the fill sand. It's not really visible, but if you could feel the sand, you could tell that it's hard and crunchy rather than... sandy.
You can almost make out the difference in water content/texture between the fill sand (smoother) and the base sand (lighter). In hind sight, putting in that fill sand so late in the season wasn't a great idea.
Not only is the non-compacted fill sand retaining water, it has settled a bit, allowing the once supportive temporary bracing to float above the grade. This obviously won't work out well even if the sand was stable enough to support the weight.
The beam has settled into the pocket, so at least there's some good news there. No need to cut the post and reweld. No need to heat the ground to try to get the frost out from under the footing. When the slab is completed, this heaving obviously won't be a problem because the heat of the ground will be trapped under the insulation layer beneath the slab. We're sitting a few feet above the highest recorded water table, so I don't suspect water will rise up from below, freeze, and heave the house.
More floating supports. The fill sand compressed a few inches. Despite this, they'll still need to scrape it level and compact before adding any other layers. I'm not sure about the order, but there needs to be gravel, visqueen that's tied into the form-a-drain for water and radon abatement, 3" foam for insulation, then a 3" concrete slab.
Meter boxes have been approved. Now to get a move on with planning and digging the trench from the box. The path of the trench will cross under the future driveway at one point, but it will be deep enough not to interfere with a good base. One issue that arose is that there's a culvert that passes under the proposed driveway that connects two DEQ designated wetlands. The DTE coordinator says that we might need to bore across that area since the culvert is technically part of the wetlands. I'm not sure what this means for the future driveway either.
A closer look at the temporary construction circuits. Two 20 amp fuses.
Connected to two double gang sockets. It will be nice to finally have power on at the build site. So far the build crew has been using a generator, which costs a good amount of money to run.
Here's the temporary box connected to the main meter box. Again, I'm not sure why there are two. You can see the copper ground in the foreground of the picture. This is just connected to the two meter boxes and terminates in a spike in the ground.
Sunday, April 12, 2015
Still frozen
Live by the ICF sword, die by the ICF sword. The basement soil (sand?) still has frost in it but the beam has finally settled back into it's pocket.
The electrician installed the main meter box for the house. I didn't know it would be so big, but I guess that's the way it is. You can see the little guy hanging down from the new box. It's another construction plug, so it won't be there in the end. The conduit just terminates in the ground, ready for incoming lines.
Here's a shot of the main beam sitting back in the beam pocket. As show in earlier posts, there are two rebar pins holding the beam, but no other mechanical fasteners. I'm sure this pocket will be filled with concrete eventually, but I'm not sure if there will be any other mechanical fasteners.
Looks like the DTE coordinator is hard at work. The trench will contain electrical, gas, cable, and telephone. Yeah, we'll probably never use the telephone line coming in, but I guess it should still be wired. This spool of coaxial is new and belongs to the cable company.
The basement is starting to thaw, but it's a muddy mess now. The sand that was brought in is saturated and sits on some frozen ground so the water isn't draining down. The plan is to prep and pour the basement before the first floor pour so we can have good temporary shoring for the first floor pour. That means that the basement needs to dry out, warm up, and be prepped with rough in basement drains for future expansions. Time is ticking.
Saturday, April 4, 2015
Cold weather is still here. Electrician stopped by.
The cold weather decided to stick around a little bit more. We've had some warm days, but not with enough consistency to allow for slab construction.
Here's the kicker. With the LiteDeck in place, the inside of the basement is like an icebox. What does that mean? There's frozen ground in the basement that isn't melting very quickly. We've unblocked all the openings to allow more airflow and hopefully warm the ground inside the basement, but it has accumulated enough water and melted snow that it's like an icerink in there. So much so that the post that's holding the main beam has lifted a bit and the beam is not sitting in the pocket.
Our options are to wait and hope the frost melts under the footing and drops the beam back down. If that doesn't happen, then any pockets under the footing have been filled and we'll have to cut and reweld the post to the beam. All I hear is "delay, delay, delay".
I've been in talks with the DTE coordinator about pulling power out to the house. She requires electrical boxes to be installed before she surveys the site to determine the route through the property. My neighborhood only allows for underground utilities. There's a power junction up the driveway near the street, but a trench will have be dug about 200 ft up the side of the driveway to a ground transformer cabinet. We'll have that as far from the house as we're allowed, about 100 ft. From there, two lines will run to the house. The above picture shows two meters and a construction circuit, but it doesn't show the main box. The two meter boxes you see there are for electric vehicle charging and geothermal. DTE offers reduced rates for these services so separate meters are required.
Just a picture of how the wrap around porch beam terminates into the house. The standard pocket isn't there, but the post in combination with the mechanical fasteners should do the trick.
Here's a shot looking at the gable end of the garage. You can get a feel of the height difference from this angle. Since getting around this side of the house will be difficult, we're thinking of making a little deck around this part. Even this will offer a nice view.
Here's the kicker. With the LiteDeck in place, the inside of the basement is like an icebox. What does that mean? There's frozen ground in the basement that isn't melting very quickly. We've unblocked all the openings to allow more airflow and hopefully warm the ground inside the basement, but it has accumulated enough water and melted snow that it's like an icerink in there. So much so that the post that's holding the main beam has lifted a bit and the beam is not sitting in the pocket.
Our options are to wait and hope the frost melts under the footing and drops the beam back down. If that doesn't happen, then any pockets under the footing have been filled and we'll have to cut and reweld the post to the beam. All I hear is "delay, delay, delay".
I've been in talks with the DTE coordinator about pulling power out to the house. She requires electrical boxes to be installed before she surveys the site to determine the route through the property. My neighborhood only allows for underground utilities. There's a power junction up the driveway near the street, but a trench will have be dug about 200 ft up the side of the driveway to a ground transformer cabinet. We'll have that as far from the house as we're allowed, about 100 ft. From there, two lines will run to the house. The above picture shows two meters and a construction circuit, but it doesn't show the main box. The two meter boxes you see there are for electric vehicle charging and geothermal. DTE offers reduced rates for these services so separate meters are required.
Just a picture of how the wrap around porch beam terminates into the house. The standard pocket isn't there, but the post in combination with the mechanical fasteners should do the trick.
Here's a shot looking at the gable end of the garage. You can get a feel of the height difference from this angle. Since getting around this side of the house will be difficult, we're thinking of making a little deck around this part. Even this will offer a nice view.
Sunday, March 29, 2015
All porch steel in.
Small update this time. No cement poured in the house due to cold weather deciding to stick around.
Waiting for when we can get some bigger steps.
Subscribe to:
Posts (Atom)